I picked up a pumpkin sign last year knowing that I would find a way to alter it in some fashion. When I received my newest tool - the Bench Drill Press - I knew exactly what I wanted to do.

I began by using the Delta Sander to remove the varnish like finish on the pumpkin.

I was quite intimidated when I received the Bench Drill Press, but I couldn't believe how easy it was to use. Just insert a drill bit, adjust the height of the drill based on the length of the drill bit, line up the item, turn on the drill press and go.

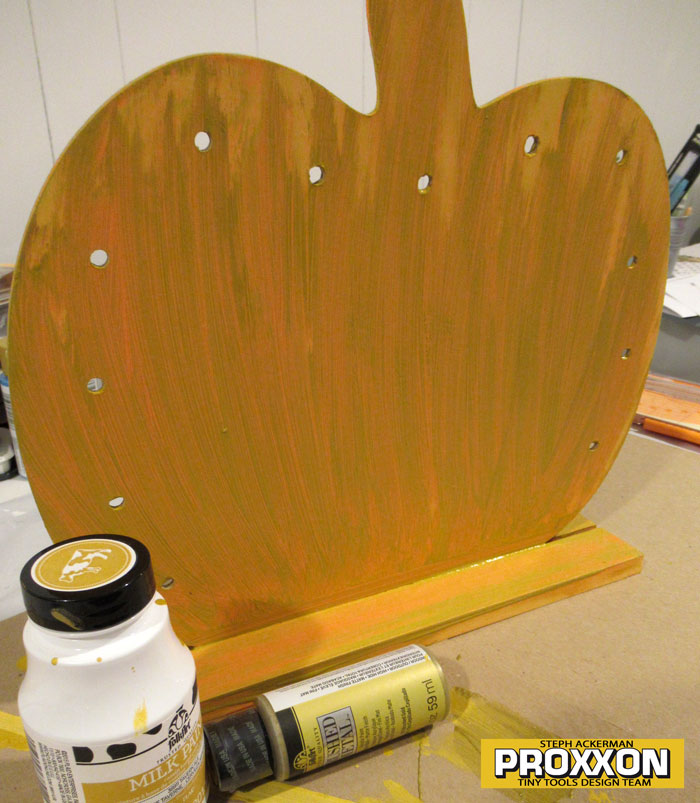
I quickly and easily drilled holes all around my pumpkin! It was super easy and not at all intimidating.

Once I had all the holes drilled, I painted it with Plaid Milk Paint in Tavern Ale and then dry brushed on FolkArt Brushed Metal acrylic paint in Brushed Gold. Finally I dry brushed on FolkArt acrylic paint in Classic Green in a streaky manner. I was not looking for perfection; in fact, I was looking for imperfection as no pumpkin is perfect!
While waiting fo the pumpkin to dry, I created leaves from Makin'sⓇ clay. I added texture to the leaves using Makin'sⓇ Clay Texture Sheets, then painted on assorted colors of FolkArt acrylic paints, blending the colors with a baby wipe.

I adhered the leaves to the pumpkin top along with raffia.


What do you think?
I am definitely using the Drill Press again and have lots of projects in mind.


2 comments:
Very nice Steph, and it is time for thinking of Halloween, one of our favorite holidays. It just seems to lend itself to crafts.
I really like that. Just in time for Halloween. My favorite time for making crafts. Nice work.
Post a Comment