This needlework frame was inspired by a piece that my sister stitched for my son over 40 years ago. I replicated the frame to make a similar one for my niece's baby boy.
Supplies and Equipment:
- 8" x 6" hardwood or plywood blank
- Proxxon Bandsaw MBS/E or Proxxon Scroll Saw DS 460
- MICROMOT Flexishaft 110/BF
- Proxxon Table Saw FET
- Proxxon Delta Sander
- FolkArt Antique Wax
- Rocking Horse Template
Instructions:
- Use the table saw to cut an 8" x 6" blank from your chosen wood.
- If necessary, sand the surfaces of the blank using the Delta sander.
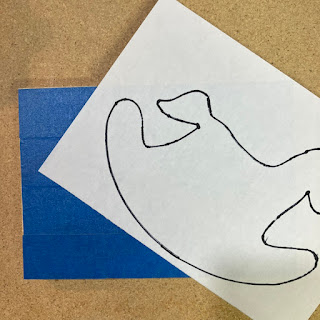
- Mount the pattern on the wood blank. Cover one side of the blank with painter's tape. Mist the back side of the pattern with spray adhesive, and mount on the taped blank. The painter's tape made removal of the pattern easy without leaving any sticky residue.
- Cut the rocking horse shape using the bandsaw or scroll saw.
- Sand the curves using the flexishaft fitted with a sanding drum. Do any final surface sanding with the Delta sander.
- Cut a 2½" circle in the center of the frame. This can be done on the scroll saw, but I raided my husband's tool chest and used his 2½" forstner bit. Either way, save the plug for mounting the needlework.
- Finish the rocking horse with your desired finish. I used FolkArt's Antique Wax.
- Add hanging hardware, then mount the needlework.
 |
| Carole |


.png)
