Sunday, April 18, 2021

How to Make a Fruit Bird Feeder

 This fruit bird feeder can help attract a variety of birds to your garden. Robins and chickadees as well as bluebirds, cardinals, woodpeckers, and orioles love fruit. The brass skewer makes it easy to change your fruit offering. Oranges, plums, and crabapples are all options.

Supplies and Equipment Used to Make the Fruit Bird Feeder 

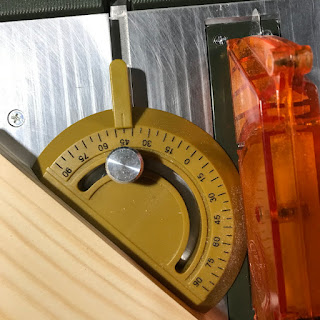
  1. Trace the exterior lines of the fruit bird feeder pattern onto your piece of wood. Cut the exterior angles with either the table saw or band saw.


  2. Sand the edges on the disc sander.

  3. Trace the interior lines on your wood.

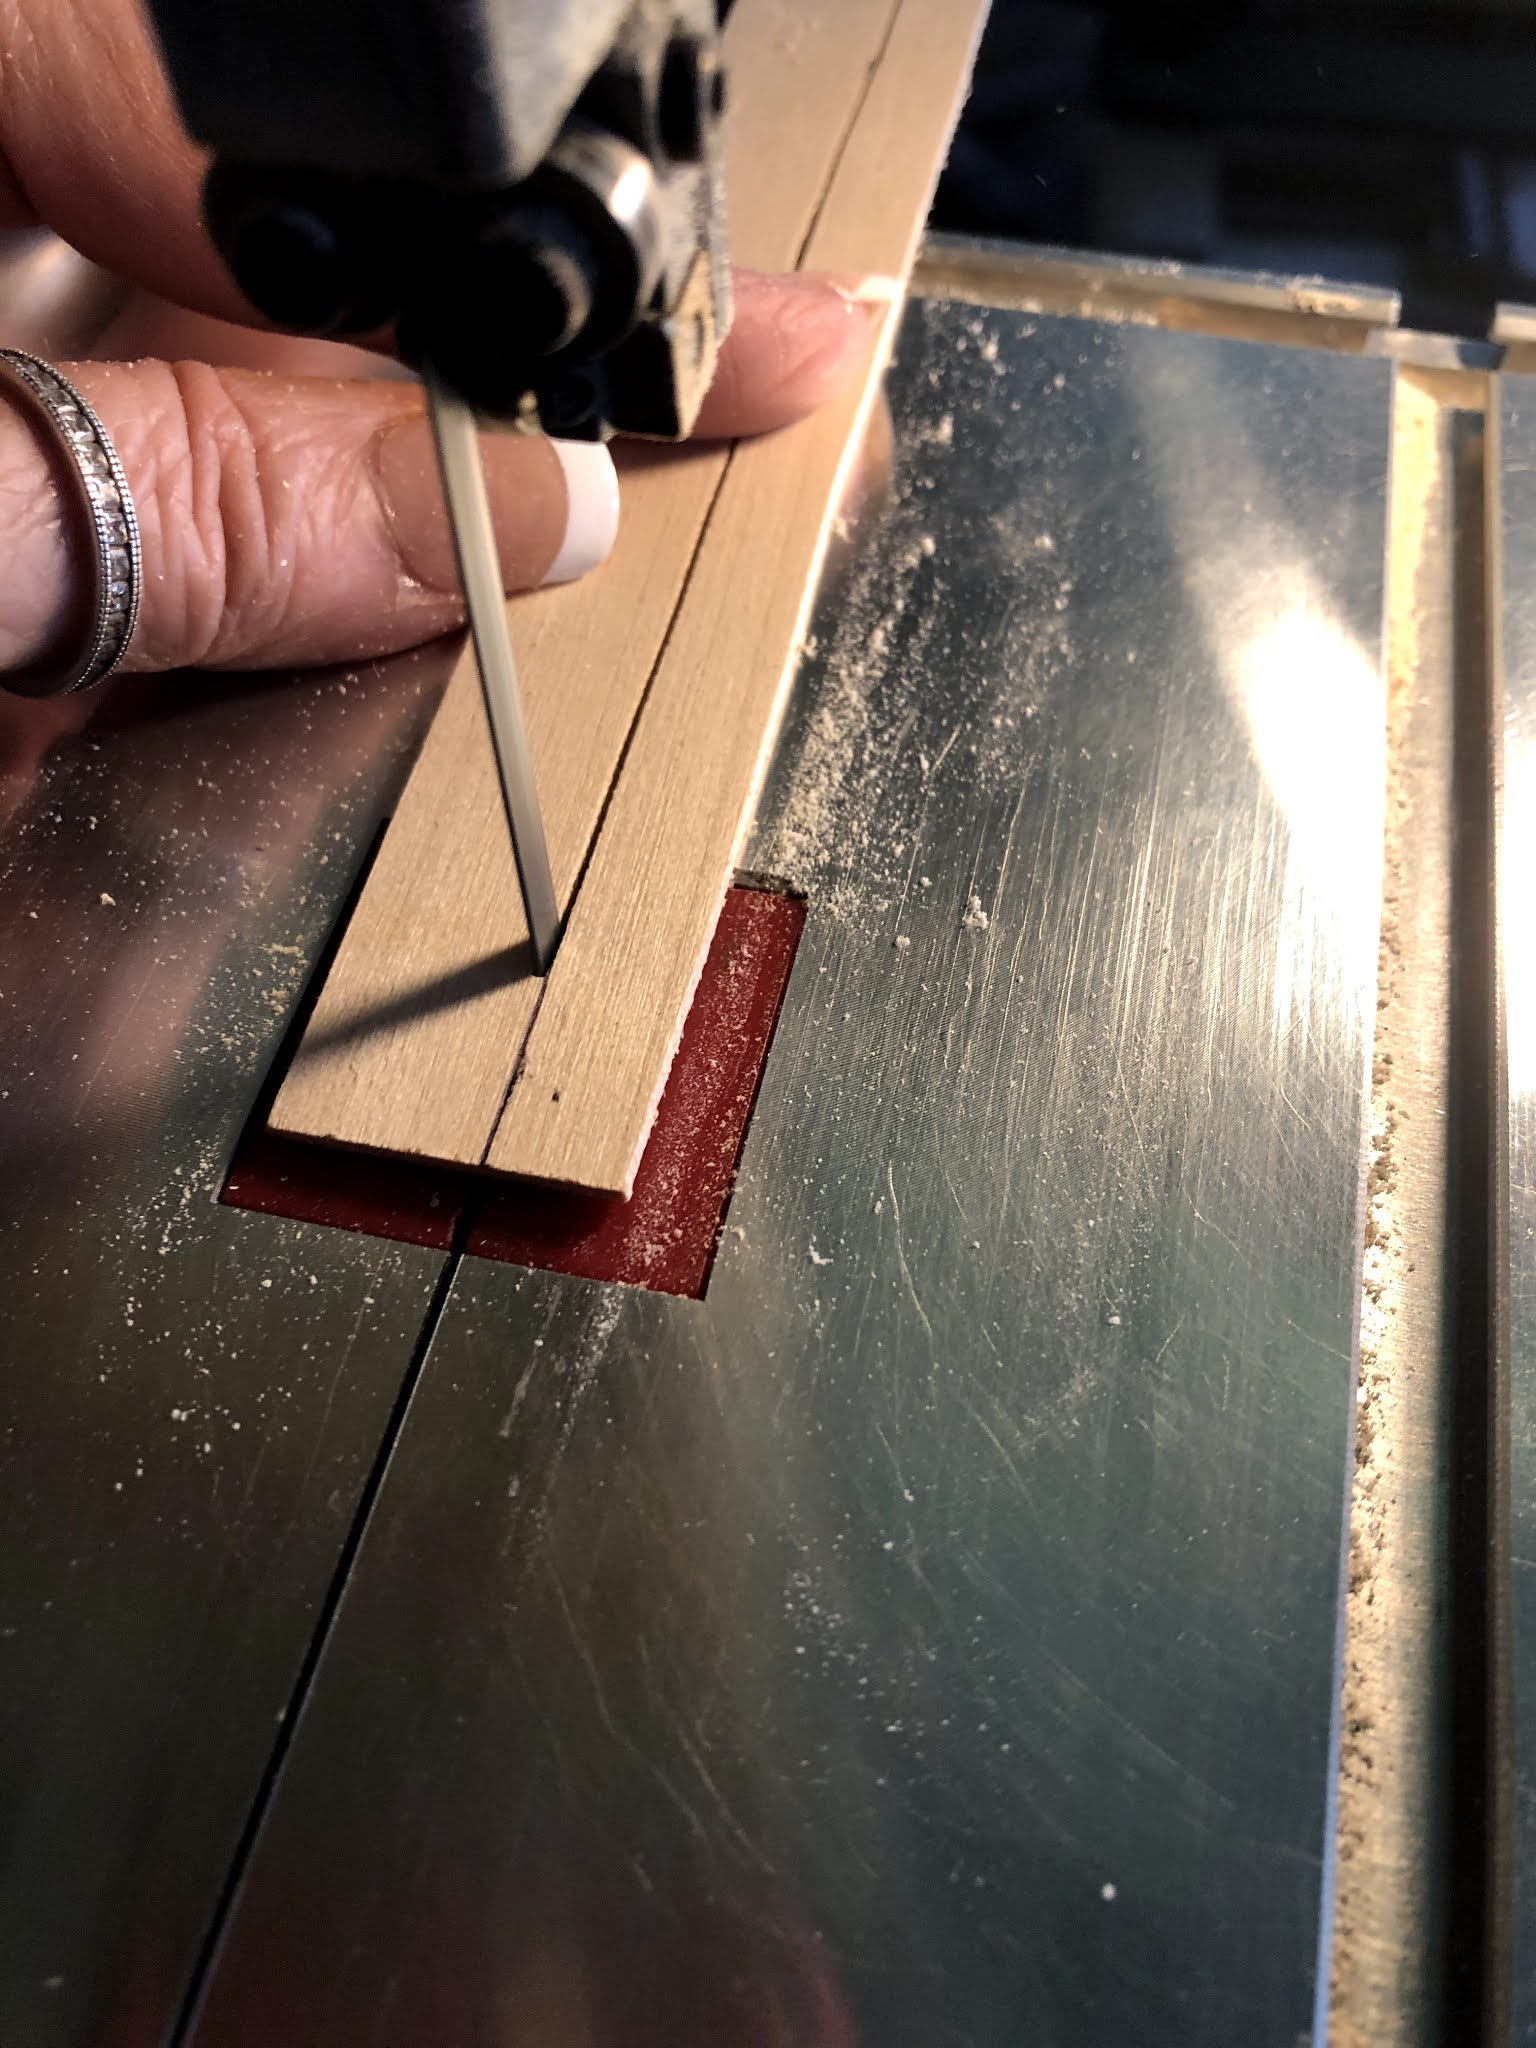
  4. Using the bench drill press, drill a pilot hole for the scroll saw blade.

  5. Cut out the interior of the feeder on the scroll saw.

  6. Using the bench drill press, drill the holes for the rod.

  7. Sand the surfaces with the Delta sander.

  8. Bend a 90­­° angle on the end of the brass rod.

  9. Coat with polyurethane to protect the feeder from the weather.

  10. Add a screw eye or hook for hanging.
  11. Sit back and enjoy watching the birds that come to your fruit feeder.

Carole

Thursday, April 15, 2021

Home repairs using Proxxon tools

 Hi everyone.  Accidents happen, don't they.  Look what happened to our shed.  There's a hole in the wall.  I don't really know what happened but good grief, look at that hole!  👀  I don't want to have to replace the whole panel so we are going to patch it, but I don't want it to look patched, so we will patch it with something decorative.   I am going to use Proxxon tools to fix this and it is going to look better than ever.


Looking around the shop for something to patch this with.  Aha... I spy an old license plate and I know I can cut it easily using the Proxxon mini bandsaw so I drew a simple pattern onto it.  I like sunshine so I drew a simple sun then cut it out using the Proxxon mini bandsaw.  


That was really easy.  I do recommend ear protection when cutting metal because it is a little noisy,  Of course always, always, always, wear eye protection in the shop !!


I used the Proxxon rotary tool with a metal sanding disk to take off the rough edges.   Next time I would choose something less pointy.   I always learn something with each project.

The next challenge was to attach it to the shed wall.   I don't think the siding on the shed would stand up to nailing or screws.  Hmmm.    I decided to cut a thin piece of wood and stick it to the inside of the wall and that would give me something to screw into.  The picture below is just how I stabilized the wood while waiting for the glue to dry.  This is inside the shed.  The wood piece is covering the hole.


Next I used the Proxxon mini drill press to make 5 tiny holes in my sun's rays where I will insert the screws to fasten the sun over the hole in the shed.


I painted my sun with Plaid paints, let it dry well, then sealed it with krylon triple thick gloss sealer.


Off to the shed.   I brought with me my cordless Proxxon rotary tool equipped with a small drill bit and predrilled my 5 holes through the sun, through the siding and into the plywood patch inside.  Then I fastened them all down securely with screws.  This little patch isn't going anywhere.   I think it looks cheerful.  and was a whole lot cheaper than new siding.  


Bonus tip.    I have a terrible time trying to squeeze glue out of the bottles they come in.  This is how I solved my glue problem.   I emptied the glue into a empty water bottle that had a sippable top and closure.  I used a rubber band to attach the original label so I have directions.   OMG  life is so much easier now that I can squeeze the bottle.  EASY SQUEEZY and it doesn't clog up.


Well thanks you for visiting.   I use Proxxon tools everyday to fix and repair.  Thank you Proxxon for that.   And thank you Plaid for adding color to our lives.  Till next time...Carol


How To Build A Miniature Drum


Hi everyone.  One of my other passions besides woodworking is designing and selling punch needle patterns. I just finished this Revolutionary Soldier and I needed to put him on some sort of base. I really wanted him to be standing on a drum. I searched online for antique drum pictures and figured in my mind how I would make one using my Proxxon Tools.  I think it turned out awesome!  Follow along with me and I'll show you how I made it :-)


Tools & Supplies
   Proxxon Micro Bandsaw
   Proxxon Delta Sander
   Proxxon Rotary Tool
   Scrap 2" x  6" pine
   Thin strip of balsa wood
   Tiny Tacks
   One 2 1/2" wood screw
   Embroidery Floss  Gold color
   Plaid Paint  Navy, Red, Beige
   ModPodge
   Printed Eagle


First I figured out how large I wanted the finished drum to be and drew my pattern on the scrap 2x6" pine.  Using the Micro Bandsaw I cut out 2 circles. 


Next I glued the two circles together and let dry.  After they were dry I drilled a 2 1/2" screw in the bottom just to insure they wouldn't come apart.


Using the Delta sander I sanded around the outside making it smooth and seamless.


Next using the Micro bandsaw I cut two 1/2" strips of the thin balsa wood.  I measured around the drum base to figure out how long they needed to be.  These strips will be the bands  at the top and bottom of the drum.


Now comes the fun part!  I looked up on the internet how to bend wood.  I put a skillet on my stove with water in it. Brought the water to a boil and laid  the two wood strips across.  I let them steam maybe 10 minutes then took them off and bent them around a mug.  The wood was very pliable.  I held it in place with rubber bands and let dry.


After the strips were dry they held their shape and I was able to tack them on the drum base.  I made sure to leave half of the band stick up above and below the base.


Next I painted the drum.  the body I painted navy. The bands I painted red and I put a tiny line of cream just under the bands. The top I painted cream.  Let dry.  After it was dry I dry brushed a little black and mustard paint here and there to make it look old.


I found a picture of a vintage eagle on Pinterest. I printed it out and carefully cut out two of them.  One for the back and one for the front. I applied the to the drum using Modpodge.  After dry I coated the whole drum with Modpodge.


Lastly I drilled 10 tiny holes around the bands.  I then fed my embroidery floss through the holes going top to bottom and tied it off in the back. 


The drum is complete but now I had to drill two holes in the top so my soldier could be attached.  I used two shish kebab sticks and placed them in the holes. I then ran each of the sticks up the legs of my soldier to make him stand.  


This was a fun project and I learned a lot!  Thanks for following along with me.... Colleen :-)


Sunday, April 4, 2021

How to Build Your Own Butterfly House

Butterfly houses provide butterflies shelter from the weather and are a safe place for them to escape hungry predators. They help to attract and keep butterflies around your yard and garden. Butterfly houses also make an interesting addition to your outdoor space. Added plus—they are easy to  make with Proxxon tools.


Supplies and Equipment that you'll need:

Let's make the Butterfly House:

  1. Cut all boards to the measurements given in the Butterfly House pattern using the Proxxon table saw.

  2. Adjust the table saw's angle stop and cut the angles on the tops of the side pieces.

  3. Change the blade angle to 20­­° and cut the tops of the front and back pieces to match the angle of the side pieces.

  4. Transfer the slot pattern to the front panel.

  5. With the bench drill press, drill a pilot hole to accommodate the scroll saw blade.

  6. Cut out the slots using the scroll saw.
  7. Glue and clamp the bottom and back pieces together.

  8. Glue small branches and twigs to the inside back and side pieces. Hold the branches in place with painter's tape until the glue dries.

  9. Finish gluing the front and side pieces in place. Place a couple small nails along each side to reinforce the glue.
  10. Attach the roof with two hinges.
  11. Mount your butterfly house with hardware of your choice depending upon where you will hang your butterfly house.

Carole