This rustic farmhouse serving tray is a super beginner project, and a great way to learn more about your Proxxon tools. Since this is supposed to have a used and rustic look, blemishes in the wood can add character to the piece.

Here's the supplies and equipment that you'll need:
- One 1" x 4" x 4' length of pine board
- One 1" x 2" x 6' length of pine board
- Twelve 1¼" finishing nails or brads
- Two No. 8 x 5/8" brass screws and washers
- Two pieces of leather strapping 6" x ½"
- Liquid wood adhesive
- Clamps
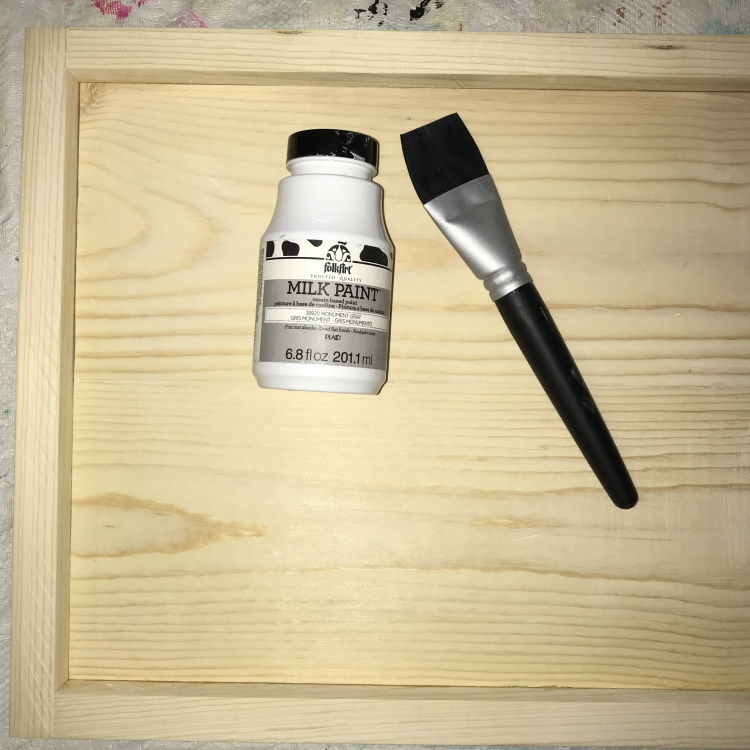
- FolkArt Monument Gray Milk Paint
- Proxxon Table Saw FET
- Proxxon Chop and Miter Saw KGS 80
- Bench Drill Press TBM 115
- Proxxon Delta Sander OZI/E
- Proxxon MICRO Press MP 120
Let's make the farmhouse tray:
- Use the table saw to cut the 1" x 4" board into two 19" lengths. These will make the bottom of the tray.
- Spread an even layer of glue along one of the boards. Clamp the two boards together making sure that they are lined up.

- When you tighten the clamps, it's likely that some of the glue will ooze out.

- Wipe away the excess glue with a damp cloth or baby wipe.

- Use the miter saw to cut the four side pieces from the 1" x 2" board. You'll need two 19" lengths and two 12½" lengths.

- Mark three holes on each of the longer side pieces—at 4¾", 9½", 14¼". On the shorter sides mark at 2½", 6 5/8", and 10". The the second hole is NOT centered so you avoid the seam in the tray bottom.
- Use the bench drill press to drill the pilot holes for the nails. Set the adjustable fence so the holes are 3/8" from the bottom of the side piece.

- Glue and nail the side pieces in place. Begin with one of the longer pieces. Spread a thin bead of glue along the edge of the tray bottom. Position the side piece, and nail in place. Repeat with the other long side piece, then each of the shorter end pieces.

- When the glue to thoroughly dry, sand the surfaces. Remember, this is a rustic piece, so don't strive for a glass-like finish—you just don't want to get any splinters :)
- Finish the tray with a gray wash. You'll want to test the look of a scrap left from the 1" x 2". I thinned my paint with water—4 parts paint to 1 part water. If you want a more solid color, then use less or no water. Working in sections, apply the gray wash with a brush and immediately wipe with a rag. Let dry thoroughly. If you want more pronounced color, add more coats of the gray wash, following the apply/wipe procedure. Hint: I wore a disposal glove on the hand that was doing the wiping. You can use this same wash process with any color, so if gray isn't your choice, select a color you like.

- Learn how to make these painting pegs to support pieces while painting them and during the drying process.

- Mark pilot holes for the brass screws holding the leather strapping in place 4" from each end on both of the shorter end pieces. Use the bench drill press to drill these pilot holes.
- Use the MICRO press to punch a small hole 5/8" from the ends of the leather straps. Attach the leather strapping to the tray with washer between the leather and the screw.

- Enjoy using your Gray Washed Farmhouse Serving Tray.
.png)


.png)
 |
| Carole |


.png)


.png)