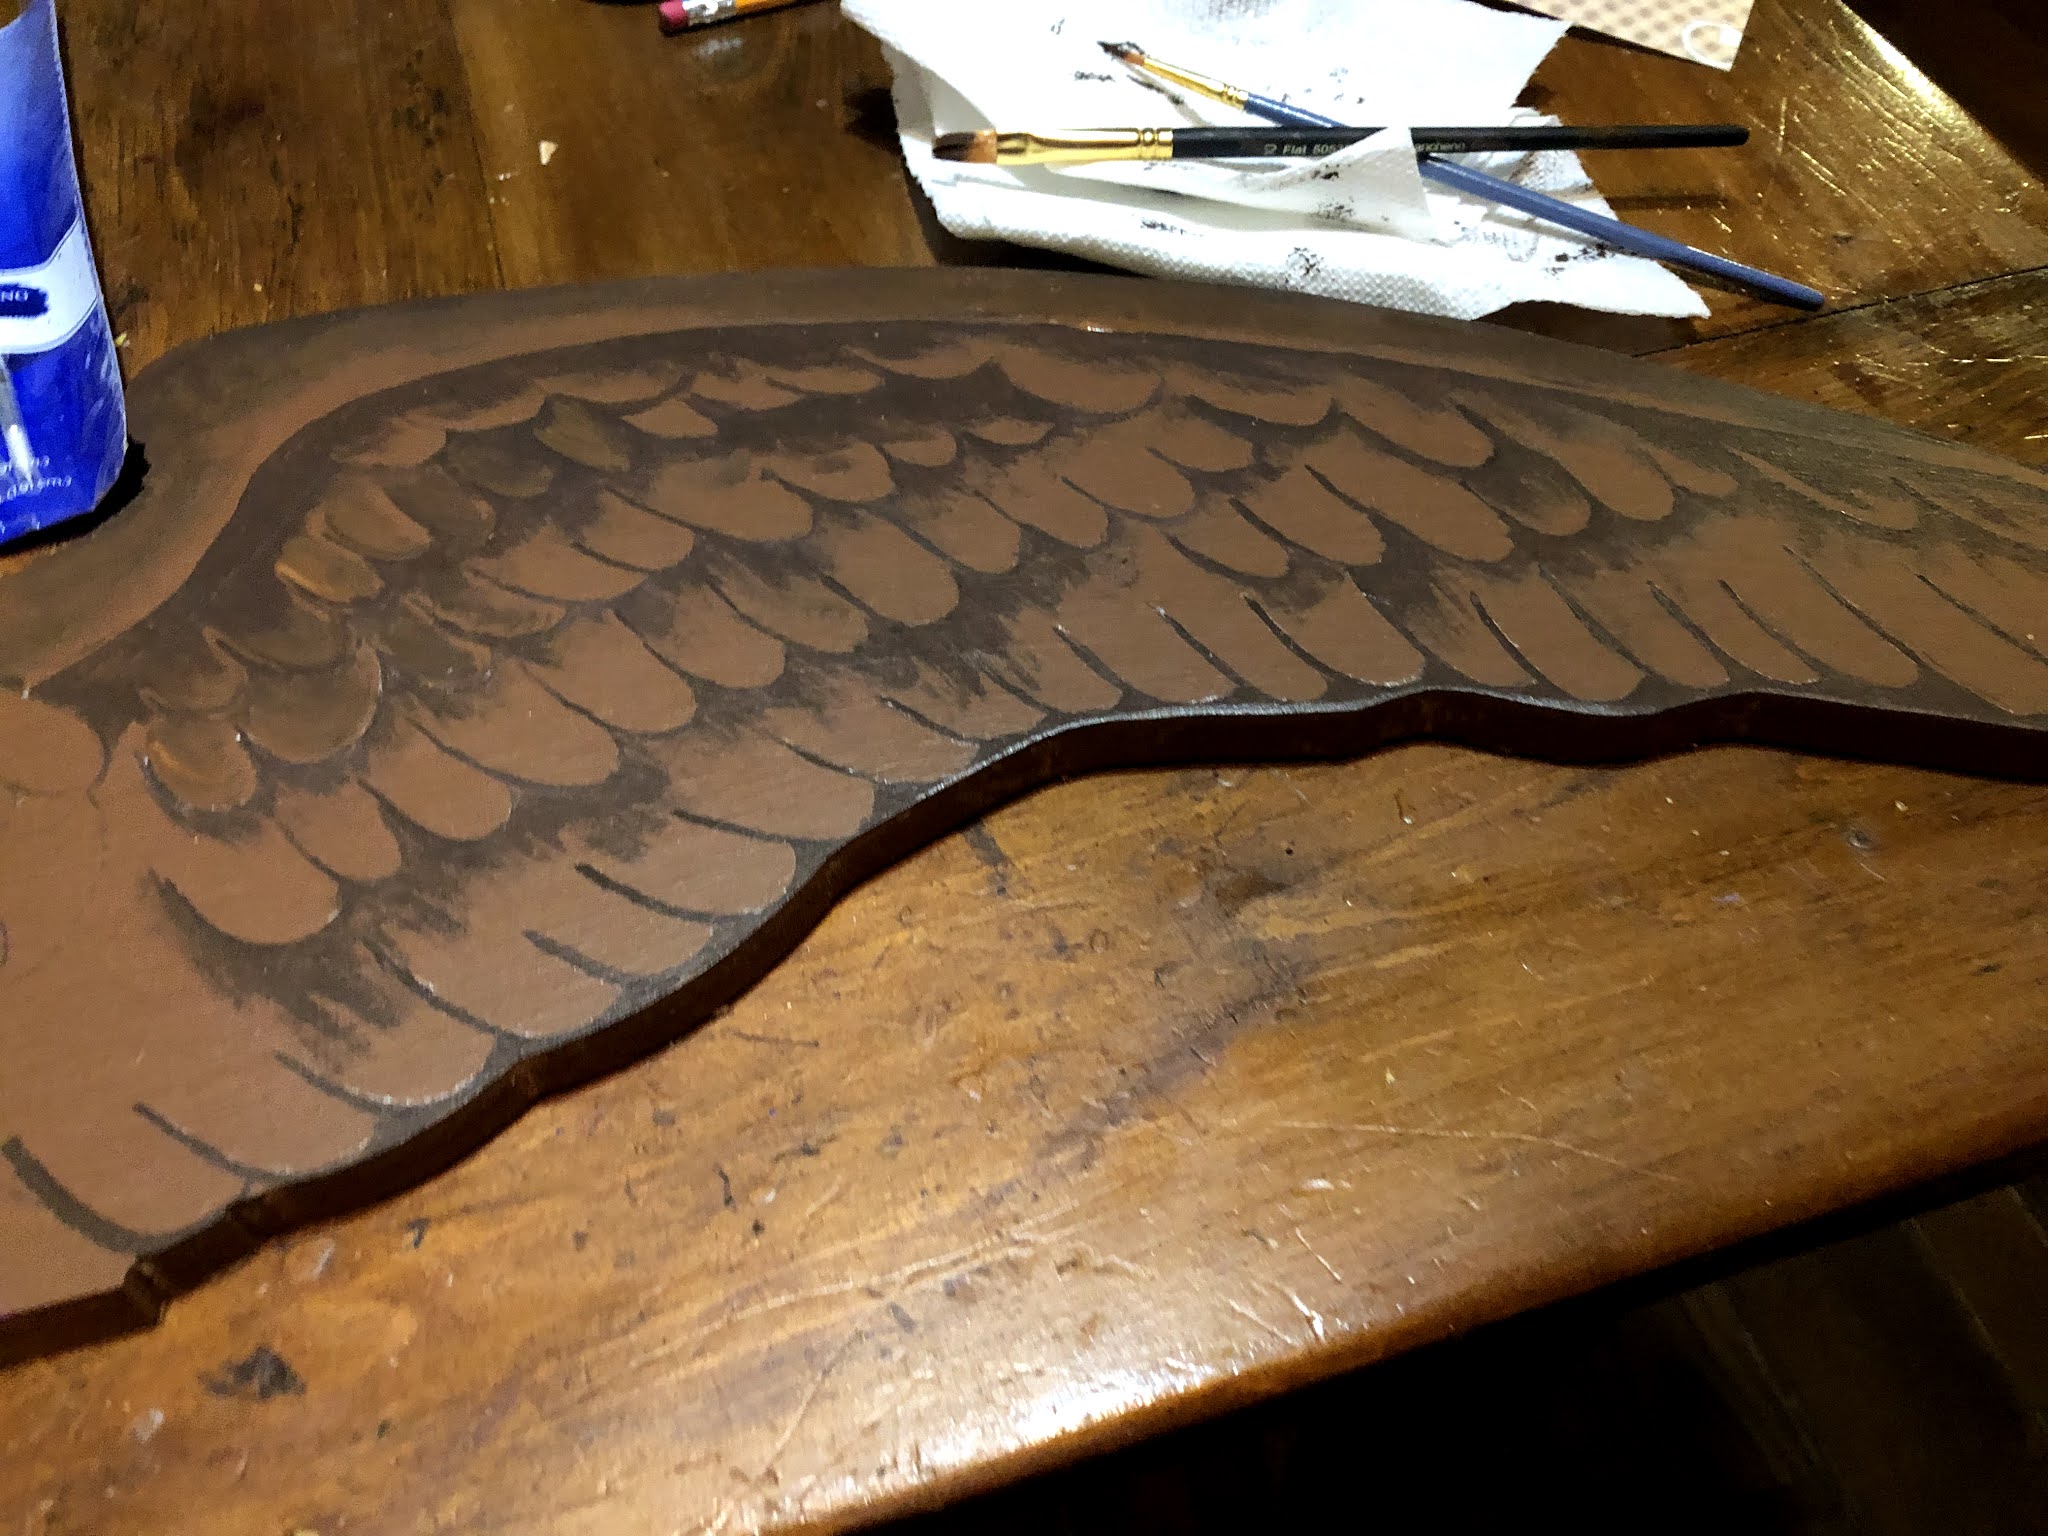
Burn wires are easy to make and use, and can add a great design detail to woodturning projects.

Supplies and equipment that you'll need:
- Proxxon Bench Drill Press TBM 115
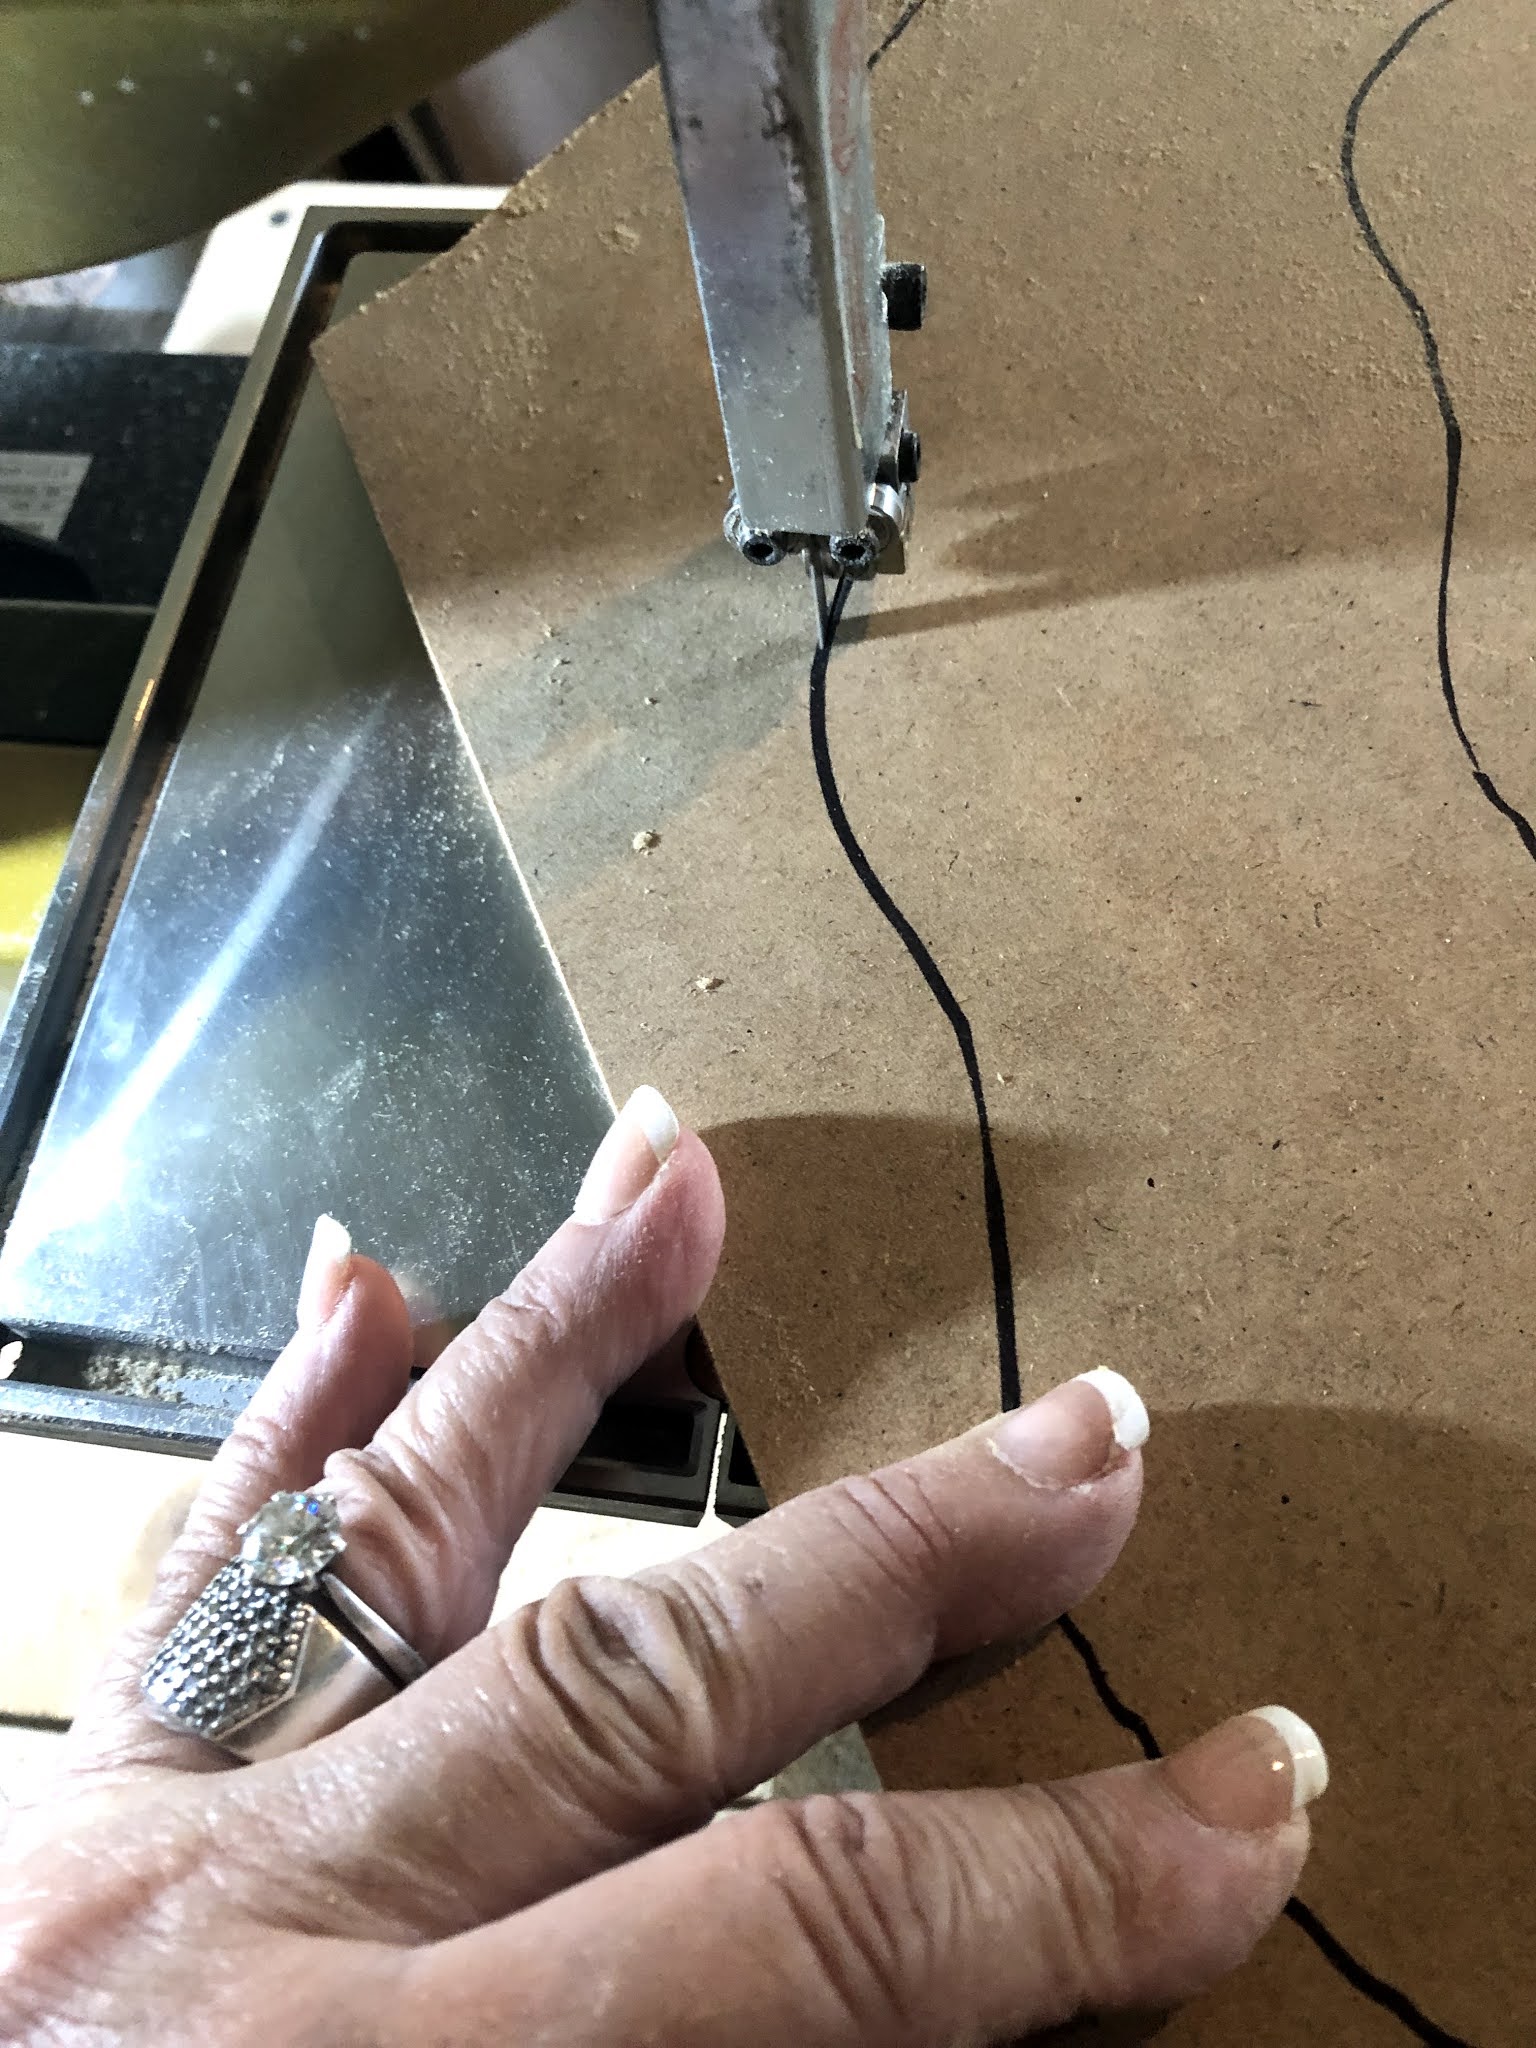
- Proxxon MICRO Bandsaw MBS/E
- Scrap wood or dowel rod
- Variety of wire
Here's how to make a Burn Wire
- You'll need one length of wire 12" to 15" long, and two handles.
- Using the bandsaw, cut two scraps piece of wood each measuring about 3½" long x 2" high x 1" thick for the handles. I'm using a 5/8" dowel rod into two 3½" lengths.
- Measure and mark the center point. Use the bench drill press to drill a hole for the wire at the mark.

- Feed the wire through the hole.

- Twist the wire to secure it in place. Repeat with the second handle.
- Here's the finished burn wire.


You can use a variety of objects for handles. I've used large buttons, and secured the wire in place with jewelry crimps. Different thicknesses of wire will give different results. Any wire will work. Experiment with wires and handles. Be aware that with much use, the wires may break.
How to use the burn wire:
- Turn a swallow groove on your piece with the point of a skew tool or parting tool. The size of the groove should match the size of the burn wire.
- While your piece is mounted on the lathe and the lathe if turned off, pass one handle under the work.

- Align the wire in the appropriate groove, and gently pull on the handles to snug the wire against the piece.
- Turn on the lathe, still maintaining tension on the burn wire. The friction from the wire against the wood "burns" a ring into the wood. Stop when it begins to smoke.

 |
| Carole |