
Today I'll be showing you how I made this eagle wall hanging. This is Part 1.
Supplies:
Proxxon MICRO-Bandsaw MBS 115/E
Proxxon Disc Sander TSG 250/E
Proxxon Jig Saw
Proxxon Delta Sander
MDF 1/2"
Plaid Paint assorted colors
Hellmsman Spar Varnish
2 Small Eye Hooks
Twine
Picture Hanger (2)
I'm using 1/2" MDF simply because I have it on hand. Normally I would use birch plywood for something like this but wood is very expensive right now. MDF should not be used outside. I'm eventually going to put this on my covered porch so I'll be covering it with a Spar Varnish. I drew my pattern on the MDF.


Using the MICRO bandsaw I cut the eagle out. Some times due to the size of the throat on the bandsaw the pattern may need to be drawn on both sides of the wood to get into tight areas.

Once it is cut out I used the Disc Sander TSG 250/E to smooth edges and the Delta Sander for tight spots.

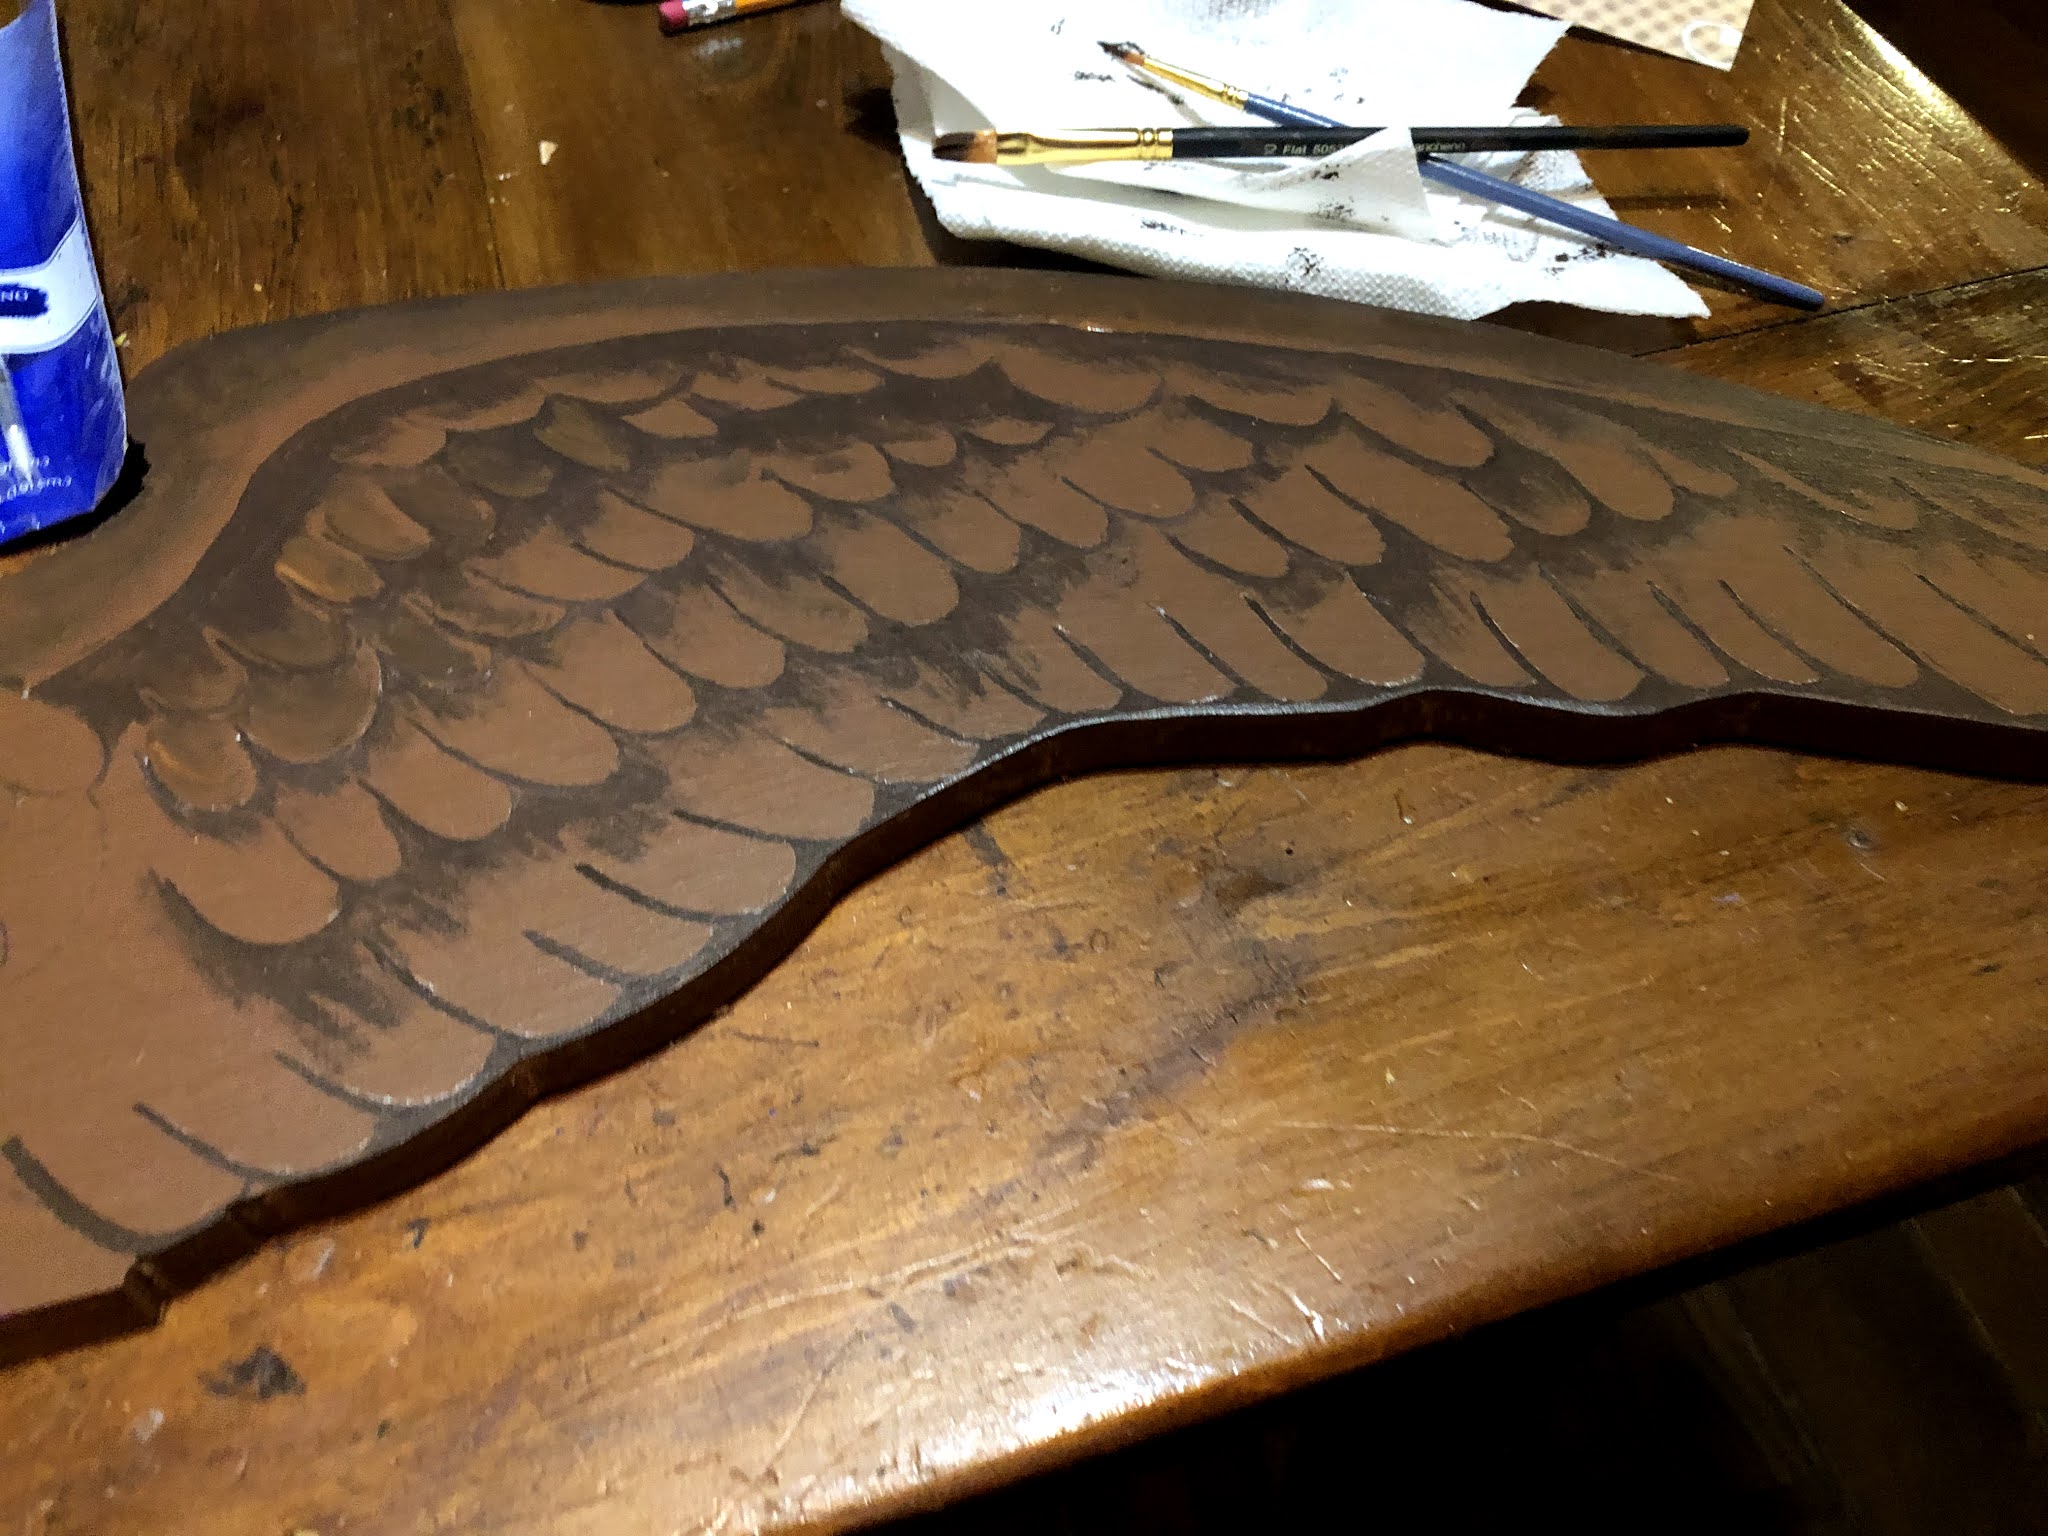
Now I'm ready to paint. I base coated the eagle with A medium brown Plaid Paint and let dry. I then drew in the details of the eagle with a pencil. I then painted in the wings, legs and eagle head with multiple colors of Plaid Paint. Also painting all the edges with matching colors.

Next I cut the wood that looks like a branch under the eagle that will be attached to the bottom using the Micro bandsaw. I lined the branch up under the eagle and screwed the two pieces together.


This is part one. Next in part two I'll be showing how I made the bunting. Thanks for following along with me... :-) Colleen
.
No comments:
Post a Comment