
This will be the directions for making the bunting that hangs below the eagle. For supplies you can refer to Part One.
I drew the pattern for the bunting then transferred it to the MDF.


Due to the size of this sheet of MDF I needed to cut off some excess before I could cut it out with the Proxxon MICRO bandsaw. For this I used the Proxxon Micro Jig Saw.


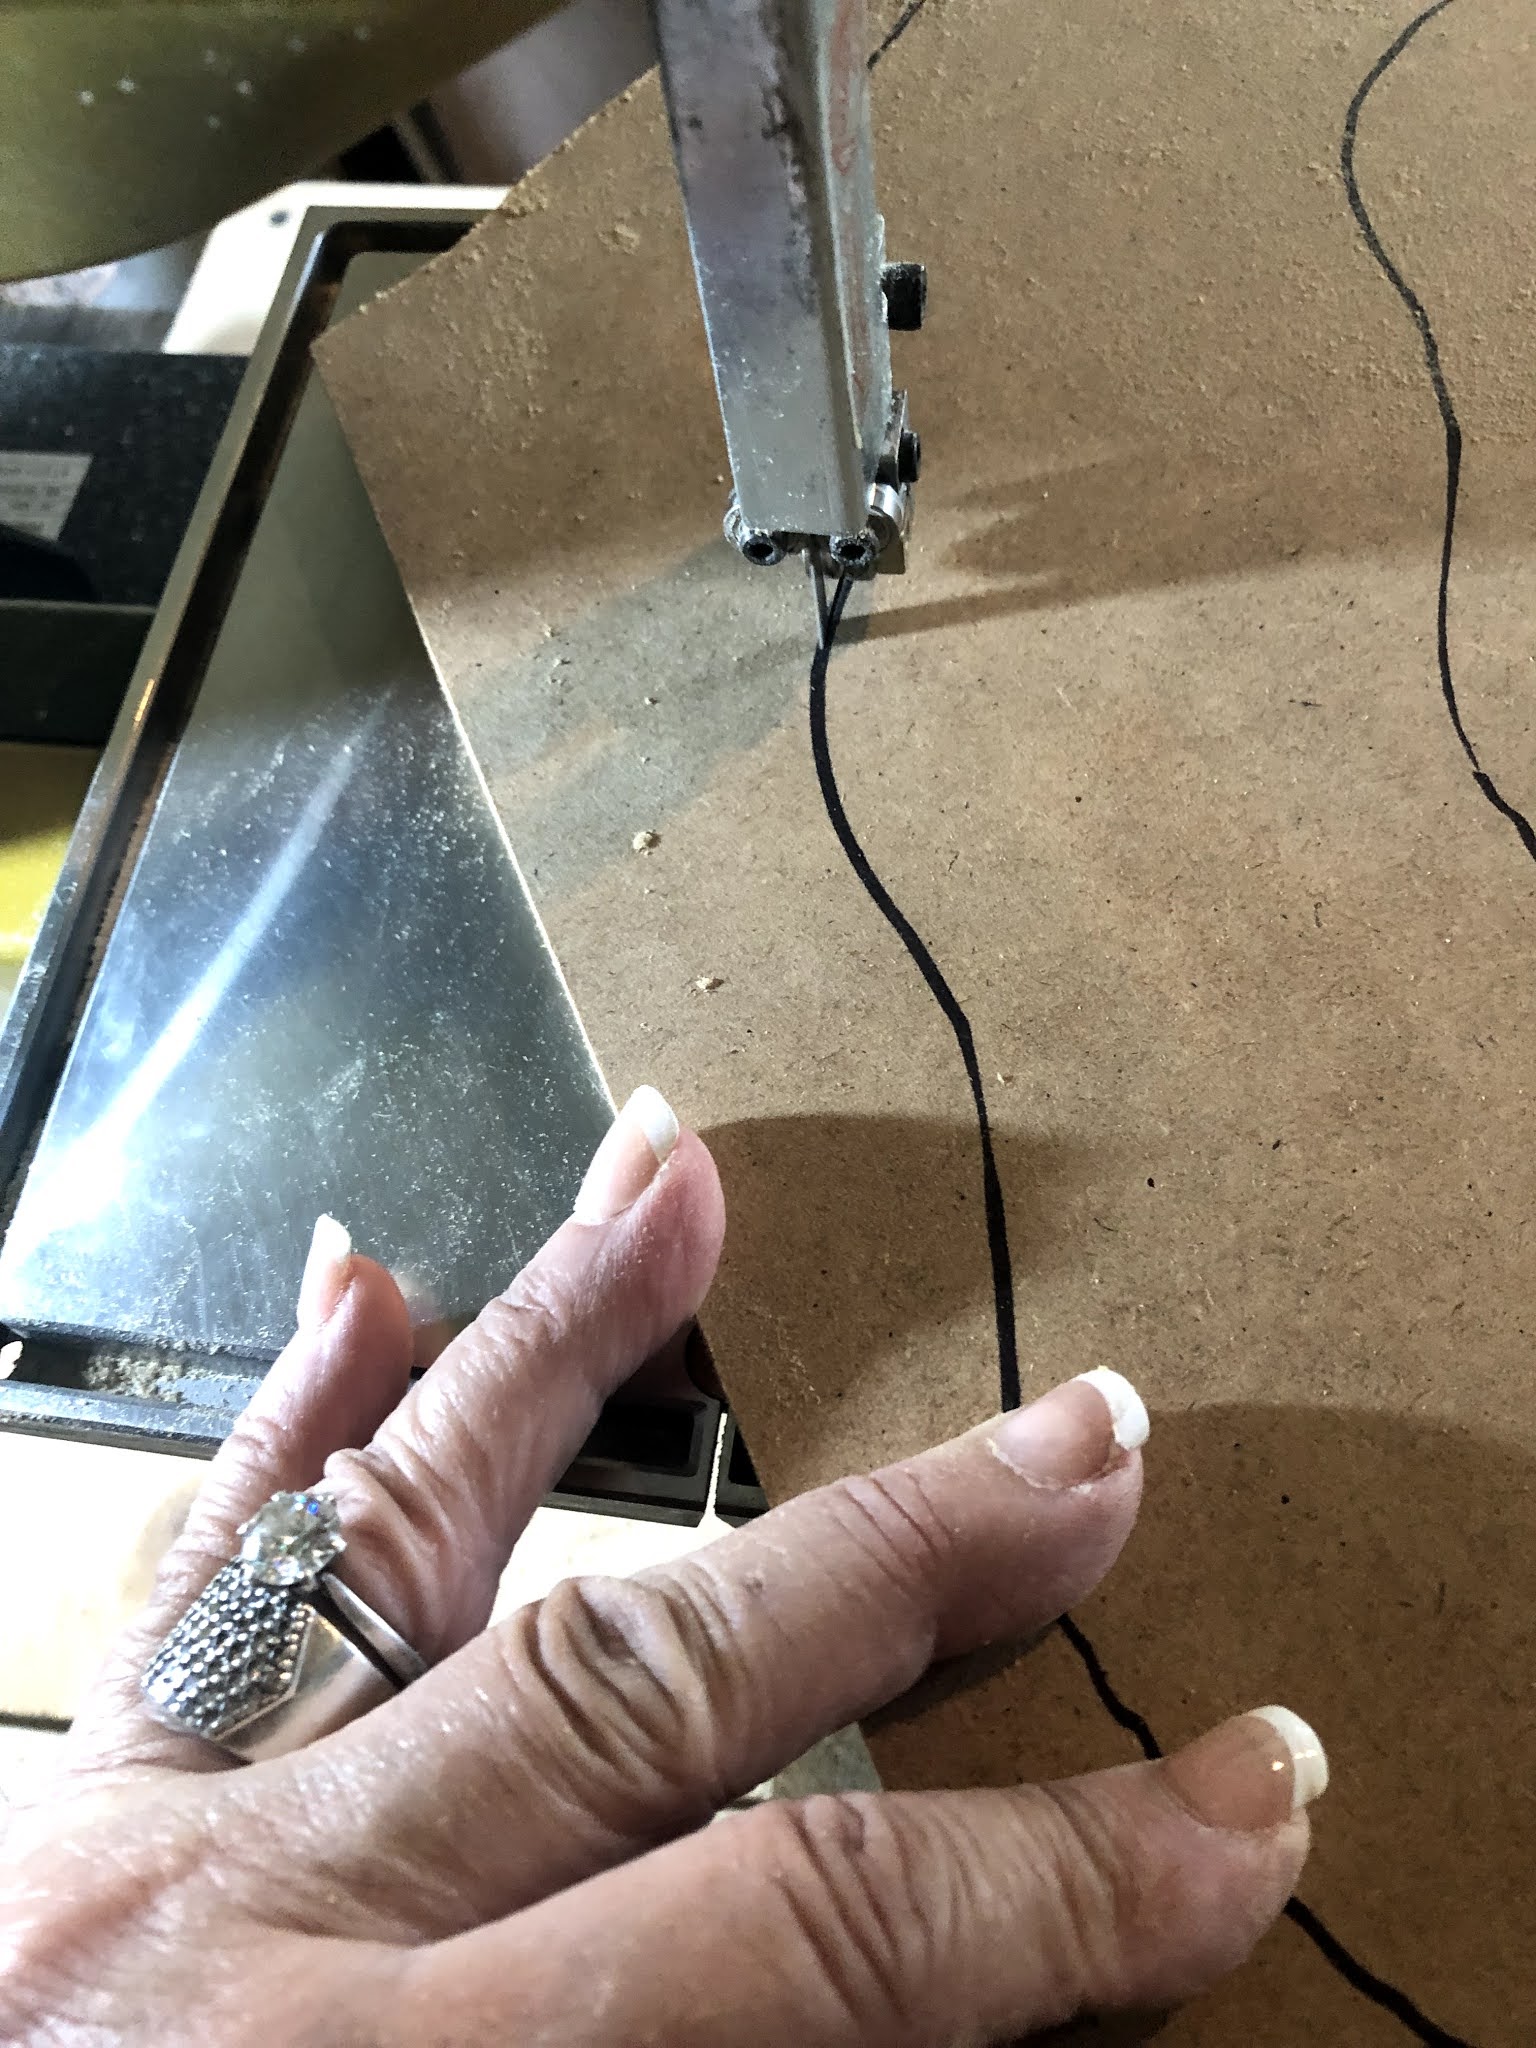
Now with a lot of the excess wood eliminated I was able to finish cutting out the bunting with the Proxxon MICRO Bandsaw.

Using red, white and blue Plaid paint I painted the stripes and stars. Let dry


Now is kind of where the magic happens. Using scrap paper and black spray paint I made it look like it was ruffled. Finding the center spot at the top make a mark. Then using two sheets of paper cover all the paint except for a small wedge coming from that center mark. LIGHTLY SPRAY with the black spray paint. Move the paper around from the center point out and lightly spray wedges. I gives the illusion of it being ruffled. Let dry.

I screwed two small eye screws into the top of the bunting. I took twine and wrapped twice around the eagles branch going through the eye screws to hang the bunting. I coated both pieces with the varnish (back, front and all edges). I also tapped in two picture hangers behind the eagles wings for hanging.

Hope you enjoyed my wall hanging! Thanks for following along with me :-)...Colleen
Thank you Proxxon!
No comments:
Post a Comment