Friday, July 28, 2023

"New Sherriff In Town" Bourbon and Cigar Tray


"New Sherriff In Town"


Whiskey and Bourbon Tray

By Sherri Welser

With Bourbon and cigars  being all the rage these days I thought it would be fun to create a tray for both and make it a unique "Vintage Style" too. I started with Bourbon barrel staves and left them rough and distressed looking .If you create the glass hole where the bung hole is it is much easier to create the resting place for the glass.


I used the Delta Sander OZI/E and  HSS plunge saw blades to make the indentation in the center for the  bourbon glass 


I then took the same tool and  switched out the head .. added the sandpaper ( love the convivence of  just adhering the pad to the head and it sticks with out any fuss! ( see below)


I used the Belts Sander BS/E to create the shape of the cigar so it can rest on the tray.


  I wanted to add a fun "Western  element " so I added the Sheriffs badge for  the  space under the glass. The cut out shape behind the badge was another fun element as I carved the moon.. So the moon sits behind the star shaped sheriffs badge !
The edges of the corners have an interesting metal tip which I glued in place
The date on there was already stamped on the barrel. I added the fun element  of a Jack Daniels stencil which I used a black paint to created the look of it being stamped on.


I hope you have enjoyed this unique project and have fun with it .. making it your own! Proxxon tools are amazing .. they fit beautifully in your hand and effective at their job while being  user friendly!

Sunday, July 16, 2023

How to Make an Adorable Wooden Floss Horse Using Proxxon MICROMOT Tools

This sweet embroidery floss horse keeps your floss organized and untangled. Use the downloadable pattern, and follow the tutorial to make your own.


Here are the supplies and equipment that you'll need:

  1. Mount the pattern for the horse on wood blank. Cover one side of the blank with painter's tape. Mist the back side of the pattern with spray adhesive, and mount on the taped paint stir stick.  The painter's tape makes removal of the pattern easy without leaving any sticky residue.

  2. Cut out the horse using the bandsaw or scroll saw.

  3. Use the disc sander to round the bottom corner.

  4. Sand the edges using the Delta sander. I have my sander mounted in the Precision Vice FMZso that both hands are free.

  5. Prepare to drill the holes for the floss. Load a ¼" bit into the drill press. Line up the holes for drilling using the adjustable fence. Place a length of painter's tape on the back side of the horse to help reduce tear-out. Use a piece of waste wood under the horse, also to help reduce tear-out.

  6. Drill each of the holes using the drill press. Keep the shape snug against the adjustable fence so the holes are equally spaced from the edge.

  7. Remove the pattern and painter's tape. Do any final sanding, as necessary.
  8. Add the eye. There is a pattern included that can be cut from vinyl, or you can draw a free-hand eye with permanent marker or paint.

  9. Thread the floss through the holes and secure with a lark's head knot.

  10. If you're not an embroiderer consider trimming the mane and gluing a magnet on the back for a colorful frig decoration.

Carole

Sunday, July 9, 2023

How to make a travel size art easel

 Hi folks.   Hope you had a good 4th and are re-energized and ready to take on some new projects.  I got a good one today.   We are going to make a simple art easel that is compact and light and easy to take with you on those art outings.


This is a nice little easel because it is very light and folds up nicely.  It can easily stand up to travel

First the material list 

First thing I did was to cut my cedar board into 2" slats.  I will use the Proxxon mini table saw to do this and these slats will be used to make the easel.

Now I want to cut them to size.
Here is a cutting list.
 

Well, that is a bit messy.  Lets see if I can make you a readable list
Remember with few exceptions these are all cut from the 2" slats

10 "    (1)
12:   (2)
14"    (2)  
11 1/2"   (3)
7 1/2'   (2)
3/8" DOWEL    cut 1 piece 15"    and 2 pieces 2" 


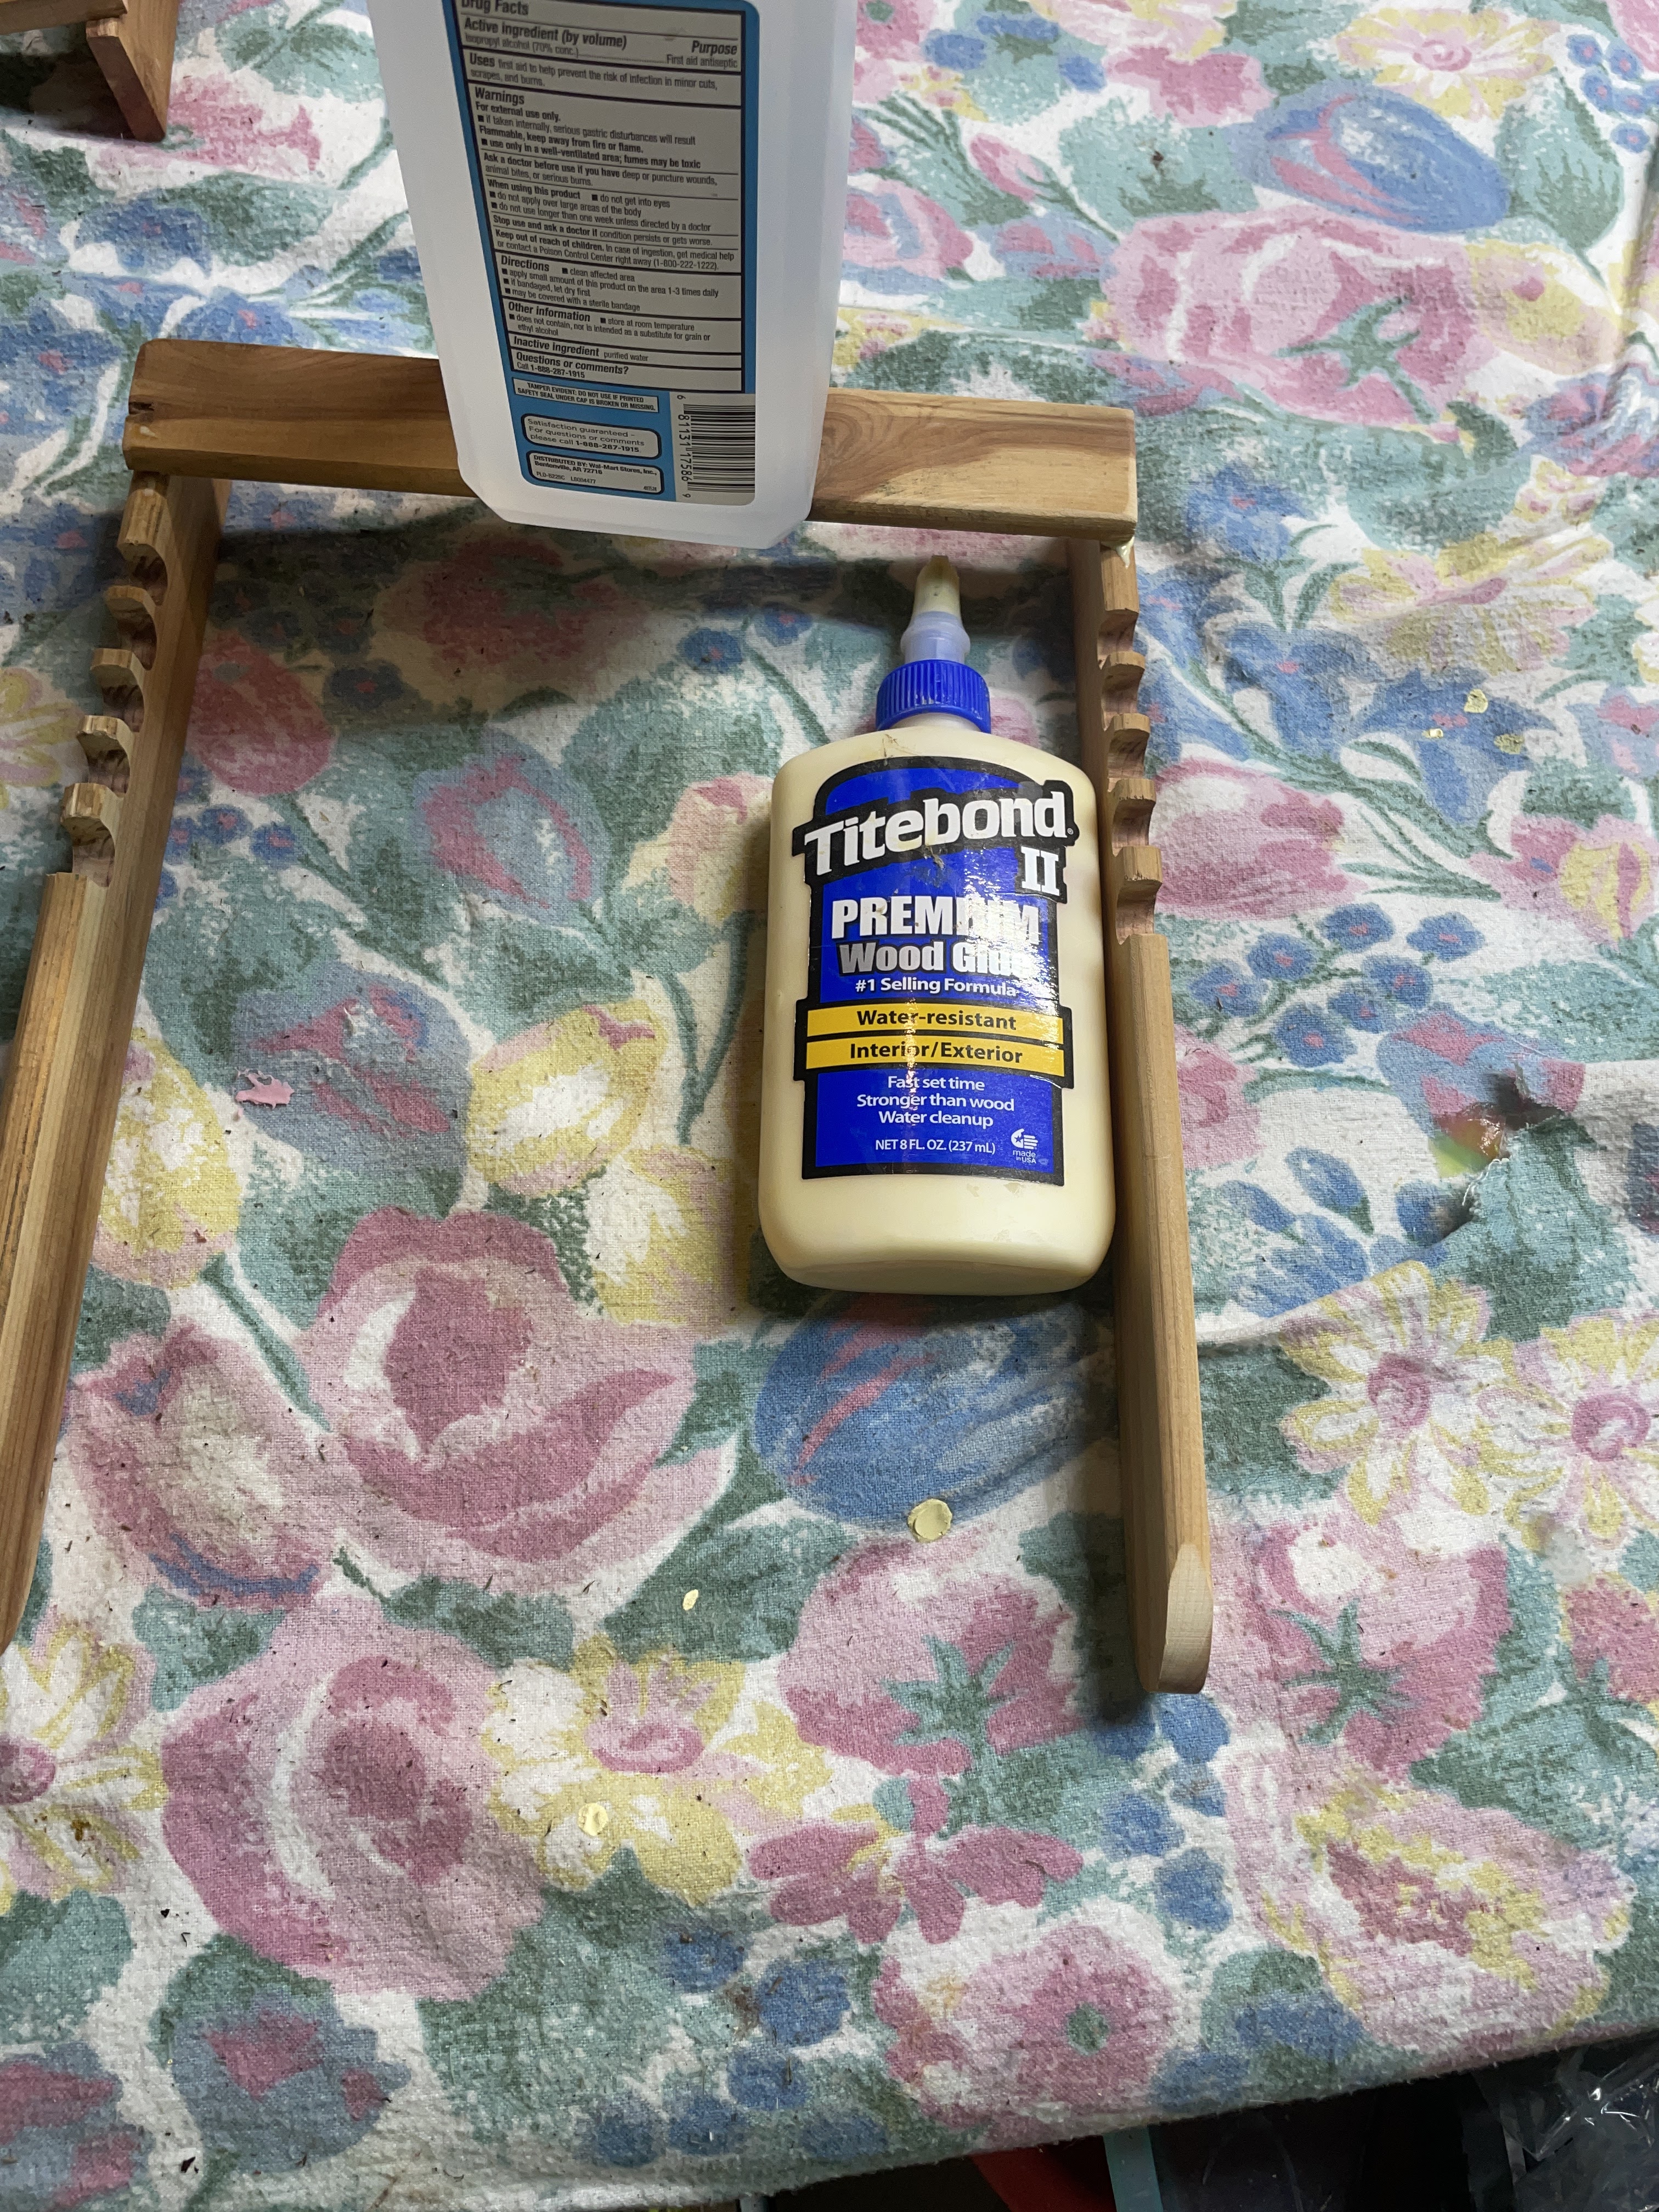
Now let glue the 10"piece to the  2     12"   pierces
Here is another schematic.  
I think it might be easier to show pictures so you can put it together
 The bottom piece has grooves cut into the sides up by where the cross bar is.  I taped the two sides together then cut these on the Proxxon scroll saw so they would line up together,


Below is the bottom piece (except in this photo the groove are yet done)  Drill  holes about 1: from the end of the pieces opposite the cross bar.  This is where the top will connect with the bottom later.


The two small pieces also need a 3/8" hole at each end..  One end will attach to the front piece with a screw and wing nut.  The other side will have the long dowel spanning to the small piece on the other side.  

This is the top piece .  The 2 side pieces stand up and the 2 cross bars span across them.  The side piece needs a 3/8{ holes in the center of exch side piece.  This is where the small pieces attach with wing nuts. 


Note the small groove towards the top on the sides.  This should line up with the dowel when you fold the easel.

Put the top to the bottom with a short dowel on either side capped so it wont fall out but can still move freely.

The cap is a slightly larger piece of dowel which is cut short and hollowed out just enough to fit over the dowel end.  I drilled it out using the Proxxon vise apparatus to hold it steady.


Now add the 3 cross bars and glue them down.   The bottom cross member will need a tray.  This is the 4th 12" piece that was cut.  It is glued perpendicular to the last slat.  This will hold the canvas.

Your easel is now done.   Trust me it is way more easy to make that it was for me to try and explain.
This easel can be carried holding onto to the long dowl and it should stay folded flat.

I finished it with a good sanding using the Proxxon OZI/E delta sander. 


 Then I sealed it with some leftover triple thick solution.  

Thanks for visiting.  Next time I will try to be a little more clear.  


Carol

Saturday, July 1, 2023

No place like home with Proxxon tools


 "No Place Like Home"

I always have loved creating houses.. adding fun embellishments really custom makes your own ! Adding sweet quotes, metal embellishments, jewelry components ,papers and paints all helps to make them feel personal ! 

Supplies

  • Wooden houses .. I had mine cut out with a scroll saw and then used Proxxon belt sander to smooth the rough edges
  • Collage papers
  • Metal embellishments
  • Jewelry components
  • Washi tape in black with glitter and one with a saying
  • Paint
  • Ink pad in deep blue 
  • Paint
  • Paper quotes 
  • E6000 glue
  • Gel medium 
Now that you have your supplies grab you wooden house and sand down the rough edges with the belt sander till smooth . Adhere the collage papers/ paper quotes where you would like with the gel medium. Let dry  and paint the the other house and let dry. You can now start building the house with all of your supplies ! Use your imagination and come up with fun and unique supplies and uses !


Enjoy creating your home sweet home using Proxxon Tools !