Saturday, October 31, 2020

Make Your Own Dollhouse Furniture with Proxxon Tools


Working on my first dollhouse furniture using craft sticks.  I am excited to give this a go and with my Proxxon tools it will make easy work of it.  

I am building a large dining room table with a rustic farmhouse feel. It is painted,  distressed and has twine wrapped legs with custom wood placemats to match. 


Lets get started...

First cut the ends of the craft sticks with your table saw, lay out your sticks. Take two or three other sticks and glue to the back with Beacon Adhesives Timber Grip adhesive. This will stabilize your table top. 


Once dried, cut down the sides evenly with the table saw.  Then put the edge of the table top at the edge of your workbench. Using the edge as a guide,  sand the edges even. 


Now for the legs  using small dowels,  cut four the same size and sand the rough edges. 


Add Beacons Timber Grip adhesive to the leg and wrap with twine. 


Turn the table top over and add the legs with the same adhesive.


Start painting both bottom and top. Let dry.  Once dry,  sand to give it a distressed look.


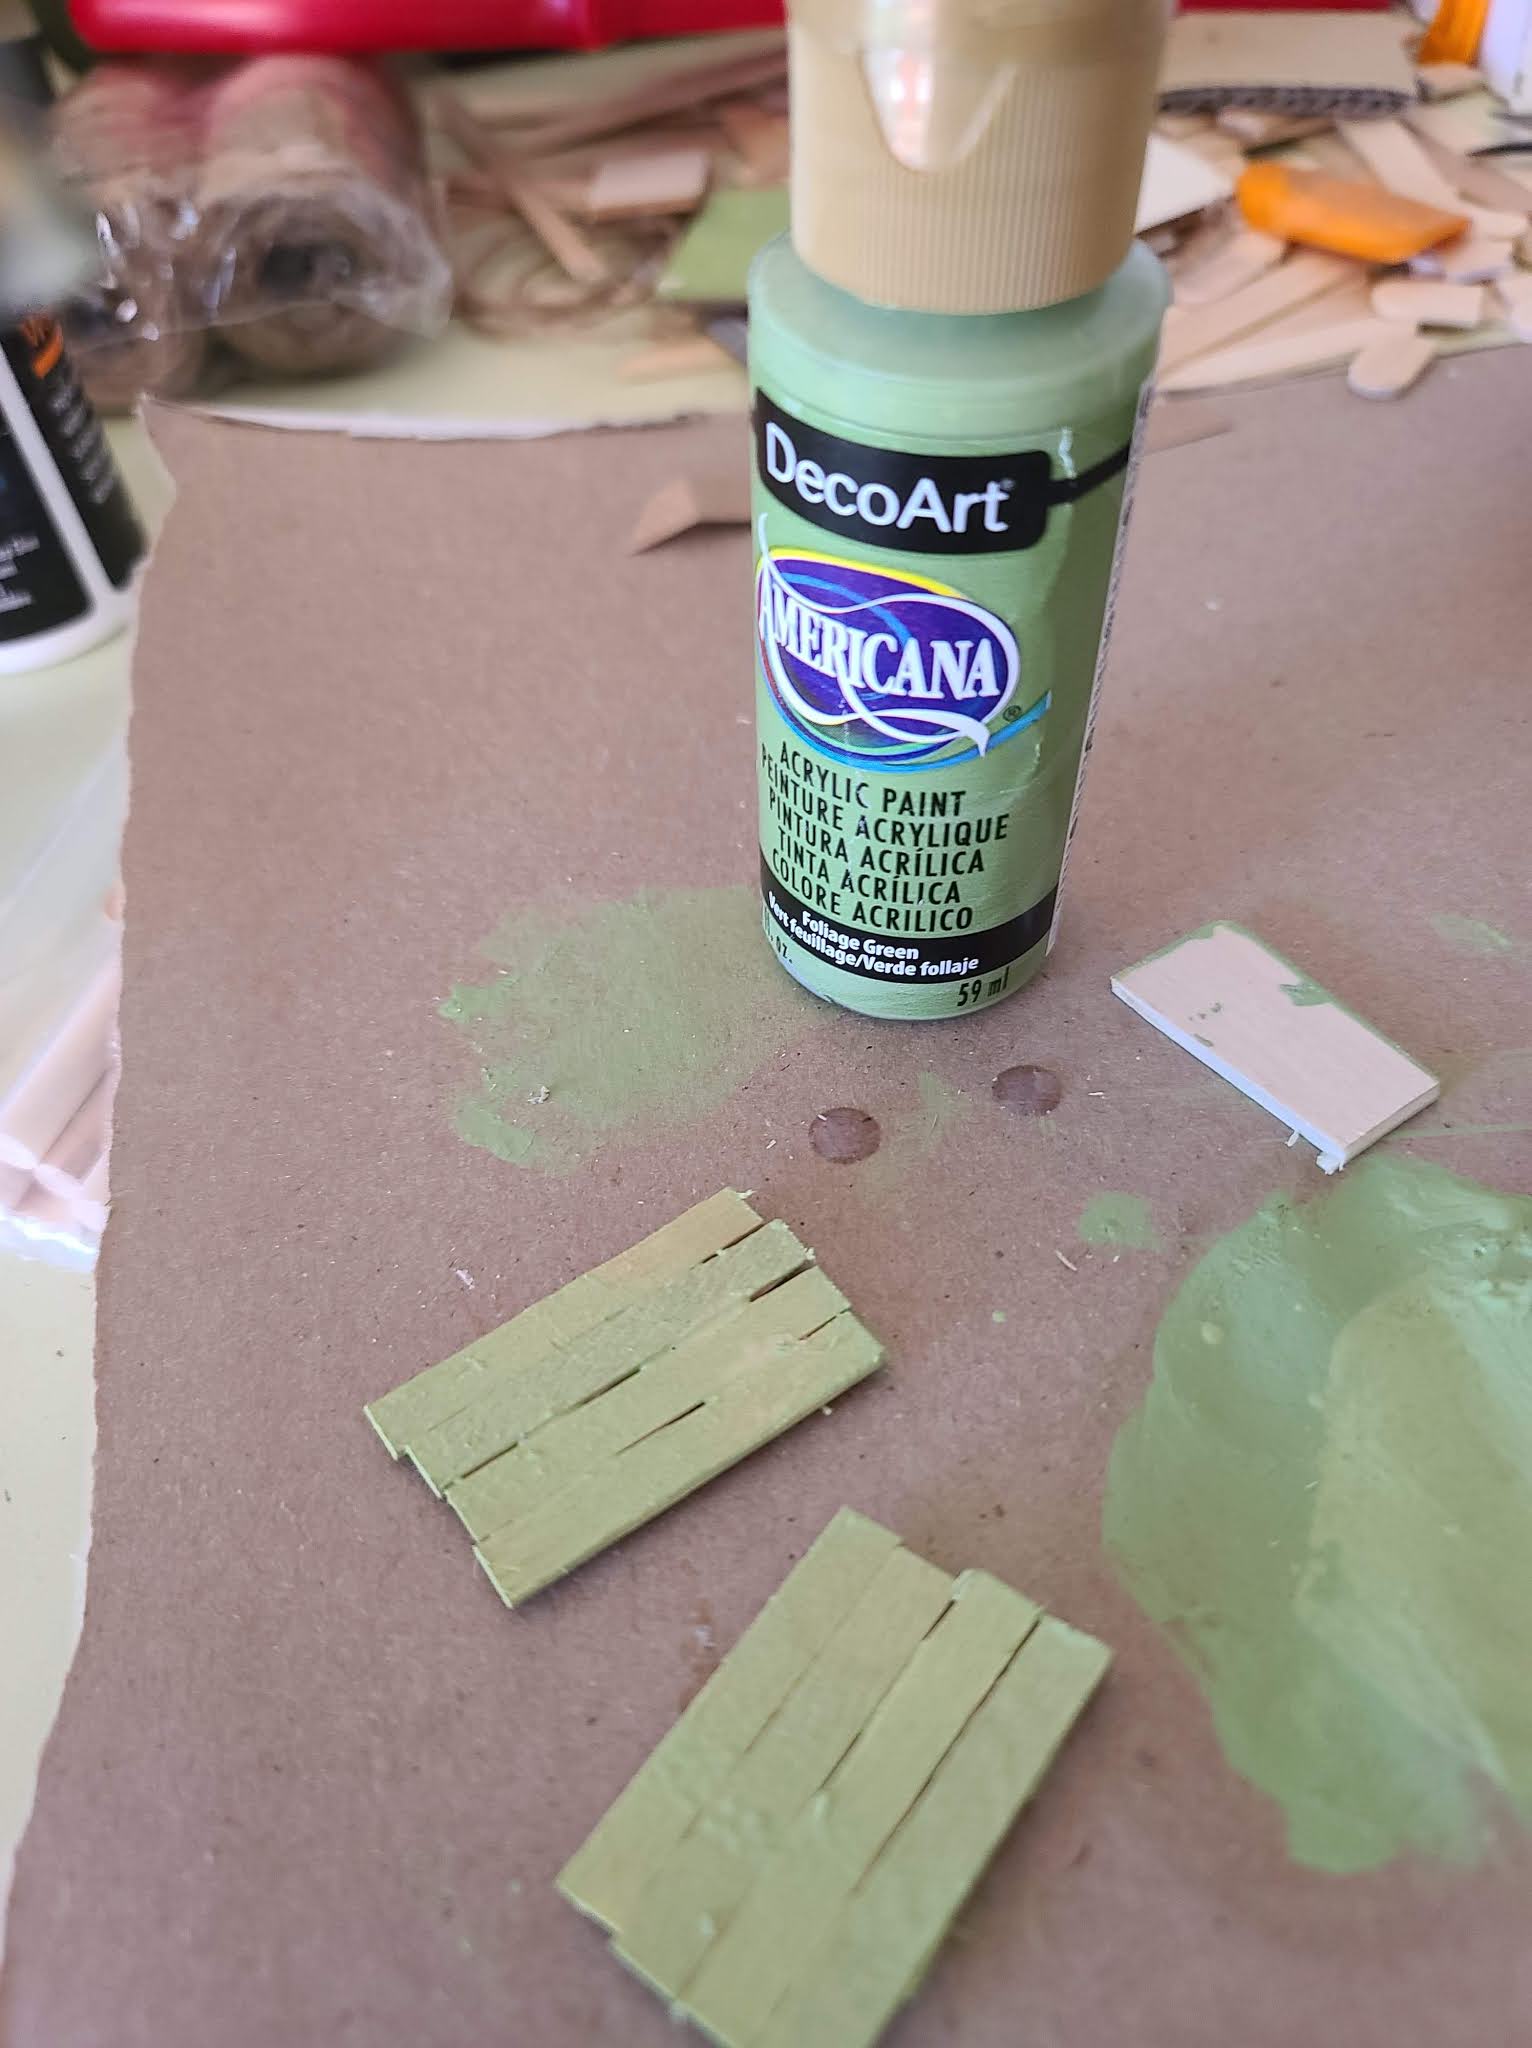
Now to make the placemats. Same principal as the table top on a much smaller scale.  Paint and sand to make uniform and distressed.  


Final touch is the table cloth made from a scrap piece of patterned kraft paper. Cut to size and using Beacons Hobby Coat adhere it to the top of the table and let dry.  


Now to put your table setting together. 


Thank you for stopping by!
Candy Rosenberg aka "A Vintage Girl"
www.AVintageGirl.com


Tuesday, October 20, 2020

How to Create Halloween Decorations

Hi everyone, Steph Ackerman here today showing you how to use Proxxon Tools to create an assortment of Halloween Decorations.


I drew the designs on scraps of plywood.


Using the 2 Piece Scroll Saw I cut each piece.

Once I had all the pieces I wanted, I used the Delta Sander to sand each piece.

I used the Bench Drill Press to drill holes in each piece so I could hang them on a tree.


Next, I used Plaid Paints to add color to each piece.


I left the black cat and white ghost as is, but I decorated the Witch's shoe and the Candy Corn with assorted colors of Robin's Nest Dew Drops.


I tied twine to each piece and then hung them on a tree.  


I did use scraps to create these ornaments, but just think how fun they'd be in a variety of sizes, perhaps standing outside your door or fence.

Thanks for stopping by.

Steph


Sunday, October 18, 2020

How to Make an Over-the-Door Hanger

Who doesn't need a little extra hanging space?? This over-the-door hanger is perfect for bathrooms, bedrooms, and closets. I use mine on the laundry room door.

Supplies and Equipment

Instructions

  1. Set the cutting width on the table saw to 3". Secure the longitudinal stop. Cut the plywood into a 3" x 3" square.
  2. Measure and mark a line ¾" from the bottom edge.
  3. Measure and mark holes for hanging pegs 7/8" from each side edge.
  4. Adjust the drill stand to drill at a 30° angle.
  5. Drill the two holes for the hanging pegs.
  6. Sand the surface and edges with the Delta sander, using progressively finer grits of sandpaper.
  7. Use these measurement to calculate the length of the brass strips.
  8. Measure and mark the bends on the brass strip. Drill two holes in the longest section for attaching to the wood piece.
  9. Place the brass strip in the micro-press at the markings and press.
  10. Glue the pegs in place.
  11. Allow the pegs to slightly protrude on the back side of the hanger. When the glue is dry they can be sanded flush.
  12. Stain the wood with FolkArt Ultra Dye.
  13. If desired, you can add a protective backing to the hanger to protect the door from scratches.


Carole

Thursday, October 15, 2020

How to make an activated turtle pull toy

 Hi everybody.  I feel like it is time to make something for the kiddies. This is fun for me too.   I love making toys.  This was an interesting  project and I think it came out pretty good.  Gave me a chance to use a bunch of different tools and skills.   We are going to make a turtle with head and tail movements 

Check out this little short video, just to see the movement we are after


Ok playtime is over, let's  get started


Equipment and supplies 

Rounded gourd piece (something that looks like a turtle shell shape)

1/4" plywood piece (big enough to cover the bottom of the turtle shell

thin scrap wood

2 x 2" pine  approx 6"

4 small wood wheels

Wood glue

Proxxon mini jigsaw

Proxxon OZIE delta sander

Proxxon mini bandsaw

Proxxon disc sander

(2) 1/4" dowels 12" long

Plaid paints

Proxxon angle grinder (optional)

drill and drill bits


here is a rough outline of what we are going to do.


First thing to do is to cut the bottom off a gourd.  This is done easily with the Proxxon mini jigsaw.
set this aside for now.


Next draw a rough picture of a turtle head on the 2x2
 piece.   Do the same for the turtle's tail. Cut it out on 
Note how it is drawn on 2 sides.  We are going to cut this out on the Proxxon's mini bandsaw  to give us a rough shape of our head and tail to start with.


Next take the two pieces to the Proxxon disc sander and shape them into your head and tail pieces.


Back to the turtle shell.   Lay it on top of your 1/4" plywood piece and trace an outline on the wood.  Extend your line about 1/2" larger than the gourd "shell"  Then cut it out on the Proxxon mini bandsaw.

Note where you are going to put the head and tail and cut out a semi rounded notch that will fit the turtle's neck and tail.    Do the same on the gourd shell.  Make sure the head and tail will fit and have room to move.


Now for the mechanical part.
Wheels first.  

Drill a hole about half way through the wheel off center  see above.   Hopefully there is already a center hole that goes all the way through.  Make sure your dowel rotates easily in the center hole but is held tight in the offset holes. Cut 2 dowel pieces into 4" pieces.     Drill a generous hole in the turtles neck through which the offset dowel will go through and glue the dowel in the wheel holes.  Make sure the wheels are lined up with the holes in the lowest position.  Do the same for the tail.

Lay your head and tail wheel assemblies on the bottom of the turtle base and mark a square to be cut out that will allow the mechanics to be partially submerged into the body.
Cut out the square using the Proxxon mini jigsaw.


Now take your small pieces of wood you cut out earlier and drill a 1/4" hole where the offset axle will go.  See picture below.  I used tape on the dowel to keep the tail in the middle but really it did not need it.  Note the centered axle is just a short piece of dowel glued into the hole and the wheel spins freely on it.
 

Glue the turtle shell onto the bottom of the turtle with mechanics inside. The raised piece we glued to the bottom goes inside the turtle shell.


Glue some feet on and paint your turtle.  On the picture above I used the proxxon angle grinder to carve a pattern on the turtle shell.  this step of course in optional but fun to try.

I used plaid paints to paint my turtle.  Then I attached a string to make him a pull-toy.  He works good.  His tail and head really get moving.   I think the kids will have some fun with him.👧👨
 
Honestly it wasn't that hard to make.  It took a little patience is all.   Thank you all for visiting.  Thanks to Proxxon, my favorite tool maker!, and Plaid my favorite paint maker  
Catch you next time....  Carol