Thursday, December 31, 2020

How to make a rack for small wood clamps


Hi folks.  Hope you all had a great Christmas.   Now that the New Year is here I always get in the mood to make some improvements.  I guess it comes from the tradition of making those New Year's resolutions.   I  have given up with the exercising more, eating better etc.  Trouble with those is they go on and on and... with no end in sight, I usually give up fairly quickly.  Today I have a firm step towards the vague goal of getting my shop organized  We are going to make a small rack to hold our clamps.  I am going to use Proxxon tools to make a smaller version for our smaller clamps. 

Supplies and Equipment

1" x 2" pine board (length varies according to the number of clamps your are going to put up)   Mine holds 10 clamps and is 16" long.  Plus I need 2 side pieces each 2 12" long so I needed 21"

Scrap wood approx 1/4 -1/2' x (length of your board )
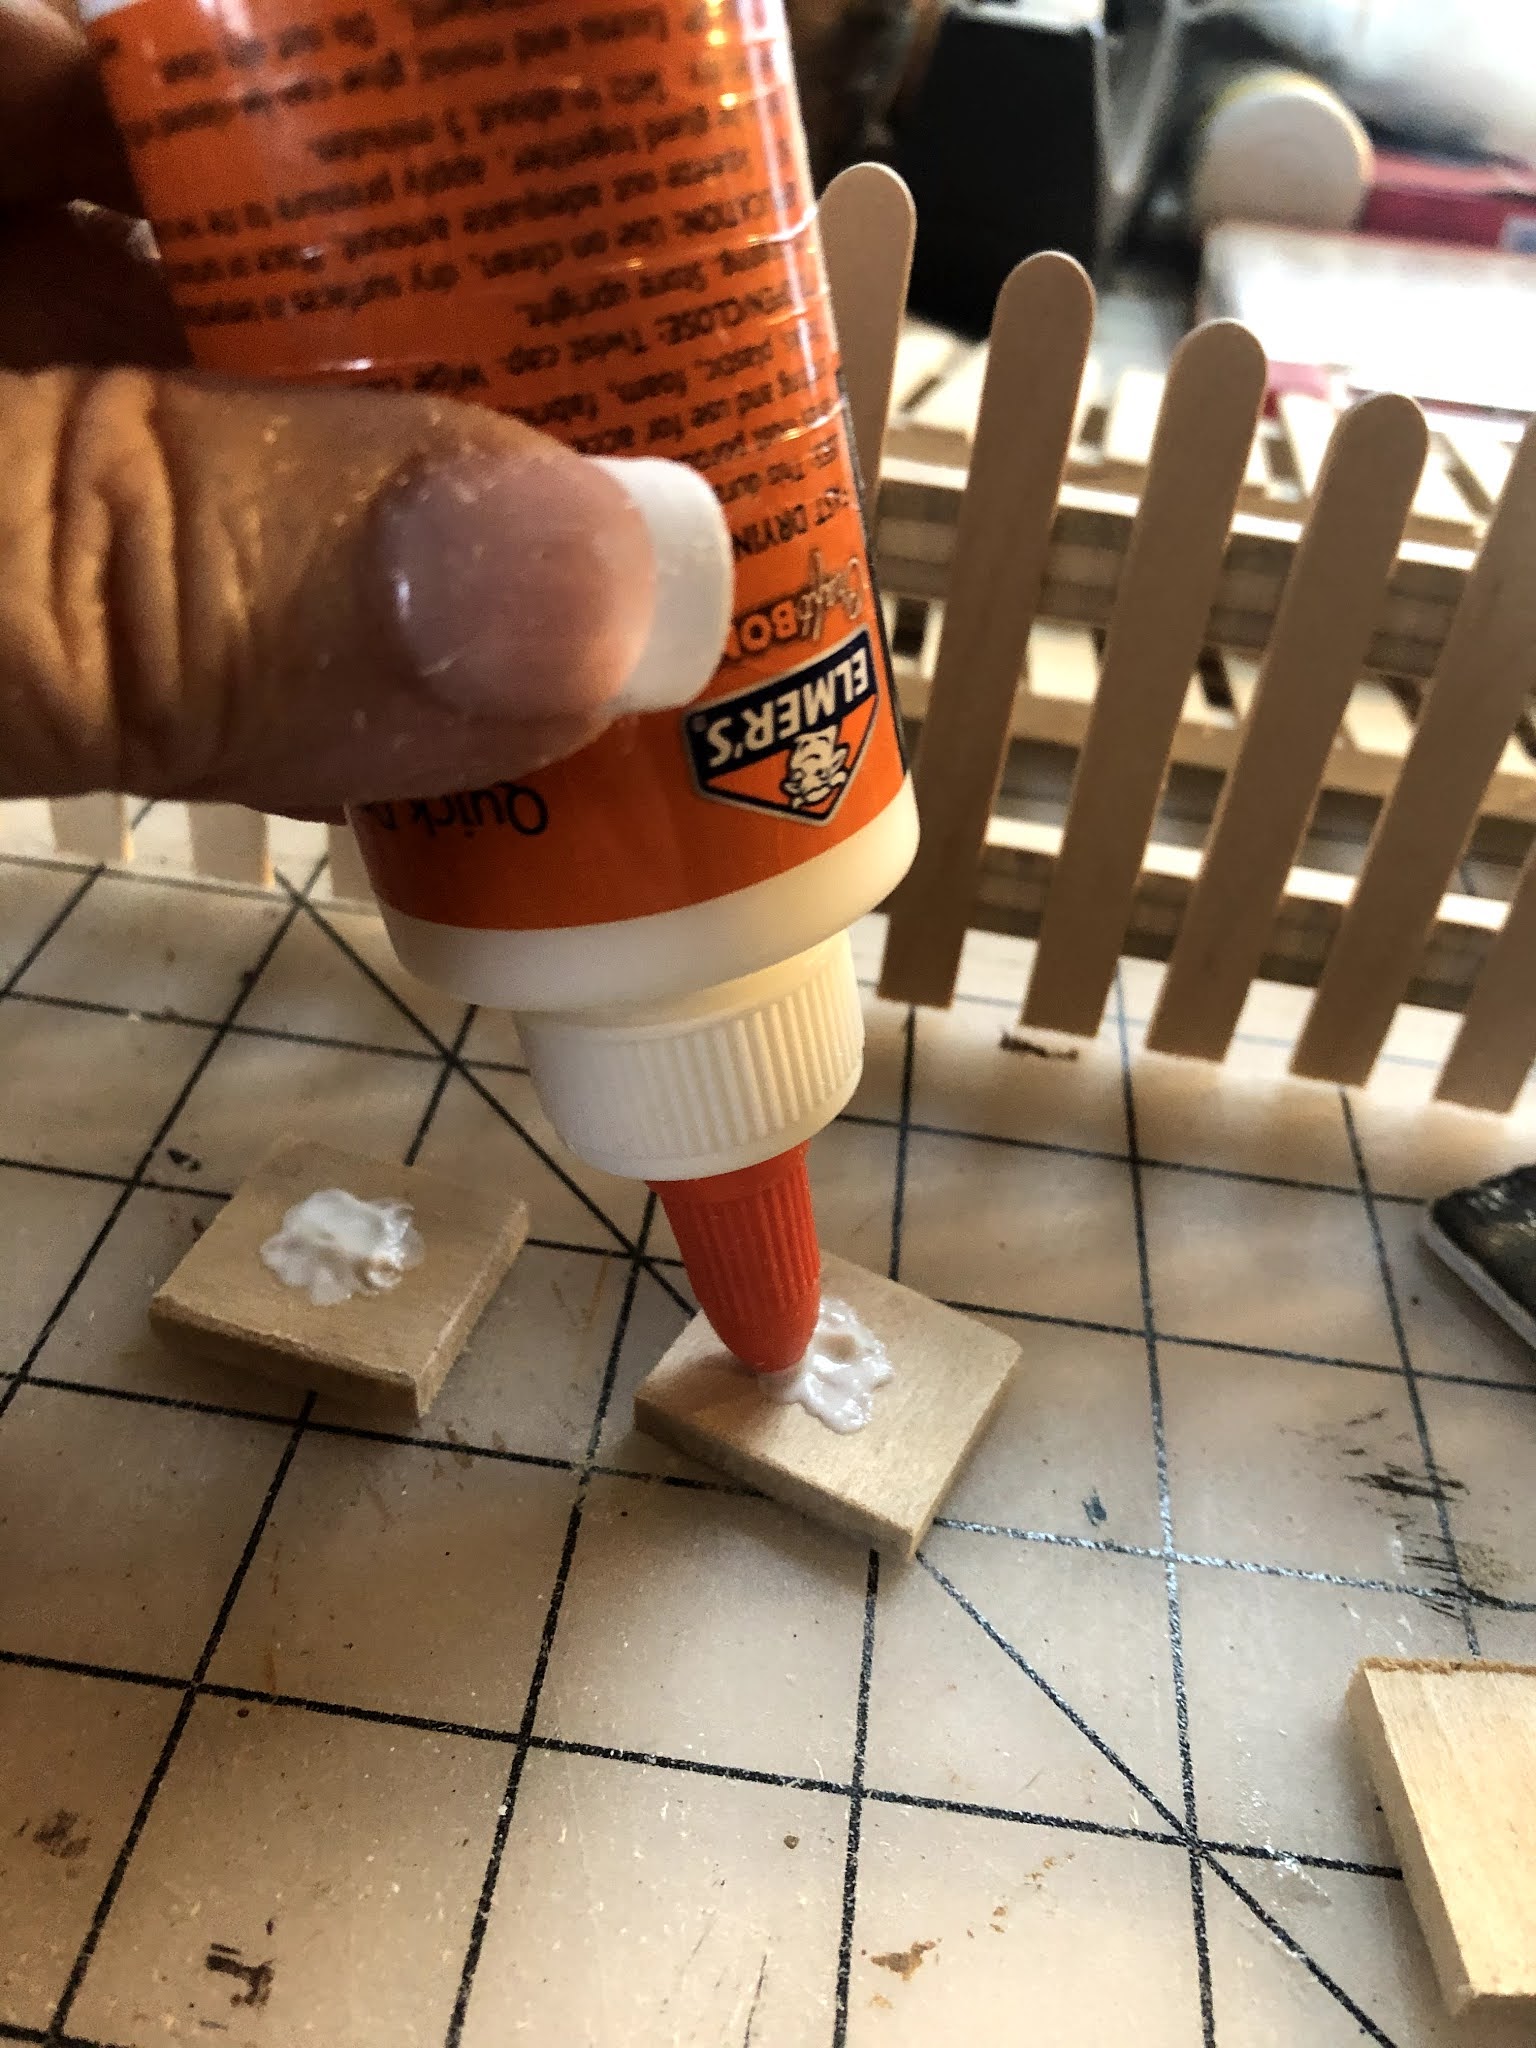
wood glue

small screws and screwdriver

Proxxon mini drill press with small drill bits

Proxxon mini bandsaw

Proxxon mini chop saw


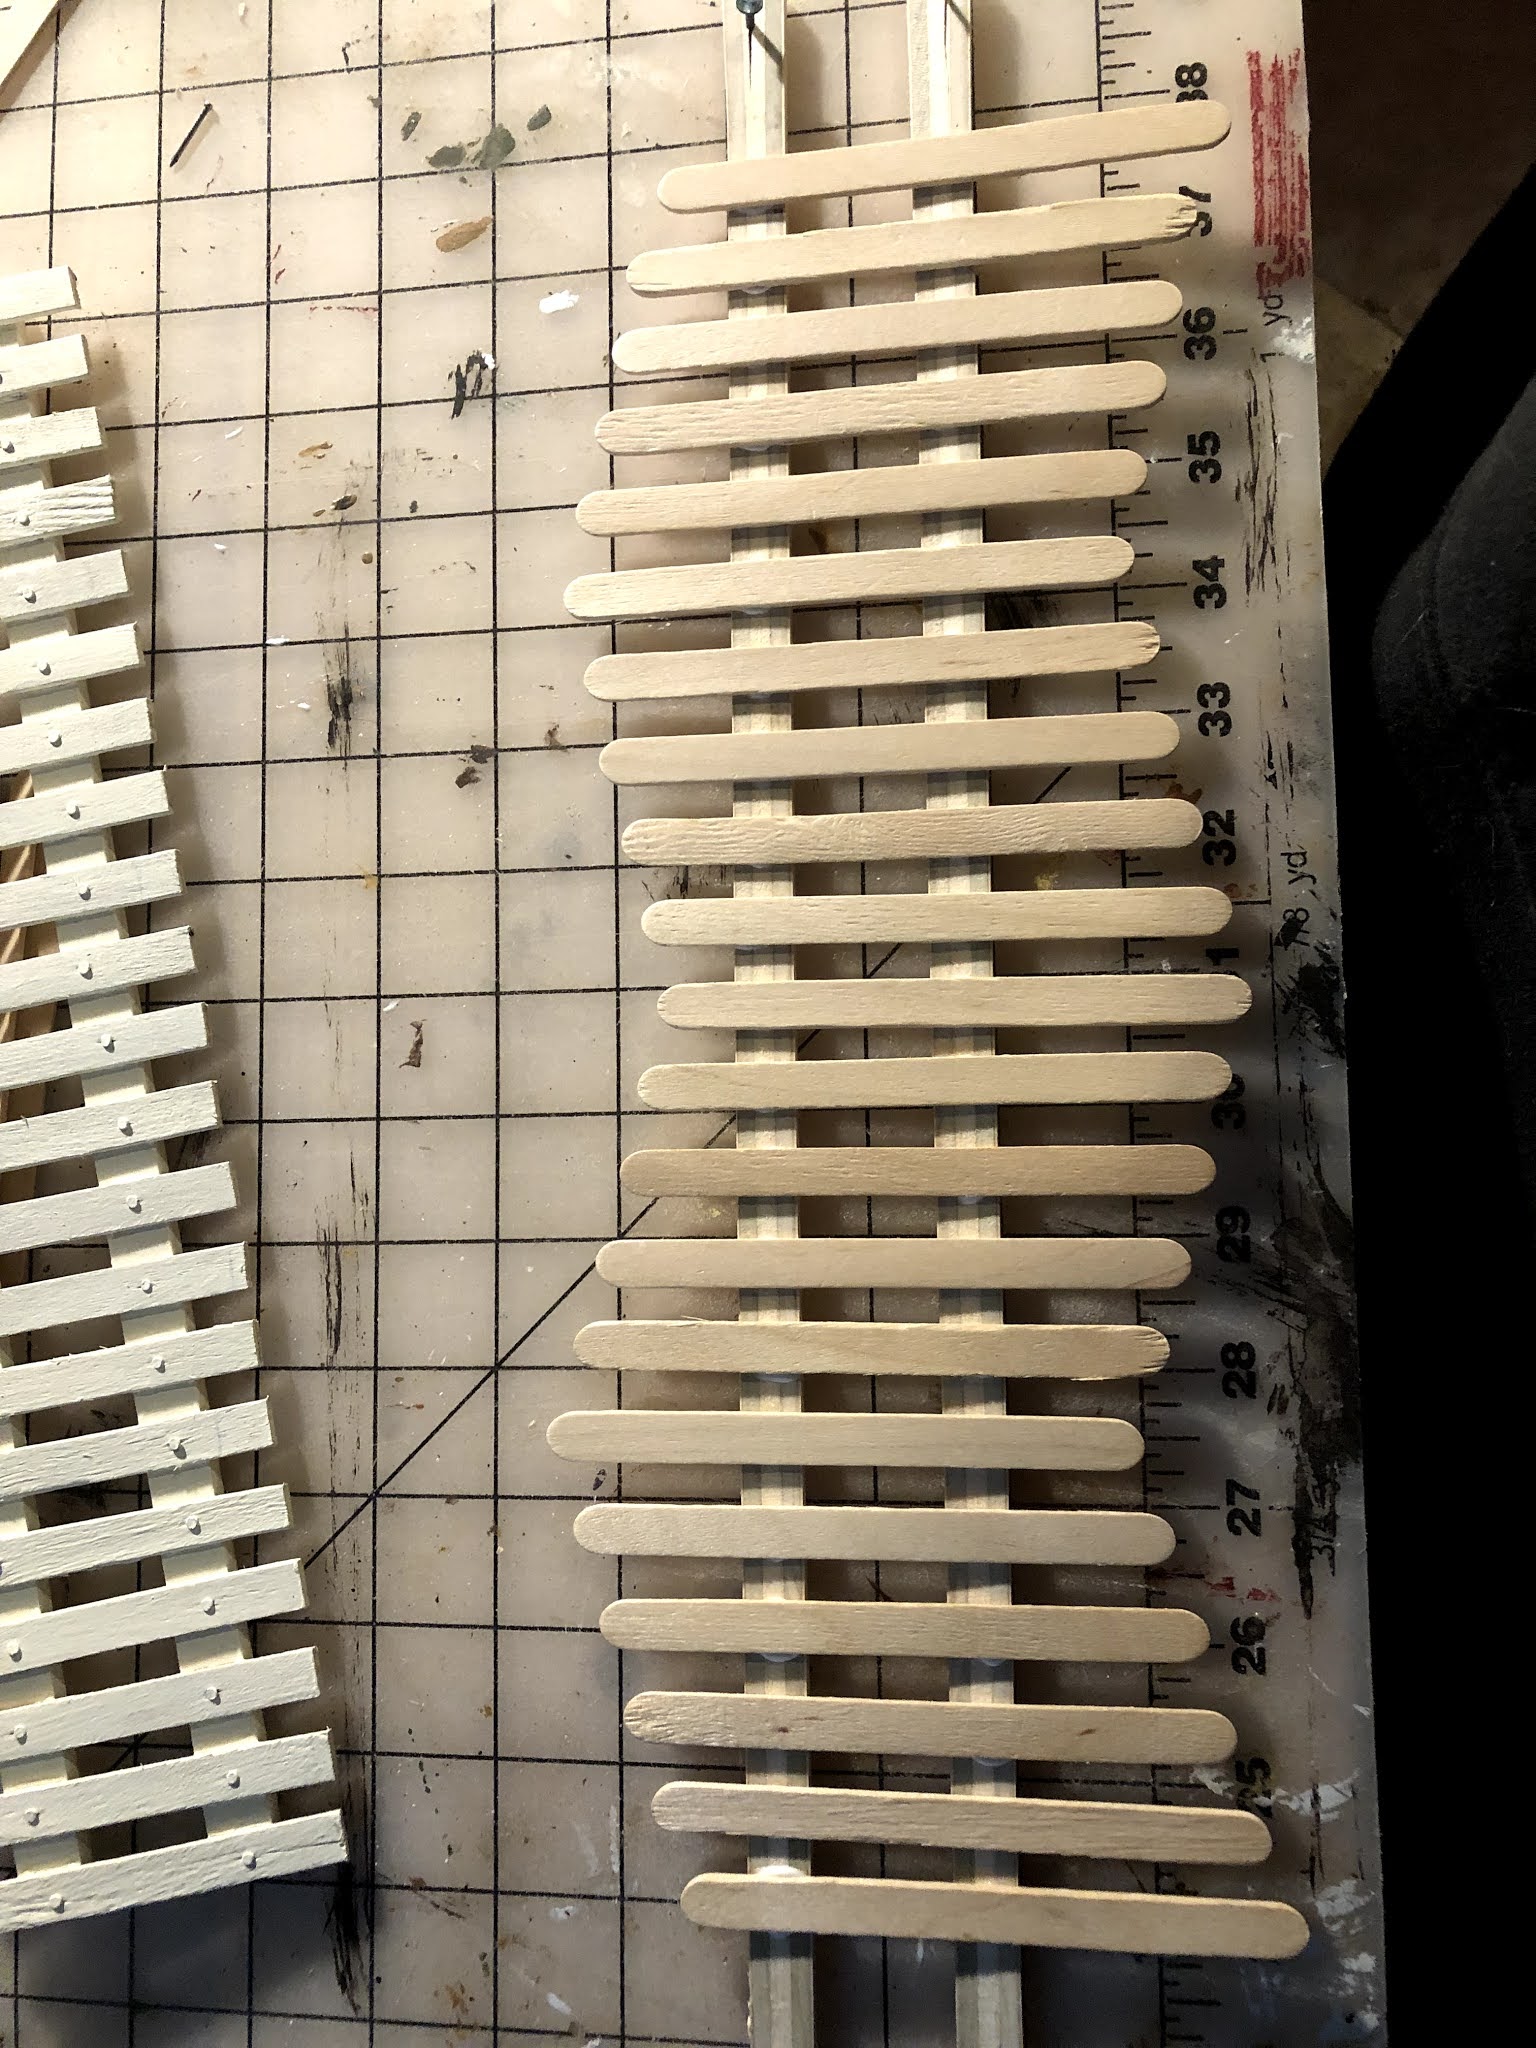
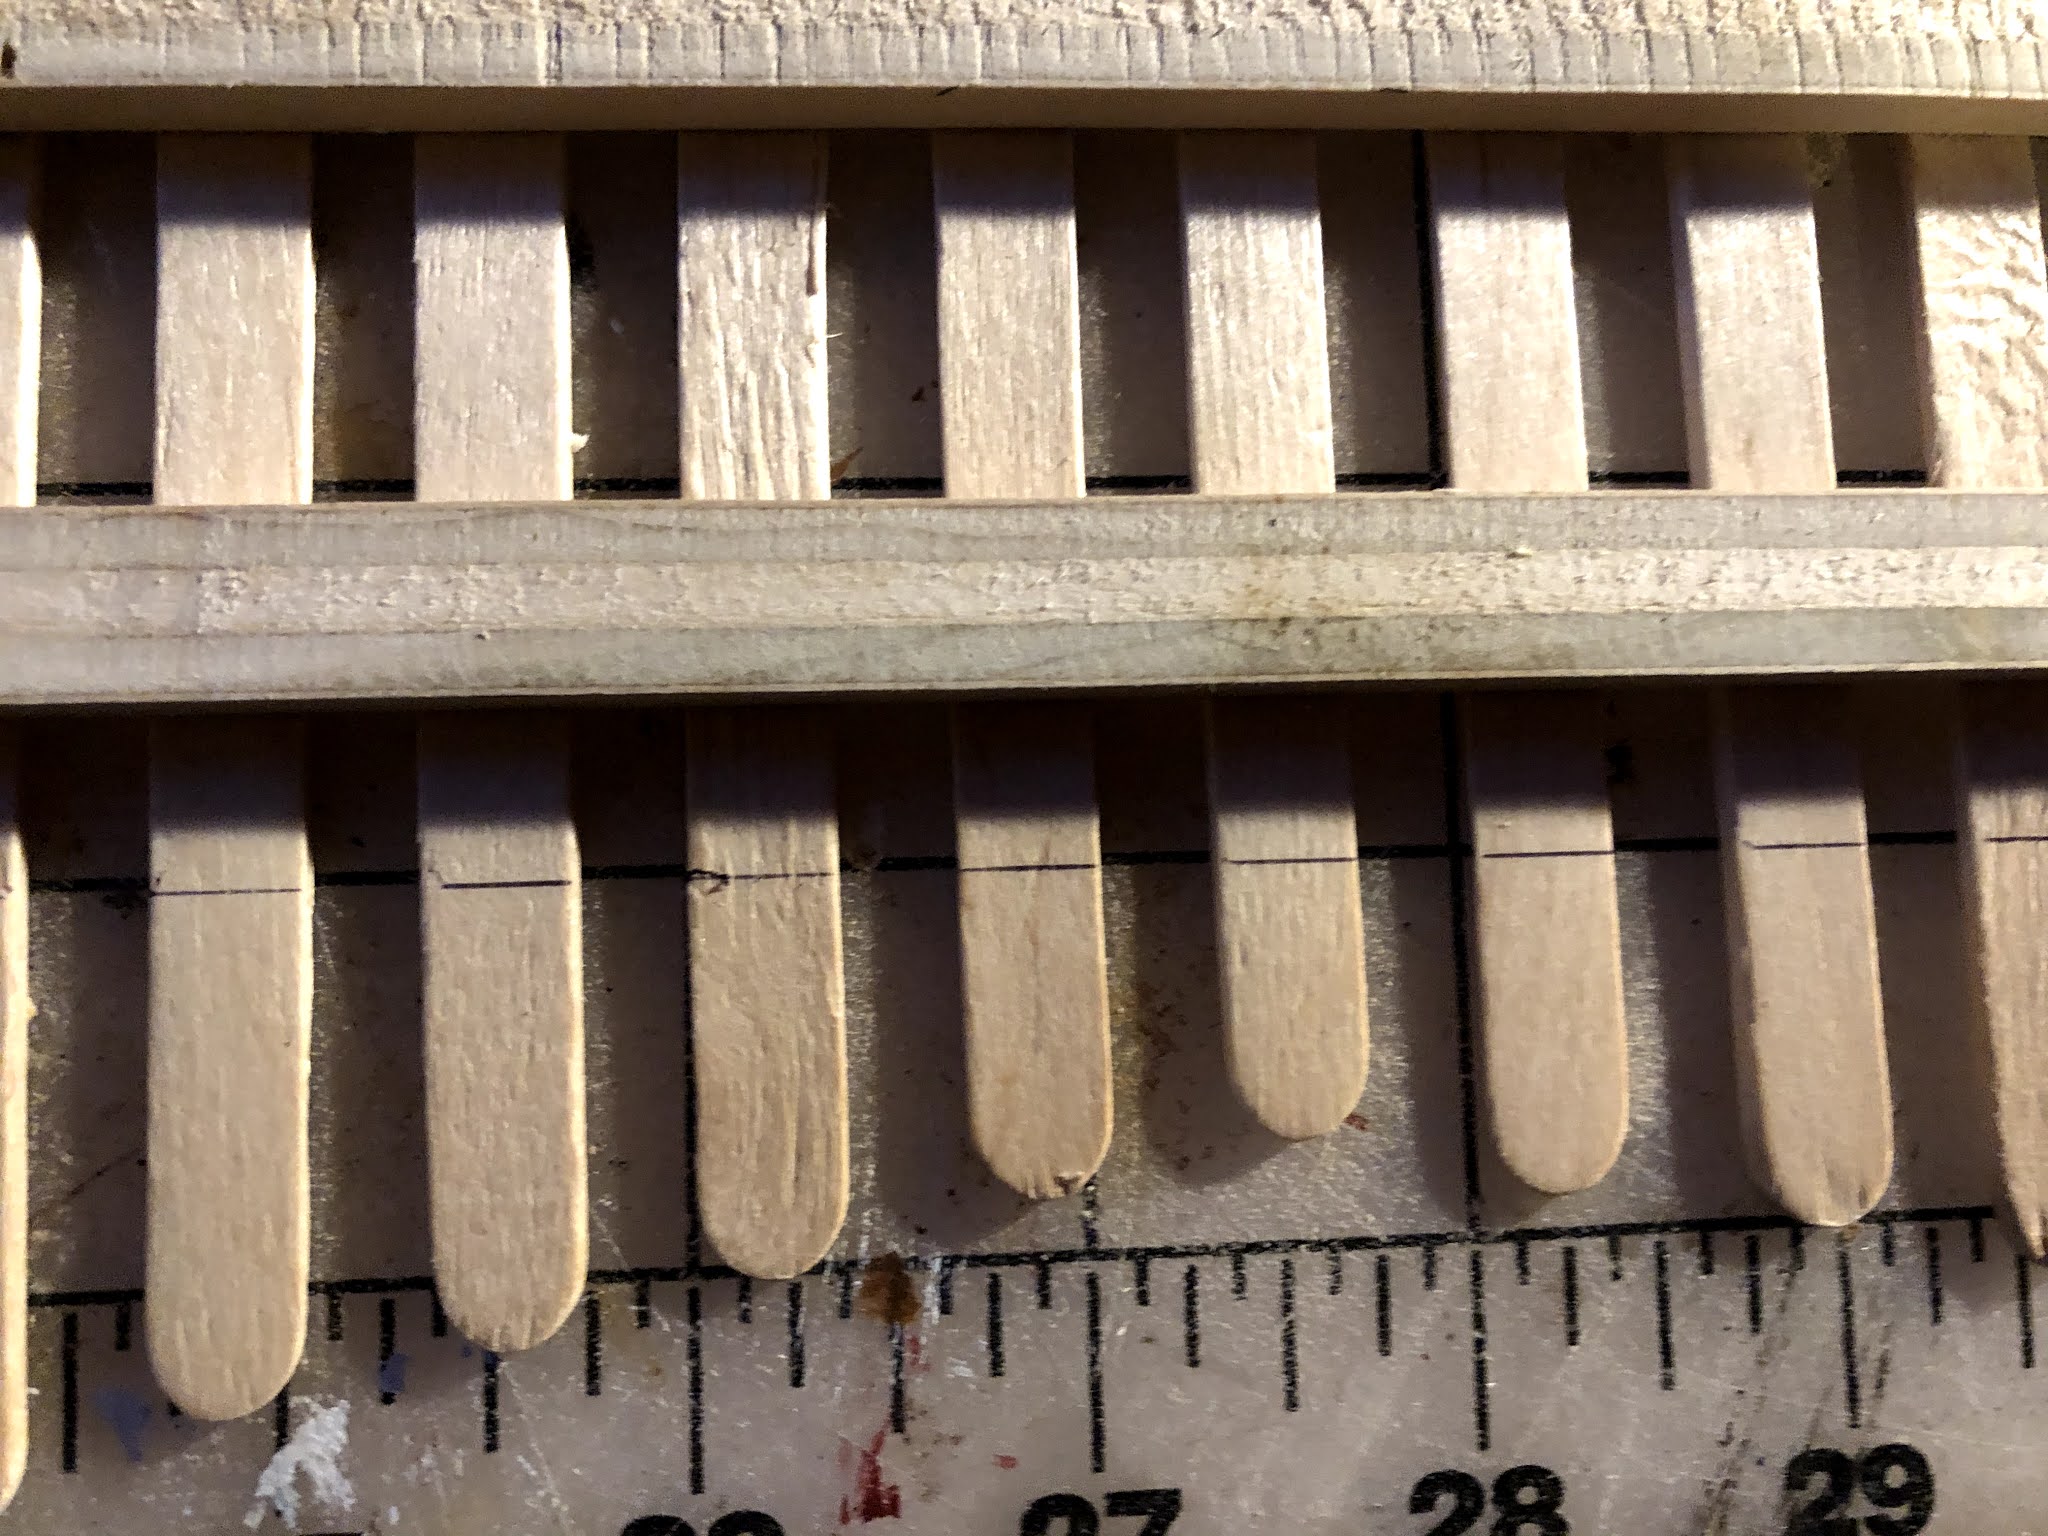
Let's make a plan   I have my slots spaced 1 1/2" apart on center


After transferring the plan to my wood. the first step id to drill the holes.  This is done easily and accurately using the Proxxon mini drill press.🠋


Next I took my wood piece over to the Proxxon mini band saw and cut the slits where my clamps will slide in  approx 1/4" width 🠋


Ok,   Now for the supports, I wanted to put this at a slight angle to keep the clamps from slipping off.   I used the Proxxon mini chop saw set at 10 degrees to make my small angled cut on one side of each support


I glued them on my wood piece with the "longer side" forward so they will tilt back slightly.   When the glue was dry I added some small screws for strength.  


To mount it to the wall, I attached the piece of scrap board to the support that spanned the wood piece   this allowed me access to screw it securely to the wall.   the 10 degree upward angle keeps the clamps from slipping off.   


Woo Hoo we are done.   Now I have easy access to my little clamps !   One step closer to an organized shop!!👍

Thanks for visiting.  I promise you a more exciting project next time.  Something pretty.   Thank you Proxxon.   Love your awesome tools!!.     Carol


Sunday, December 20, 2020

How to Make a Tin Punch Tea Light Lantern

 This tea light lantern is made to accommodate interchangeable tin punch patterns.


Supplies and Equipment

Instructions

  1. Transfer the tin punch pattern to the flashing blank. I use an electronic cutter to cut the pattern out of decal vinyl. You could also punch the paper pattern, and transfer marks for the holes onto the flashing with a permanent marker.
  2. Mount to 7/64" punch in the MICRO Press. Note: These patterns are designed to use the 7/64" and 5/32" punches.
  3. Punch the pattern.
  4. Use the bandsaw to cut the kerf slots in the corner pillars. The depth of the kerfs is equal to the width of the bandsaw blade. Make cuts on two adjacent edges.
  5. Dry fit the punched panels and corner pillars.
  6. Glue the pillars onto the base.
  7. Check the orientation of the kerf channels.
  8. Paint the tea light lantern with FolkArt rust painted finish, or acrylic paint of your choice.
  9. When the paint is dry, insert the punched panels.

Carole

Friday, December 18, 2020

BuildingBuilding A Tiny Fence


Hi everyone.  I've been building tiny houses to sell. I thought I'd concentrate this month on some little fence to go with them. This is a simple project that would look sweet with a tiny house, around a small Christmas tree or anywhere you may have some small animals on display. Follow me and I'll show you how I made it.


Supplies:

  Proxxon Micro Bandsaw

  Scrap wood  1/2" thick

  Scrap wood 3/4" thick

  Scrap wood 1/8" thick

  Popsicle sticks

  Wood glue


First using the micro bandsaw I cut 2 thin strips off of 1/2" plywood scraps. About 1/4" thick and 18" long 


 I laid them on my workbench parallel to each other and 1" space in between them. I temporarily tacked them on each end to my workbench.


Next working with my popsicle sticks I laid out my desired pattern and glued them to the sticks.


Leaving at least an inch at each end. Let dry. Now I'm going to trim off the bottom edge of the popsicle sticks using my Micro Bandsaw. I drew a line about 1/2" below wood strips for the cut line. Trim off.


Next I made the posts for each end. Using 3/4" scraps I cut two identical pieces 3/4' x 3 1/8" long. On each end of the fence I marked and trimmed the rails off leaving 1/2"


Next using the thin scrap wood I drew out the end caps for the top and bottom of posts. Cut these pieces with the Micro bandsaw.


Here's all my pieces.


I glued the two end posts to the fence and let dry. I then glued the tiny square on top of the end caps. Glue these to the tops of the posts and the flat square to the bottom.


Here's my finished fence. I haven't decided yet weather I'm painting or staining it. Depends on how it will look in front of my next tiny house. I don't have any left to show it in front of because I've sold them all. 


Hope you enjoyed this project. thanks for following along :-)
 Colleen


Thursday, December 17, 2020

How to make a little birdhouse Christmas ornament

 Merry Christmas everybody.   🎄It's almost here...🎅  But while we have a little time, let's do a quick and fun little project.   I'm going to show you how to make a cute little birdhouse ornament that you can add to your tree.  


Equipment and supplies
1/4" scrap wood of your choice  I used cedar scraps
pencil and paper for pattern
Proxxon mini band saw
Proxxon mini table saw
Proxxon OZ//IE delta sander
wood glue
small wood clamps
small eye hook
Proxxon professional rotary tool
Paint and decor of your choosing.

I made a pattern for you↓ 


This will make a birdhouse 3" tall
So the first thing to do is to cut out all your wood pieces, ((Don't cut the roof pieces out just yet)   I did this on the Proxxon mini band saw.  


Next, cut out the roof pieces but leave them attached at the middle (so they are one piece)   we will cut those out at the Proxxon mini table saw.  We want a 45 degree bevel where the roof pieces meet.  It can be done on the bandsaw, I just want to show you how to do it on the Proxxon table saw.
First thing we do is set the table saw at a 45 degree tilt.


then run the piece through using the miter gauge.   this gives us a 45 degree angle on both our roof pieces.


Now we have all our pieces cut and we can assemble. But first let's sand them.  This is done easily using the Proxxon OZIE delta sander.  I love this tool.  😃  Male a small hole for the birdhouse entrance and another hole below it where you can insert your dowel (perch).


Slather some glue on all the edges of the walls and floor where the pieces will meet.   Note that the  "sides will be on the inside of the front and back.   Adding the floor which is inside the 4  walls will help keep everything square.  Use small clamps if you have them to hold it all while it dries.  


When it is all good and dry,, glue down the roof pieces.


Now decorate how you like.   I cut a Christmas tree using the proxxon scroll saw and painted it  with Plaid paints.  I did a little wood burning and added some faux snow.  Personalize it and give it to a friend.  What a cute little gift.


I think I will make a village.  ... in my spare time.  
Well, thanks for visiting.  Thank you Proxxon my favorite tool people.   


Everyone stay safe so we can do this again    Carol


Sunday, December 6, 2020

How to Make a Maze Puzzle

 Who doesn't enjoy a hand-held maze puzzle? Here's the pattern and instructions for making your own.


Supplies and Equipment

Instructions

  1. Mount the pattern on one of the 6" x 6" blanks. Cover one side of the blank with painter's tape. Mist the back side of the pattern with spray adhesive, and mount on the taped blank. The painter's tape made removal of the pattern easy without leaving any sticky residue.
  2. Drill a pilot hole in the waste are of the pattern for inserting the scroll saw blade.
  3. Insert the scroll saw blade through the pilot hole, and cut out the puzzle pattern. 
  4. Use the bench circular saw to cut puzzle back and acrylic sheet to the same size as the maze.
  5. Align the three layers, and tape together with painter's tape. Drill the corner screw holes.
  6. Paint the maze and puzzle back with FolkArt acrylic paints, and let dry.
  7. Load the pellets into the maze.
  8. Screw the layers together.
  9. Challenge yourself to move the pellets from one corner to another. Enjoy!!
Carole