Showing posts with label Proxxon Drill Press TBM 115. Show all posts

Thursday, August 19, 2021

Weiner dog bobbin holder

 All right, I think I have said this before, but I have recently taken up a new hobby...Sewing... but just like every other hobby it comes with so much equipment and supplies, I wish I had a dedicated room for it, but I don't so I am enjoying making what I can to try and keep it a little organized.   Today we are going to make a simple, no, super simple, bobbin holder, but not for me.  This is for a young lady just learning to sew like me, and she is going to help me make it.  


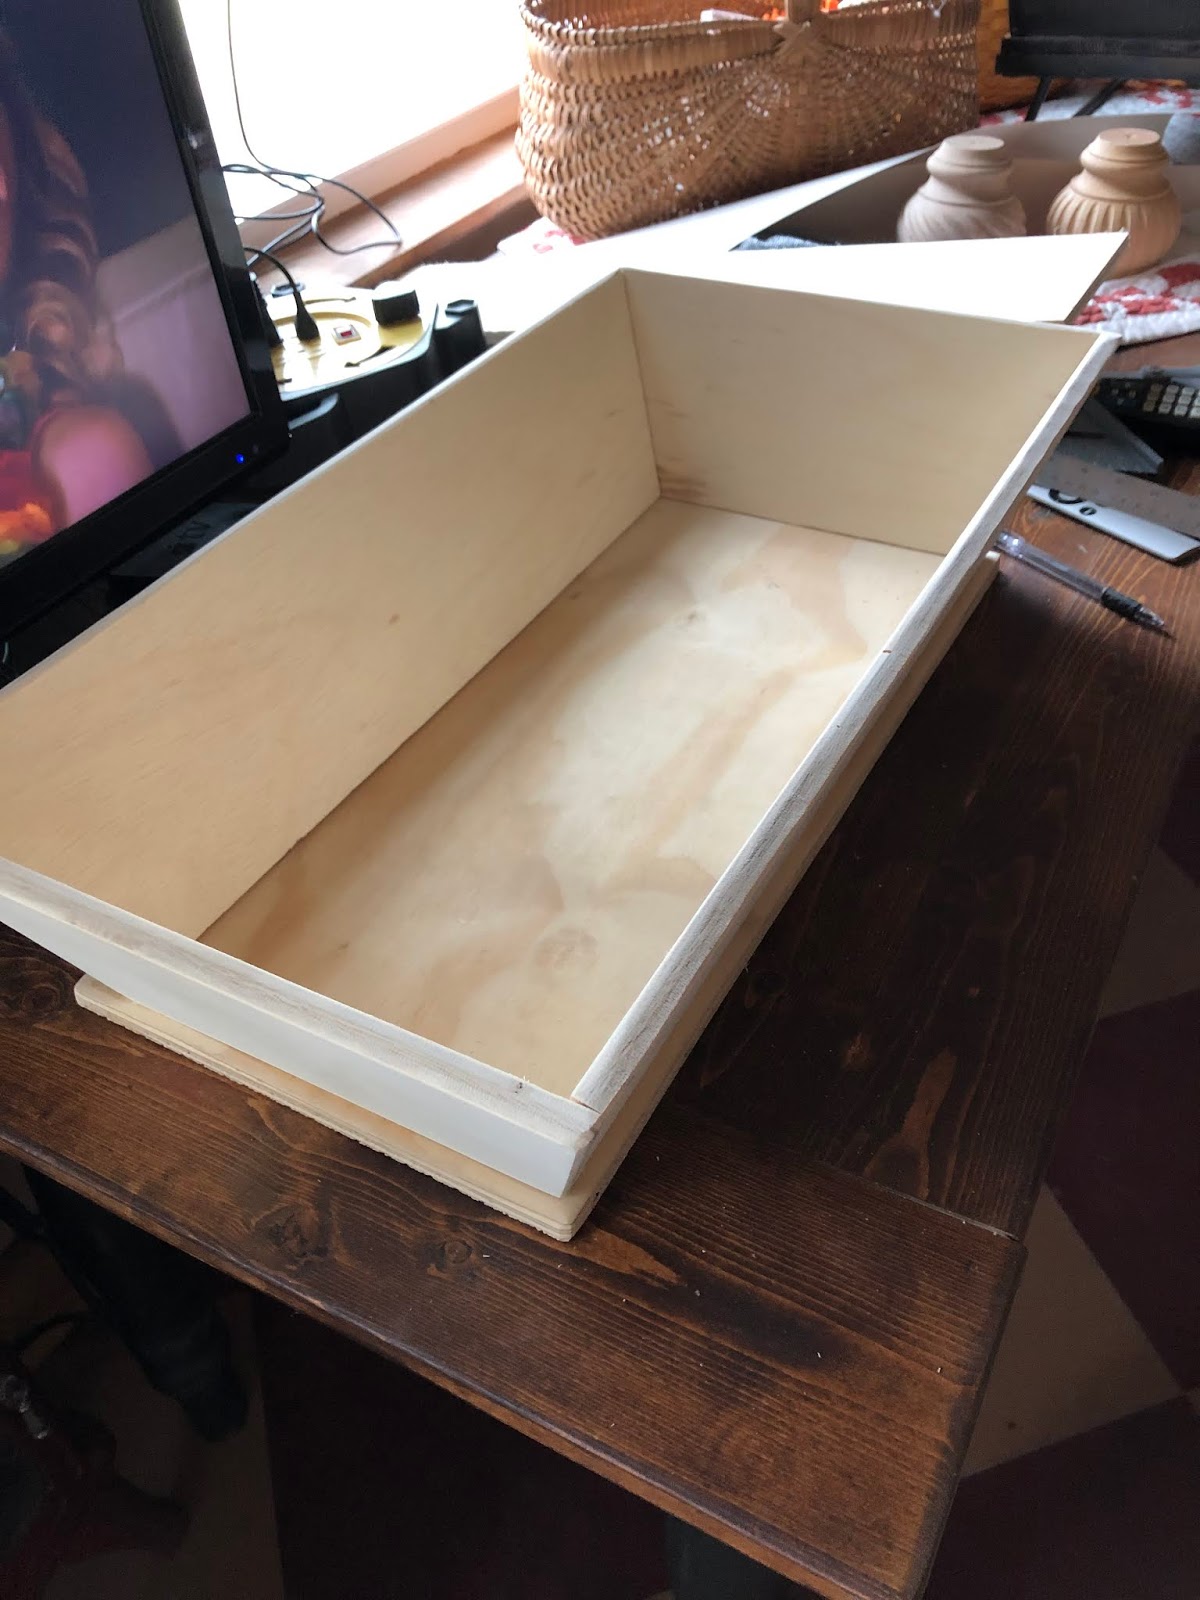
We are going to start out with some pieces of scrap wood and a small wooden ball that I had on hand.


We used the Proxxon professional rotary tool to make a hole in one side of the wood piece where we will put a small dowel to mount the head.   We also put the same size hole in the round piece of wood. and glued it in place.  Now we will stick the remaining dowel part into the body of the "dog to be" to see if it works.  It' ok, but  we won't glue it yet.


Using the Proxxon mini band saw, I rounded off the corners a little bit on all 4 sides


We am going to use the Proxxon mini drill press to make lots of holes all over the "doggy's" back   Then I am going to use the Proxxon mini bandsaw to cut lengths of dowels that will fit into these holes.   This is where she will stack her bobbins.  Looks more like a porcupine.  


You can see we have added a small nose.  Wewill also cut out some simple ears.  This is best done on the Proxxon mini scroll saw.  We can attach these with small nails so they can be positioned in different ways.


Got the kid to paint it.  Look, she has added some pony beads as well as the bobbins.   Good for her.   You go girl, make it your own.  

She says she has a space for this on a shelf next to her sewing machine.   I am glad she likes it.  We had fun making it.
  
Important note.  Never leave youngsters alone with woodworking tools.  Close supervision is absolutely mandatory, and some tools, like the bandsaw should not be operated at all by children.  But do get them involved in safe ways.   They love it.

Well, thanks for visiting.  Hope you enjoyed the project.   Looking forward to seeing you next time.
Thank you Proxxon, love love love your tools.

Take care and play safe!   Carol


Thursday, August 5, 2021

How to make a handy paintbrush holder

 Hi everyone,   This is for the artists and makers out there.  It is an easy but useful project.   Let's make a paintbrush holder.  Ive seen these in plastic, but I think we can do better.   I know we can because we have the tools, thank you Proxxon, for the job.  


I am going to start with a short piece of 1/2" by 4" piece of cedar board, left over from another project.

When I measure it out it is about 8" long, this will work well for what I have in mind.  First thing to do is to cut it in half.   I use the Proxxon mini bandsaw to do this.  


Square is ok, but I want to fancy it up a little bit, so I cut off the corner to make an octagon shape.

The Proxxon mini bandsaw makes that a simple and easy task.


I next used the Proxxon disk sander to smooth the edges.  Note- make sure the second piece keeps the shape of the first piece.


Now draw some dots where you want to drill your holes for the paintbrushes.  I plan on some holes being bigger to hold my bigger brushes.


Stack the two pieces together and tape them or use nails to keep them together.  (If you use nails make sure to put them where you will be drilling a hole for a paintbrush.)  Don't want any stay holes  Then using the Proxxon mini drill press make pilot holes through the top layer to just deep enough to mark the bottom layer.  


Separate the 2 pieces.
Using standard size drill bits drill holes where you want them in the size to suit your needs all the way through the top piece.  
On the bottom piece, use a large drill bit to make a small dip into the wood.  this will keep the paintbrush from sliding around. 


Use the Proxxon OZI/E delta sander to make everything smooth and pretty.   I started with 80 grit to remove my markings then moved on the 240 grit to smooth everything out.  


Drill 4   5/8" holes half way through the bottom of the top piece and the opposing top of the bottom piece.    Cut 4 4" pieces of dowel rod. and inset these into those drilled spots.   If it fits well, then add some glue and allow it to dry well


The only thing left is to apply a sealing finish to the wood.  I love how cedar looks when finished.   That is all there is to it.  This makes a nice little gift to give to your artist friends.   I think I will make a few for the girls in my art class, for Christmas.    Trying to get a head start this year.   I will wood burn their names in it to make it personal.   Yup, that will work. 


Hope you had fun, I did!   I always do when working in my wood shop with my Proxxon tools.   
Thanks for visiting.   Will catch you next time.    Carol.

Thursday, December 31, 2020

How to make a rack for small wood clamps


Hi folks.  Hope you all had a great Christmas.   Now that the New Year is here I always get in the mood to make some improvements.  I guess it comes from the tradition of making those New Year's resolutions.   I  have given up with the exercising more, eating better etc.  Trouble with those is they go on and on and... with no end in sight, I usually give up fairly quickly.  Today I have a firm step towards the vague goal of getting my shop organized  We are going to make a small rack to hold our clamps.  I am going to use Proxxon tools to make a smaller version for our smaller clamps. 

Supplies and Equipment

1" x 2" pine board (length varies according to the number of clamps your are going to put up)   Mine holds 10 clamps and is 16" long.  Plus I need 2 side pieces each 2 12" long so I needed 21"

Scrap wood approx 1/4 -1/2' x (length of your board )

wood glue

small screws and screwdriver

Proxxon mini drill press with small drill bits

Proxxon mini bandsaw

Proxxon mini chop saw


Let's make a plan   I have my slots spaced 1 1/2" apart on center


After transferring the plan to my wood. the first step id to drill the holes.  This is done easily and accurately using the Proxxon mini drill press.🠋


Next I took my wood piece over to the Proxxon mini band saw and cut the slits where my clamps will slide in  approx 1/4" width 🠋


Ok,   Now for the supports, I wanted to put this at a slight angle to keep the clamps from slipping off.   I used the Proxxon mini chop saw set at 10 degrees to make my small angled cut on one side of each support


I glued them on my wood piece with the "longer side" forward so they will tilt back slightly.   When the glue was dry I added some small screws for strength.  


To mount it to the wall, I attached the piece of scrap board to the support that spanned the wood piece   this allowed me access to screw it securely to the wall.   the 10 degree upward angle keeps the clamps from slipping off.   


Woo Hoo we are done.   Now I have easy access to my little clamps !   One step closer to an organized shop!!👍

Thanks for visiting.  I promise you a more exciting project next time.  Something pretty.   Thank you Proxxon.   Love your awesome tools!!.     Carol


Thursday, April 18, 2019

HOW TO BUILD A VINTAGE STYLE TOOL CADDY


    Hi everyone! I'm back out in my workshop getting ready to build my next project using Proxxon tools! I've found that even though these tools are small, I can still build almost anything. Today I'm making a vintage style tool caddy. Follow along with me and I'll show you how I did it.

Supplies:
  • Proxxon Micro Band Saw
  • Proxxon Bench Drill Press
  • Proxxon Delta Sander
  • 3/8' sanded birch plywood
  • Waverly Inspirations Chalk Paint by Plaid (Crimson and Ink)
  • Waverly Inspirations Wax by Plaid (Clear and Antique)
  • 3/4" brad nails 
  • Wood Glue
  • Wood Putty
  • Paper for pattern
  • Paint brush 2"
  • Waxing Brush
  1. I drew my pattern pieces out on paper determining how big I wanted the caddy then transferred the pattern on some scrap 3/8" birch plywood I had left over from my last project.


  2. Using the Proxxon Micro Band Saw I cut out my 6 pieces (1 base, 4 sides and a center divider). The 4 side pieces need to have a beveled edge on the bottom in order to set flat on the base. I set the table of the band saw at 15 degrees and trimmed the bottom edges.

  3. Using a brad nailer, 3/4' brads and wood glue I put together the 4 side pieces. Before I attached them to the base I sanded all the edges except the bottom edges. I like to sand it in spots to make it look worn and old.

  4. Using the 3/4' brads and wood glue I attached the sides to the bottom.
  5. The center divider piece is also used as a handle so I drilled it out for finger grips. I used the Proxxon Bench Drill Press and a 1' hole saw bit. I sanded it to look worn. I positioned the divider in the center of the caddy and attached it with brads and wood glue.

  6. At this time I now filled any nail holes or voids in the plywood with wood putty and let dry. After dry give the whole thing a good sanding.

  7. Now I'm ready to paint! I chose to use the Waverly Inspirations Chalk Paint by Plaid in the Crimson color. I put on 2 coats. After completely dry I applied the Waverly Inspirations Chalk Paint in the Ink color using the dry brush method. putting a tiny amount on my brush and blotting off most on a paper towel then sparingly painting in spots that I want to look worn from age. let dry.


  8. I then went over the entire piece with Waverly Inspirations Clear Wax by Plaid. Let it dry overnight and applied the antique wax.


   Here's my finished project! I cant wait to use it on my patio and fill it with flowers. Thanks for following along with me.


 Colleen


Tuesday, April 4, 2017

~Its Your Destiny~ Designing with Copper Disks and Proxxon Tools by Sherri Welser


~Its Your Destiny~ 

Designing with Copper Disks


In this new Design Team project for Proxxon Tools create these beautiful copper disks to add to any jewelry piece! I love to mix metals and had these 2 empty bangles that I had added verdigris patina to but didn't add anything else yet. I had a sheet of copper metal and decided to use my disk cutter to cut the round disks out and the Proxxon Drill Press ( TBM 115) to drill the holes for the jump rings. So lets have some fun making these unique copper disks!

~Supplies~ 
Proxxon Drill Press TBM 115
drill bits for the size of the hole you are wanting
Disc cutter for the circles
Copper sheet~24 gauge
Sizzix Big Kick for metal embossing
Embossing folders
Rust Patina
sand paper
jump rings ( 6 mm) approx 10-12
Assorted jewelry pieces, crystals,inspirational word charms,unique charms etc
Bangle of your choice to add the jewelry items  onto

1)Start by using the disc cutter to cut your copper disks. Lightly sand the sides smooth.


2) Using your embossing folder place the metal disc in the folder and roll through the Big kick.  


3) Apply the Rust Paste  to the discs and let dry


4)Using the Drill press drill small holes at the top of each disc and some at the bottom for added interest.

This rust paste is a very unique way to add rusty texture to the copper.

4) Add the jump rings to your jewelry charms and copper discs and attach to the bangle. If you have added an extra hole at the bottom of a disc then at this time add the jump ring and the crystal.


This is such a fun creative process to add something special to a plain ole' copper disc!
Have fun!