Showing posts with label Plaid Chalkboard paint. Show all posts

Thursday, April 18, 2019

HOW TO BUILD A VINTAGE STYLE TOOL CADDY


    Hi everyone! I'm back out in my workshop getting ready to build my next project using Proxxon tools! I've found that even though these tools are small, I can still build almost anything. Today I'm making a vintage style tool caddy. Follow along with me and I'll show you how I did it.

Supplies:
  • Proxxon Micro Band Saw
  • Proxxon Bench Drill Press
  • Proxxon Delta Sander
  • 3/8' sanded birch plywood
  • Waverly Inspirations Chalk Paint by Plaid (Crimson and Ink)
  • Waverly Inspirations Wax by Plaid (Clear and Antique)
  • 3/4" brad nails 
  • Wood Glue
  • Wood Putty
  • Paper for pattern
  • Paint brush 2"
  • Waxing Brush
  1. I drew my pattern pieces out on paper determining how big I wanted the caddy then transferred the pattern on some scrap 3/8" birch plywood I had left over from my last project.


  2. Using the Proxxon Micro Band Saw I cut out my 6 pieces (1 base, 4 sides and a center divider). The 4 side pieces need to have a beveled edge on the bottom in order to set flat on the base. I set the table of the band saw at 15 degrees and trimmed the bottom edges.

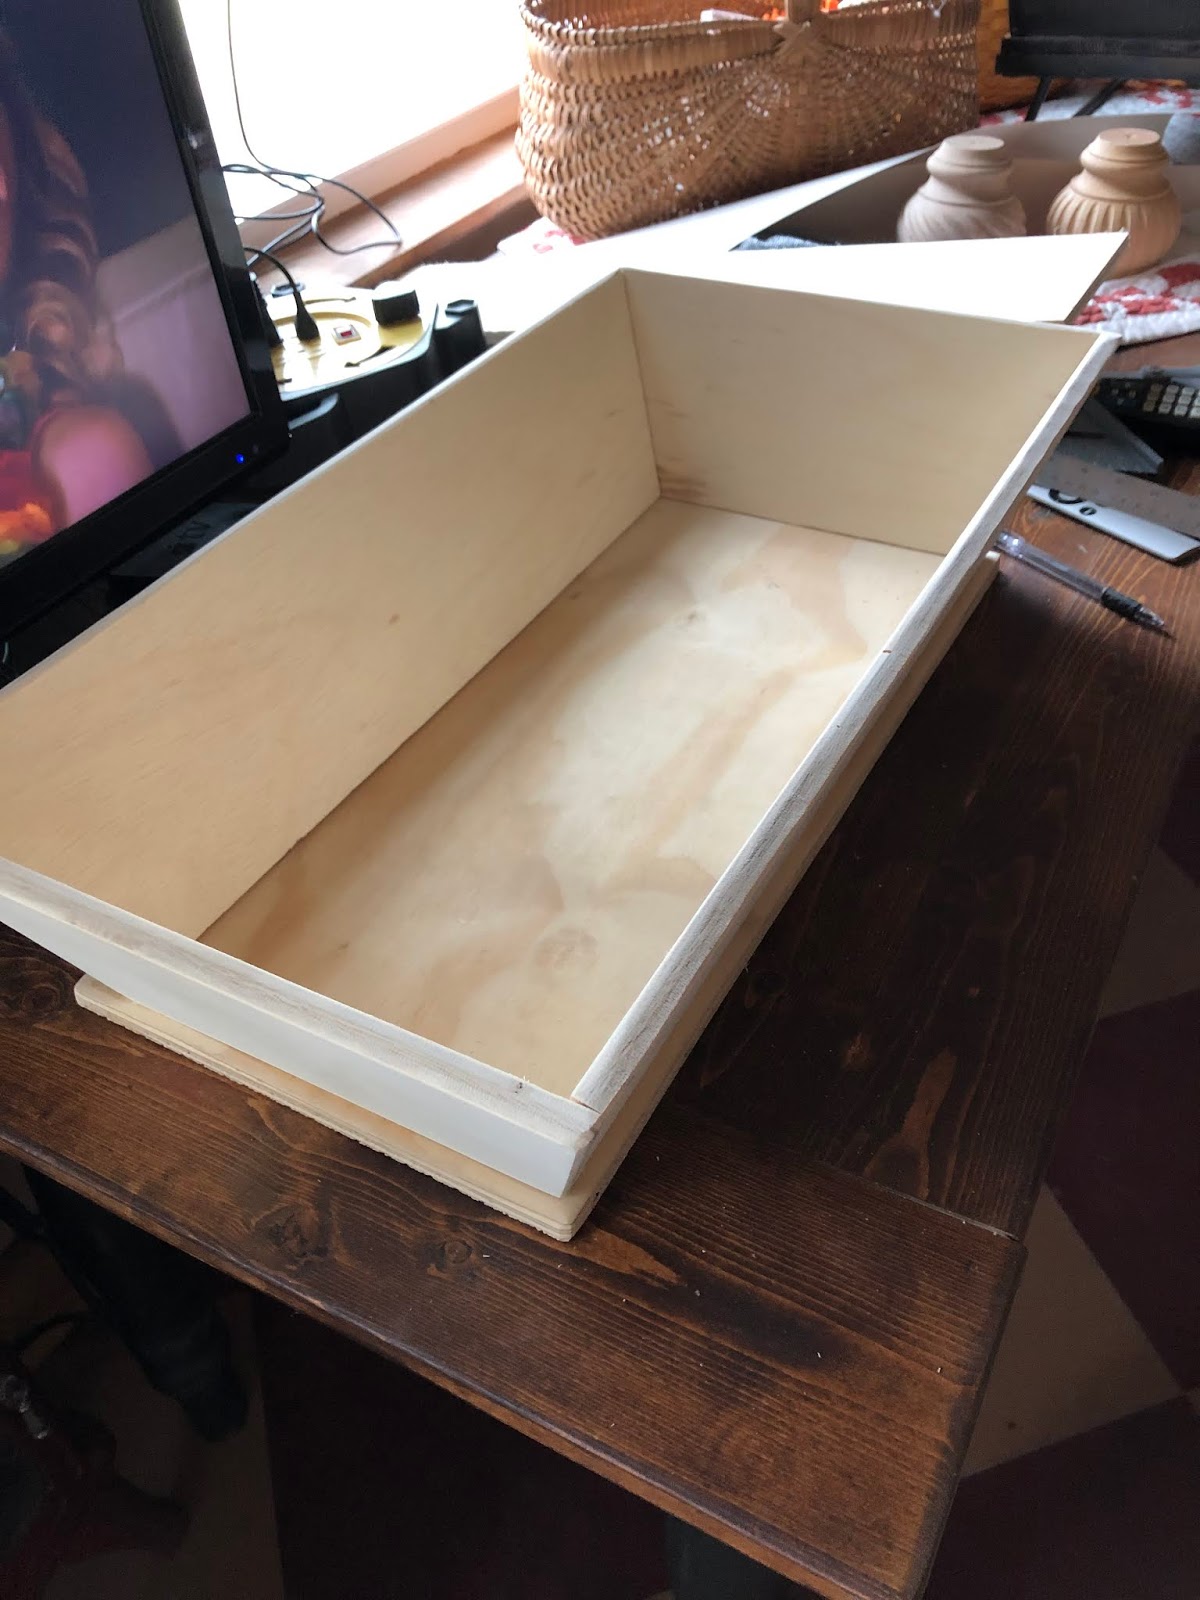
  3. Using a brad nailer, 3/4' brads and wood glue I put together the 4 side pieces. Before I attached them to the base I sanded all the edges except the bottom edges. I like to sand it in spots to make it look worn and old.

  4. Using the 3/4' brads and wood glue I attached the sides to the bottom.
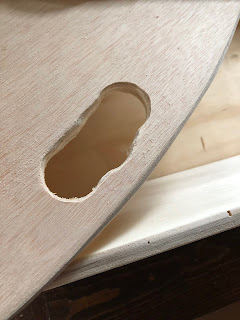
  5. The center divider piece is also used as a handle so I drilled it out for finger grips. I used the Proxxon Bench Drill Press and a 1' hole saw bit. I sanded it to look worn. I positioned the divider in the center of the caddy and attached it with brads and wood glue.

  6. At this time I now filled any nail holes or voids in the plywood with wood putty and let dry. After dry give the whole thing a good sanding.

  7. Now I'm ready to paint! I chose to use the Waverly Inspirations Chalk Paint by Plaid in the Crimson color. I put on 2 coats. After completely dry I applied the Waverly Inspirations Chalk Paint in the Ink color using the dry brush method. putting a tiny amount on my brush and blotting off most on a paper towel then sparingly painting in spots that I want to look worn from age. let dry.


  8. I then went over the entire piece with Waverly Inspirations Clear Wax by Plaid. Let it dry overnight and applied the antique wax.


   Here's my finished project! I cant wait to use it on my patio and fill it with flowers. Thanks for following along with me.


 Colleen


Wednesday, September 13, 2017

Live Love Bark

Hello friends. Larissa here today with another fun wood project.

This is a little wood bone sign for a friend who is a dog lover like me.


What I used: 

Other products: 
Small Piece of Plywood 
Plaid Chalk Paint Brushes
Chalk Pen in White
Felt Flowers


First I cut the bone out of a thin piece of plywood using my Scroll Saw.


I then smoothed the edges and any rough spots with the Delta Sander. 


I then applied 2 coats of the Black Chalk paint to cover the bone. Once is was dry I used my White Chalk Pen and wrote the words out across the front and outlined it with some white dots. 
I also added a bunch of felt flowers to the top and adhered them with hot glue. 

I placed a little hook in the back so it can be hung. 


I hope you enjoyed my post today. Have a wonderful day friends. 


Sunday, September 3, 2017

Hello Fall Wooden Mason Jar

Hello friends, Larissa here with you today with a Hello Fall Wooden Mason Jar.


What I used: 
Proxxon Tools: 

Other Products: 
Crafter's Companion Flower Die
Felt Asst Colors
Ribbon
Beacon Fabri-Tac 
Chalk Marker

First off as always I draw whatever it is I am going to be cutting out of the wood. I cut the sides using the Table Saw and the corners using the Scroll Saw. I could have done it all with the Scroll Saw but I had them both sitting right there so I just played around.


I used my Delta Sander and smoothed the edges and any rough areas on the wood. 


I painted two layers of Black Chalk paint on the jar and two coats of the silver paint for the lid. 


Once dry I wrote with chalk on the jar and tied a ribbon in a bow around the top. To finish it off I added a big felt flower in fall colors to the top corner. 


I hope you enjoyed my post today. Have a wonderful week friends. 


Wednesday, September 7, 2016

End Table to Tween Table Tutorial


Hi everyone! Tammy here with you today with a fun tutorial on how to rescue an old end table and turn it into something your tween will love! We have had this old side table in our family for years and it is something I could never get rid of. Every few years, I refinish it into something fun for my daughter's room. This year she is a tweenager, so it had to be a fun and unique design for sure! I think I nailed it, what do you think??

Supplies I used:
Proxxon Delta Sander
Plaid Milk Paint
Plaid Ultra Dye
Plaid Milk Paint brushes
Plaid Ultra Dye brushes
Plaid Ultra Dye Varnish
Chalkboard paint
Plastic gems
Glue Dots Advanced Strength

Directions:
I started with a piece of furniture that has sentimental value. I chose this little table my dad made in wood shop when her was a teenager.


Use a Proxxon Delta Sander to remove any old paint and varnish from the table.


Stain with Plaid Ultra Dye stain in your choice of color. I used Raspberry Beret.


I used Plaid Milk Paint in Cottage Green and Plaid Chalkboard paint to add visual interest by color blocking the different areas of the table.


I used Glue Dots to add some plastic gems for decoration. I used many different colors and shapes for additional interest.


I also added gems to highlight the hand cut features of the piece.


I love how the table turned out! I know my daughter will love it because it matches the new bedding she picked out for her room remodel. I think this table rescue worked out great!


Let's be friends!