Showing posts with label Proxxon. Show all posts

Saturday, July 6, 2024

How to make a plexiglas business card holder

 Hi everyone.  Hope you all had a good 4th of July.  It was hot here but still had a good time with friends  We had an indoor picnic so to speak.  Anyway, I chose a simple little project so as not to spend a whole lot of time out in my un-airconditioned workshop.  The challenge today was to find the right tools for the job.  I really dont have a lot of experience with plexiglas so I learned some tricks I want to share with you.  

What we want to make is essentially a little box.  The trick is cutting plexiglas without chipping or cracking it, then finding the right glue. 

 Ok. lets get started.  I made a pattern for myself that I felt would hold the cards in a nice way.  I drew my cut lines on masking tape.  I was off to the Proxxon mini table saw to do my cutting.  It went well for a little while but then I started chipping and cracking the little pieces.


Make sure you wear safety glasses as bits of hot plexiglas are flying.


Here is the first trick.  I took a slim slab of wood and taped the plexiglas securely to it.  I drew the pattern onto the wood and cut the pieces with the wood side up.  I got a very smooth cut and there was none of the flying plexiglas pieces. 


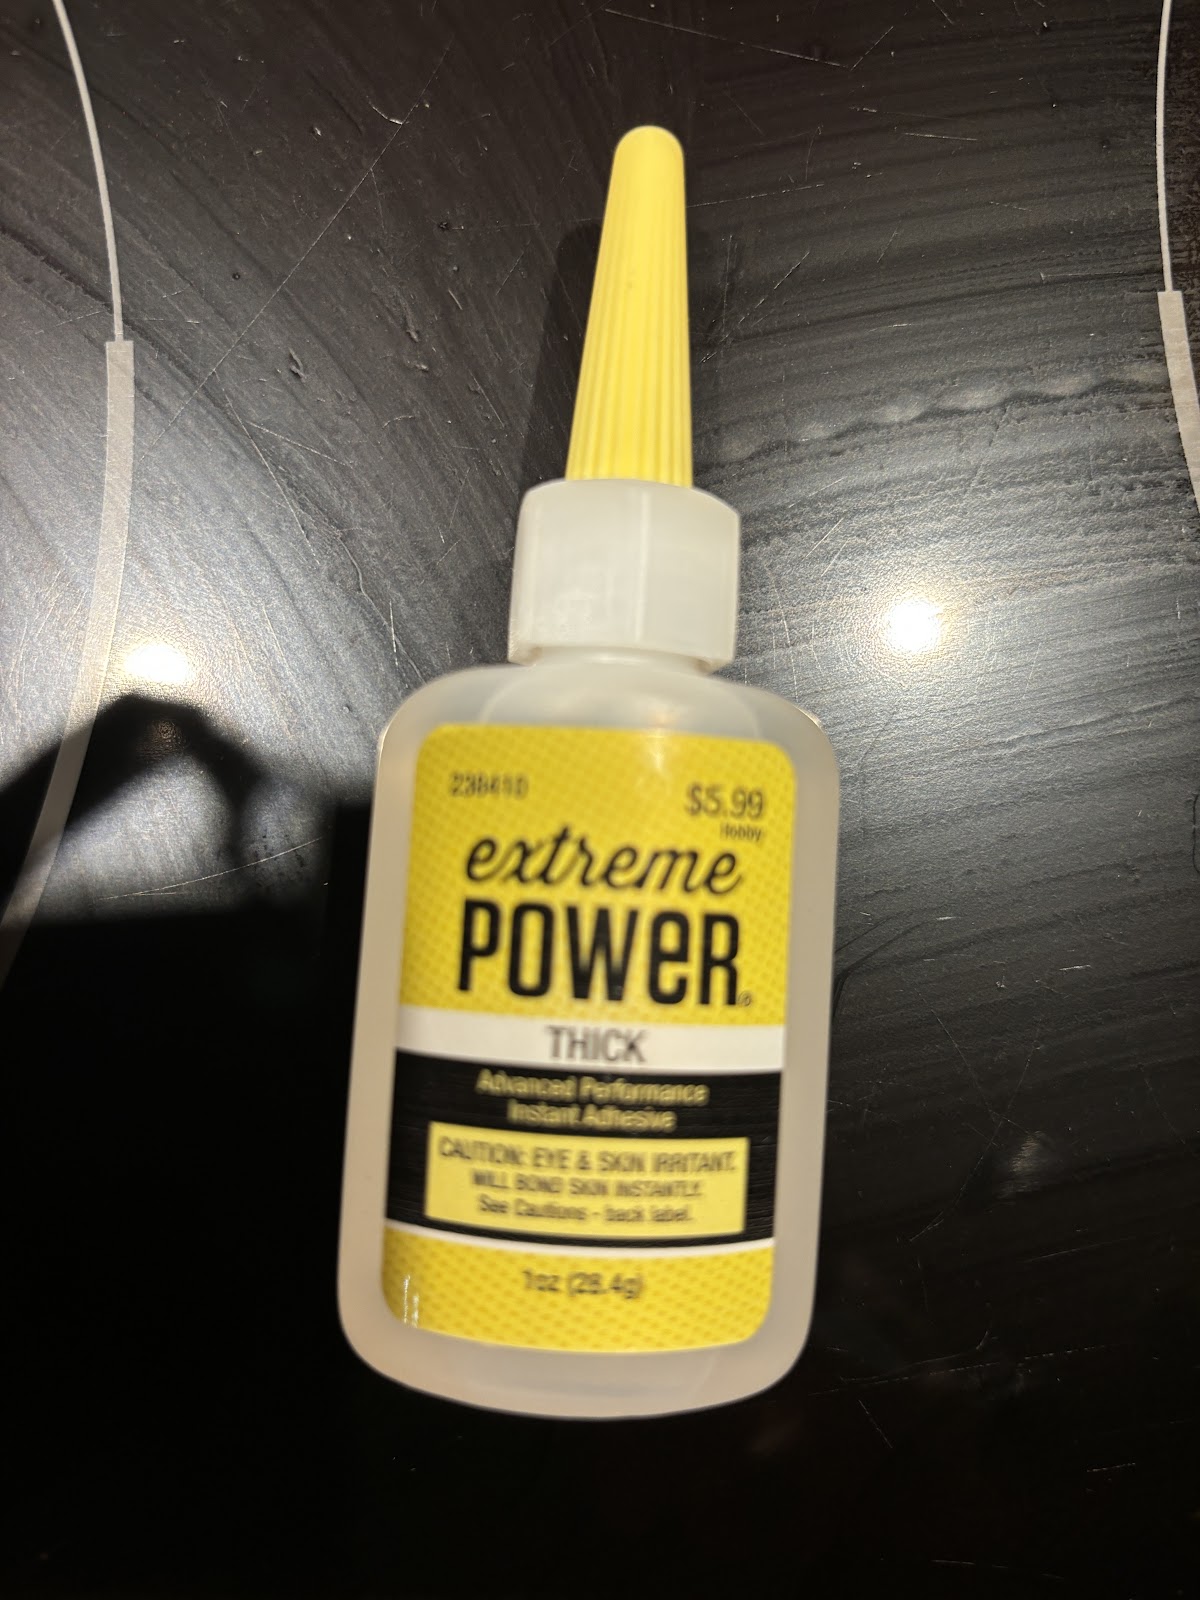
When I got all the pieces cut I began the gluing process.  The trick here is to leave the protective plastic on over the plexiglass to keep the glue off the glass.  Peel the edges away and lay a line of glue.  I use glue that is made for model making.  
Go slow, one side at a time.  It doesnt take long for the glue to hold. When the box is made, peel away the protective plastic and you got a nice little box.   Oh, I used the proxxon mini scroll saw for the finger cut-out on the front side.   Any extra plexiglas (overlap), can be removed with the Proxxon OZI/E delta sander.  But be careful not to scratch the plastic sides.    


.


sorry for the poor picture.  The project acttually looks good 


Hope you all enjoyed the little project.   Catch ya next time.  Carol


Sunday, May 5, 2024

How to make a simple learning game for the kids

 Hello again,   How about we make one for the kids today.   It's going to be a simple tic tac toe game using symbols that are recognizable to children.  Actually if the kids are not too little, let them choose the theme and help with the painting.


The first thing I did was to make the frame for the game.  This is really easy using the proxxon mini chop saw.  Ive tried a million times to make a decent mitered corner using any number of tools, but always one or more angle was slightly off or bowed a little bit so it just wont fit tight.  But with the Proxxon mini chop saw it is a simple task and if measured correctly, I guarantee it will fit perfectly.  But first, lets cut it to size using the proxxon mini table saw.


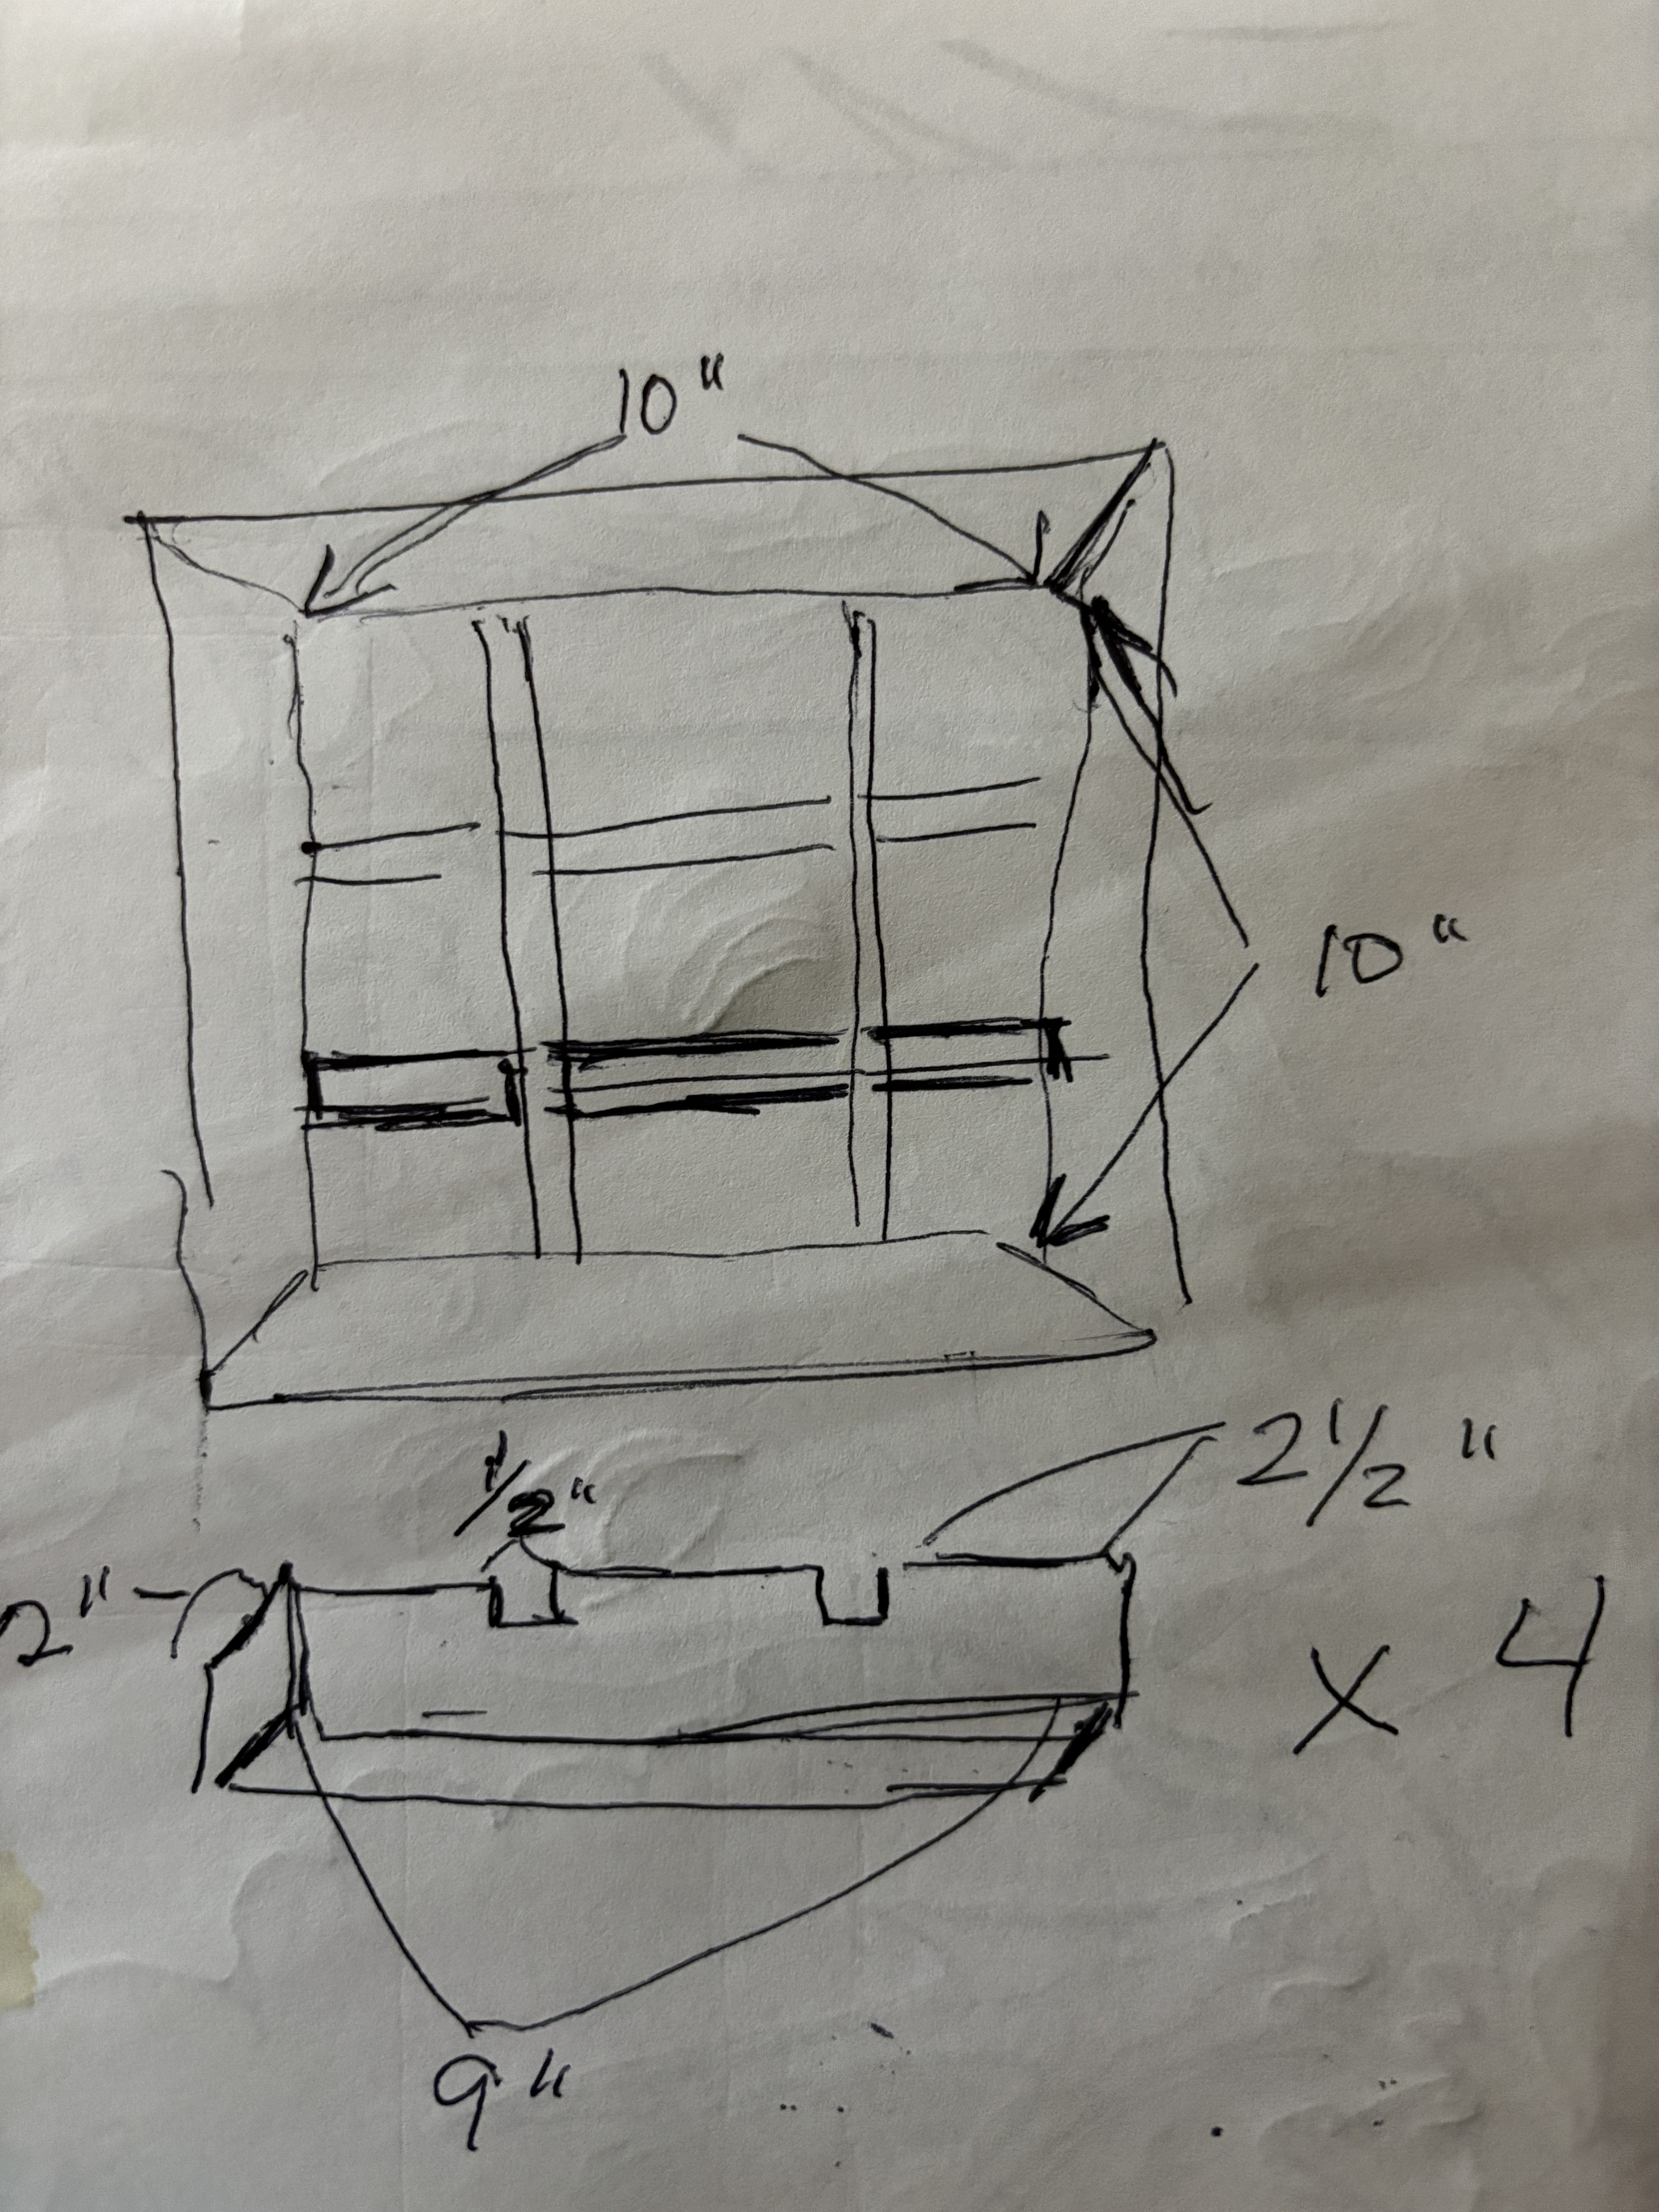
Oncw the boards are cut to the proper width move over to the Proxxon mini chop saw and set the guage to 45 degrees and make your first cut. Then measure (the short side) and set it up to cut the proper length.   Measure only the short side.  The long sides will take care of themselves. (refer to picture)  If you are using my measurements, short to short will measure 10'     


Put the frame together around the back piece, glue it then clamp it until it dries completely.    Next we will work of the dividers.

I used the proxxon mini band saw to cut out the notches,


I put it together with glue then put it aside while I work on the tiles.  This is easy using the proxxon mini chop sawWe are going to make (10)  2 1/4" square blocks.  And while we are at it, I am going to cut (10) 2 1/2" long 1/4" diameter dowel pieces. 


Using a drill, I made 1/2" deep holes in the upper right corner of each of my 10 blocks.  This just makes it easy to place the tiles during a rousing game of tic tac toe. 😵

Next, paint, stain or do whatever you or the kids like to decorate your board and the tile pieces.  We opted for dogs and cats, (you need 5 of each) so we painted them on our tiles.  We painted the board black.  We fisinshed it all with krylon triple thick gloss spray..


I think it is done, except it would be nice if we put a stand on the back so it can be verticle.  Lets do that.  I just cut a piece of thin wood.  Using a hinge attach it to the back, just like any old picture frame that sat on the living room tables.

Well that was  fun and not too hard. Im ready to see if the kids llike it.

thanks for visiting today.  Hope to see you next month.  Carol

Saturday, April 6, 2024

How to make a simple spice rack

 Hi folks.  My friend has asked me to make a spice rack for her kitchen.  Says she is tired of all the spices falling out everytime she needs one.  And if hers is like mine, I can never find the one Im looking for until I drag them all out.  So, today let's make her a spice rack.


The first thing I did was sort through my wood on hand.   I found a piece of 1/8" oak plywood and a couple pieces of some pine I felt would work.  

1st step was to cut my piece to length.  I left the plywood piece as is thinking that it was as good a size as anything else.  so I will cut my wood for the outside "box", and shelves to fit it.

The plywood (back), measures 23 1/2 x 15" x 3 1/4 "  Sides will be 24 x 3 1/4  Top and bottom 15 1/2 x 2 1/4 x 3/8    There will be 3 shelves which measure 14 7/8 x 2 5/8" x 1/8"

\


I used the Proxxon mini table saw to cut my wood.   And Ill be using this saw in the next steps also.

I need a way to put these thin boards together.  I know I cannot use nails or screws so I am going to make some grooves where the pieces will fit together.  
I set up the Proxxon table saw to make some cuts partway through my wood.  I move the saw blade so that it is about 1/8" high.   then I move the fence to 1/4" away from the sawblad and run one long side of each of my sides, top, and bottom pices..  The groove is not quite wide enough to secure the plywood back piece in so I moved the fence out just a little and ran them all through again being careful not to make my groove too wide.  I want my pieces to fit snugly.


Looks like it fits but before we glue it we need to make the slots for the shelves.
Do this in the same manner.  I took 2 passes to make it the right width.  
Make sure both sides are exactly the same.  


Now glue the sides, top and bottom together and let the glue dry well.  Then slide the shelf pieces in.


I painted it with white primer.  My friend will paint it whatever color she wants.   Look how it looks when I put some spices in it.


I added 2 sawtooth hangers on the back.

Thats all folks....Thanks for visiting.  Come back soon and see what we're making next
Thanks Proxxon, awesome tools.   Carol


\

Sunday, March 3, 2024

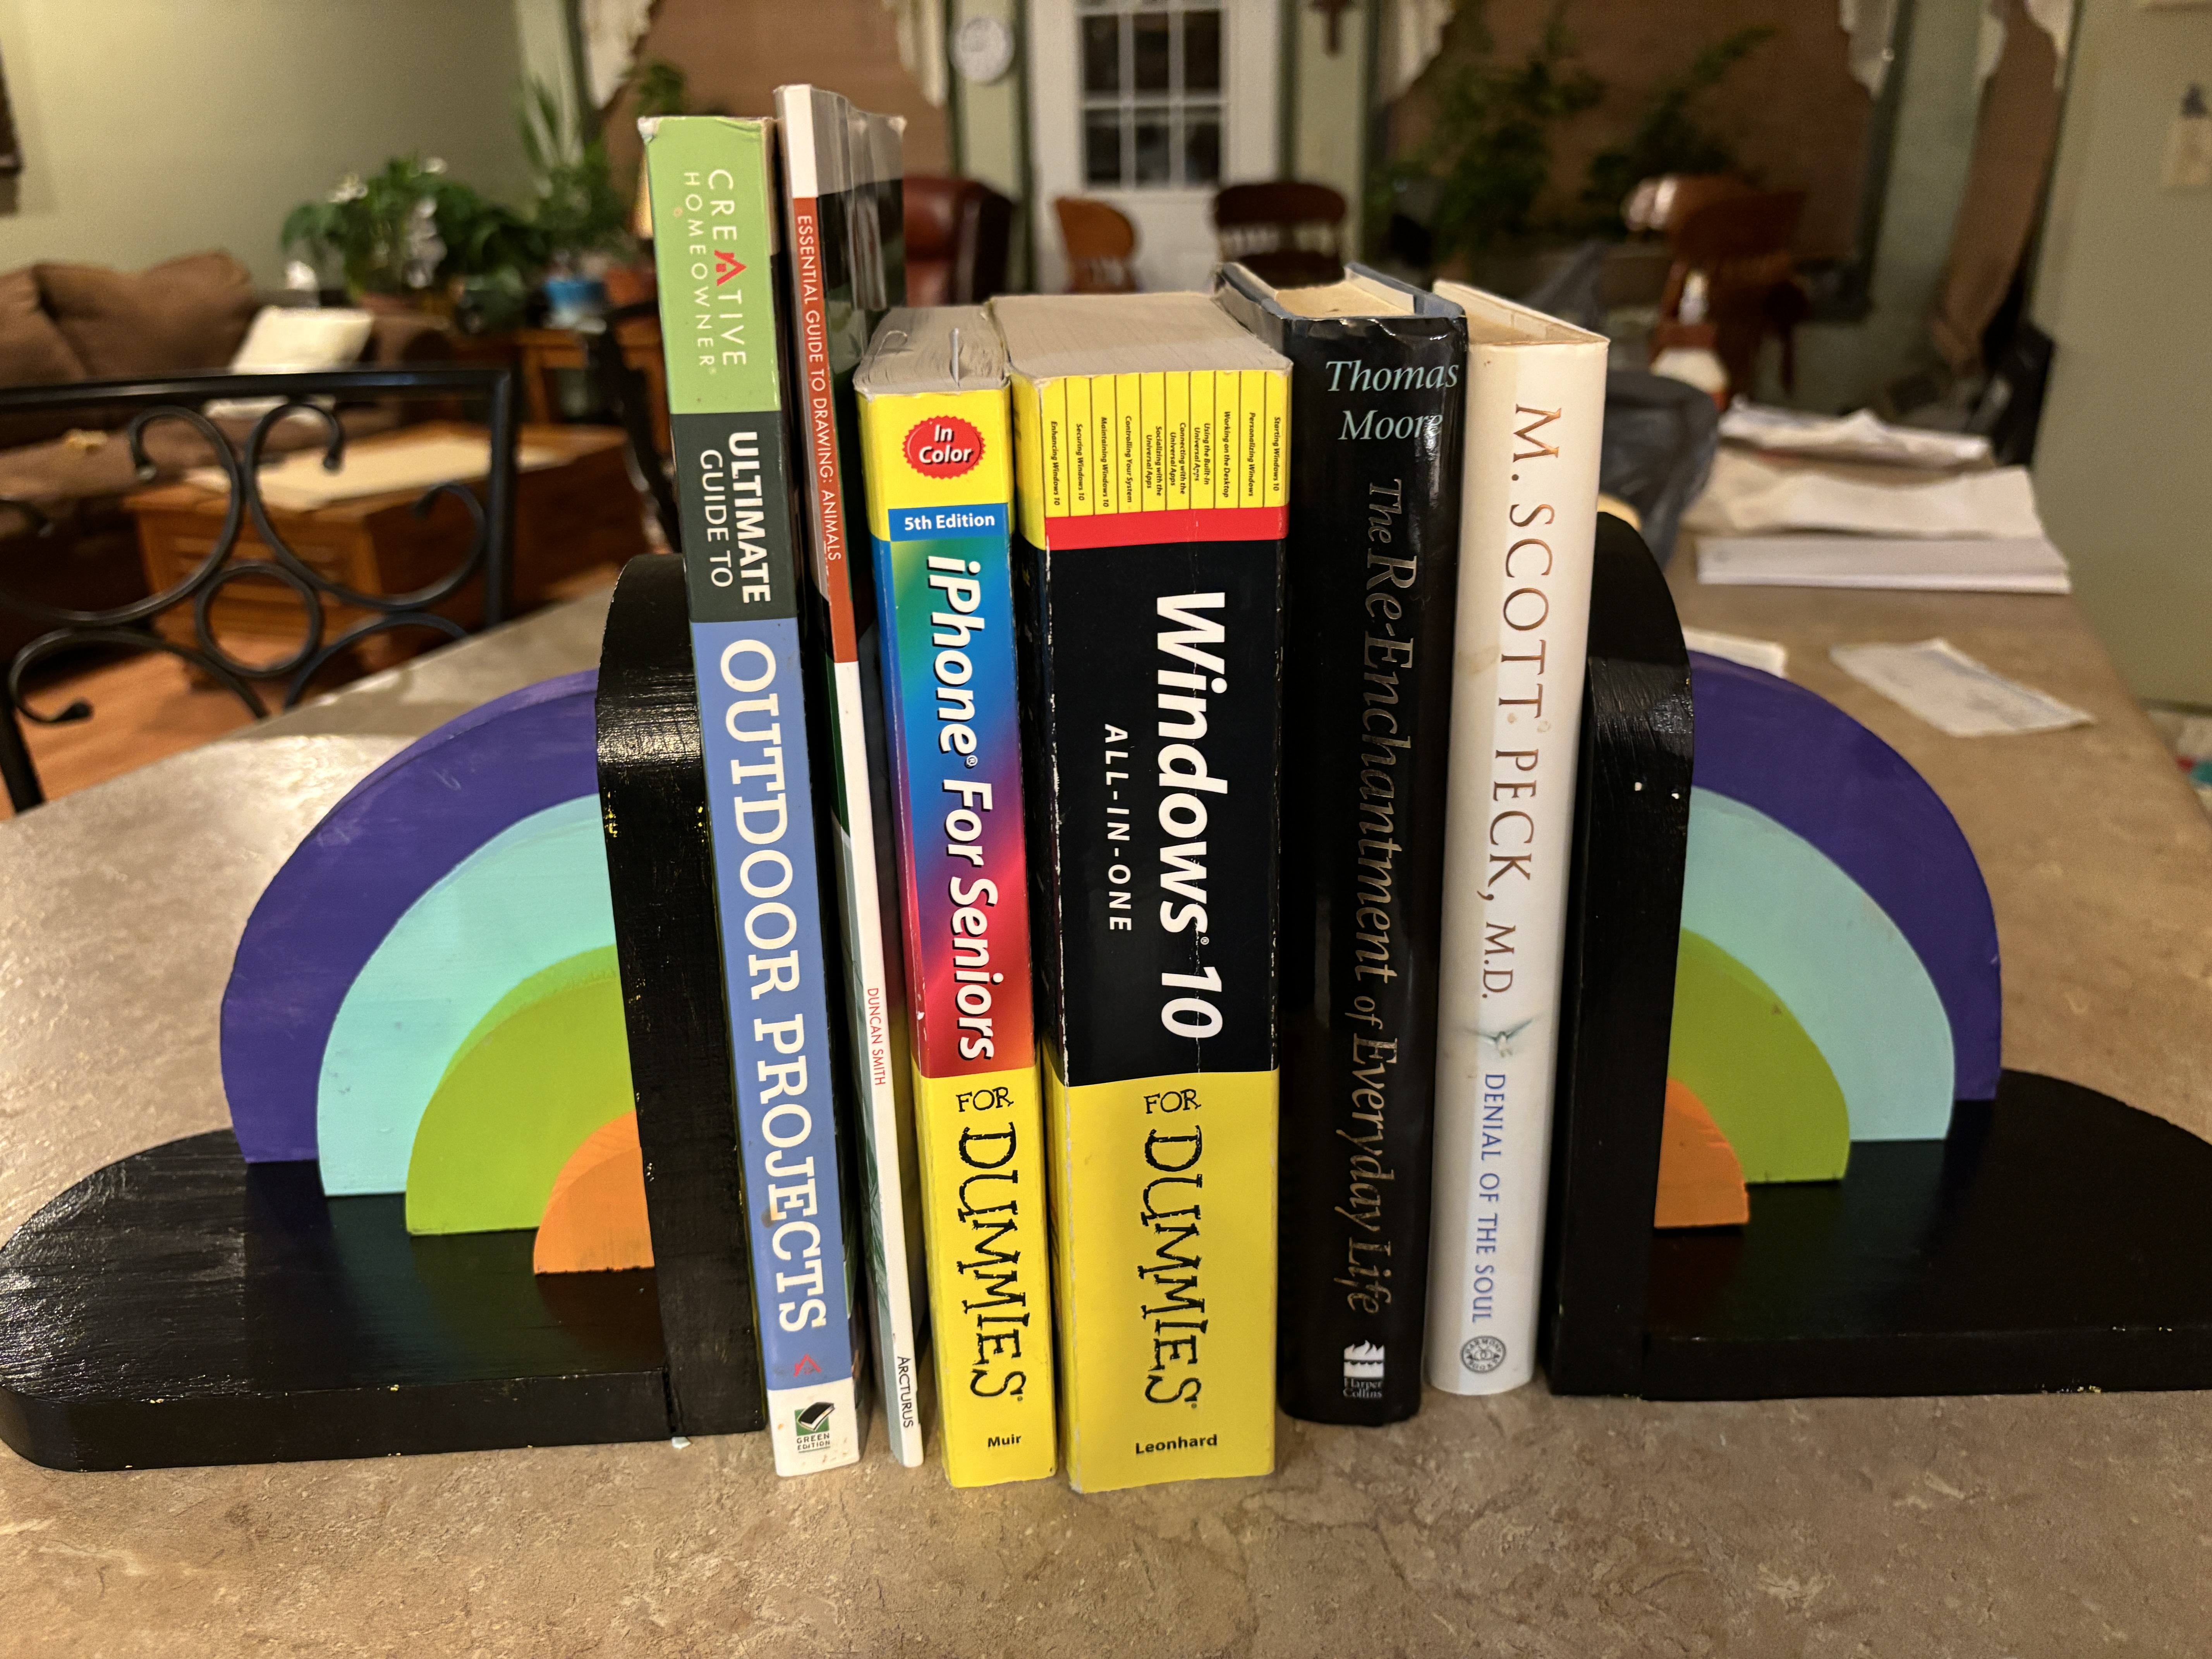
Easy to make bookends

 Hi everyone.  Hope this finds everyone well, and anxious and motivated for a new project. 

I just want to tell you that since it warmed up a little, I have been enjoying my workshop.  But, I didn't know what to make, I had dug out an old board that I knew would work for whatever project I decided on.  Flipping through an artists' journal gave me an idea, so now I will get busy and show you what I made so you can go out and make yourself 1 or 2. This would be great in a toddler's room to hold his colorful books.


I used just one board.  1 x 7 x 48  


First, I transferred my pattern onto my board Then, using my Proxxon mini bandsaw I cut  out all the pieces.  Note if you use the extra narrow band saw blade you can cut out these pieces very easily as it will take tight curves with ease.

After sanding real well, I used some carpenter's glue to glue the basic braces together.  Note:  The longer one is glued to the shorter one so that the sides and the base are of equal length.   When the glue dries I add some nails for added support.  I used the Proxxon cordless rotary tool to pre-drill my holes to avoid cracking the wood.  


Then I sand all the pieces well and proceed to painting. 


]\

Let that get good and dry then glue it up like a rainbow to the base and side pieces.  Drill and add the nails or screws for added support and you're done.  The bookends are heavy enough, so they don't slide.  

It was easy, wasn't it.  Put it anywhere you need a splash of color or to hold those oversized books neatly.

Thanks for visiting!  Check out Proxxon tools next time you get a chance.  Small precision tools are so easy to use.

Saturday, February 3, 2024

How to make a fishing pole rack

       Hi everyone.  Hope your winter is going well.  Groundhog says an early spring and I'm all for it!  I'm ready.  Speaking of spring.  I like to go fishing when the weather is nice, but I hate storing the fishing poles.  Seems they are always getting tangled or falling over or just generally getting in my way in the workshop.  So today when I got them down out of the rafters, I made a little fishing rack with the intentions of keeping them tangle free and ready to go at a moment's notice.  I of course used my Proxxon tools, I find the smaller tools are so convenient to use for these quick projects.


 I used some wood pieces I found in my shop so my measurements might seem arbitrary, probably because they are. 😁 Feel free to shrink or enlarge your project according to your needs. 

Here are the measurements I used.  Enlarge the picture above to read it.

 I used the Proxxon mini table saw to cut all my pieces,  


Then, I used my Proxxon mini scroll saw to cut out the keyholes in the top piece.  My rack will hold 6 poles so I cut 6 keyholes.


I spaced the center of the keyholes 2 1/2 inches apart.


I always use my Proxxon O/ZIE delta sander to smooth all the edges after each cut. Splinters are never wanted.


To prepare the bottom to hold the butt of the fishing rod, I used a drill with a Forstner 1- 1/4 bit to make 1/4" deep holes spaced at center 2-1/4 inches apart.  This just keeps the poles from sliding around on the rack.


Next, I fastened the 3 supports to the side pieces, One at the top, one at the bottom/ and the third in the middle.  I glued and clamped them in place then added screws to strengthen it.  I used the Proxxon rotary tool with a small drill bit to predrill all my holes prior to adding the screws to avoid splitting the wood.


When the glue was dry, I added the top and bottom pieces aligning them perpendicular to the brace pieces; Again, I glued, clamped, and then when it was good and dry I predrilled mu screw holes prior to adding strengthening screws.  


                                                                                                                                                                                                                                                                                                                                                                                                                                                                                                                                                                                                                                                                                               I added the 2 small pieces to the top piece and fastened them down with wing nuts.  They can be loosened to release the poles.                                                                                                                                                       
 I put it all together and hung it temporarily on the wall.  It works great.  I'm going to take it down and paint it, then it will be finished, and I can add my other poles to this collection. 

]\

Proxxon tools made this project super easy.

Now I'm ready for fishing season and won't have to untangle everything first.
I enjoyed this project.  Hope you give it a try too.
Catch you next time   Carol W


00

Saturday, January 6, 2024

How to make a dollhouse chair.

Hi everybody!   Guess you survived the holidays!    Time to get going onto something new in this brand-new year!   I'm in the process of helping a friend. refurbish an old doll house.  We have been working mostly on the structure and exterior, but now we are giving that a little rest and thinking about the interior. So, my project today is to make a little chair for this little house. It's very first piece of furniture.\


Ok, Let's get started, I saw a design for a chair and have redone it to fit my needs.   See below for my plan.
I see that it could have been darker,  sorry!
So the first step was to draw the pattern, as above.  This little chair is going to be about 4" tall.
Next it gets transferred to the 1/4" poplar plywood I am using and I begin to cut it out using the Proxxon mini band saw.   A scroll saw would work just as well, (maybe better), but I just love the little Proxxon band saw.   Anyway, there are parts of this I do take to the Proxxon mini scroll saw as it works better on the tight curves.
]


I need to tell you on the patterns there are small tabs and slots where things will fit together.  This makes gluing so much easier.  After all is done there might be a bit of tab showing but that can easily be sanded off.  I like to use the Proxxon delta sander for this and pretty much all my sanding needs.


For the inside cuts on the chair back, I drilled some holes ahead of taking it to the scroll saw as a shortcut.  You do have to drill a hole in it someplace anyway, so it might as well make it do something.  Then I released the sawblade on the Proxxon scroll saw and threaded it through the hole to cut the sides.  The Proxxon scroll saw can use blades with pins.  This makes changing blades or releasing and replacing blade for inside cuts very easy!
]````````````````````````````````


Once we get all our pieces cut and sanded it's time for gluing.  This can be little tricky but small clamps really help. 


And now we got a chair.  It's pretty sturdy and will look nice when I finish sanding and painting it.
]


There, Now, there is a place to sit on the porch.😁

I really enjoyed making the little chair and look forward to constructing some more furniture for this many-roomed dollhouse.

Thanks for visiting.  Hope to see you back next time.  Carol.
Play safe everybody.!

Thanks Proxxon, I'm still loving your tools.