Showing posts with label Proxxon Mini band saw. Show all posts

Sunday, March 3, 2024

Easy to make bookends

 Hi everyone.  Hope this finds everyone well, and anxious and motivated for a new project. 

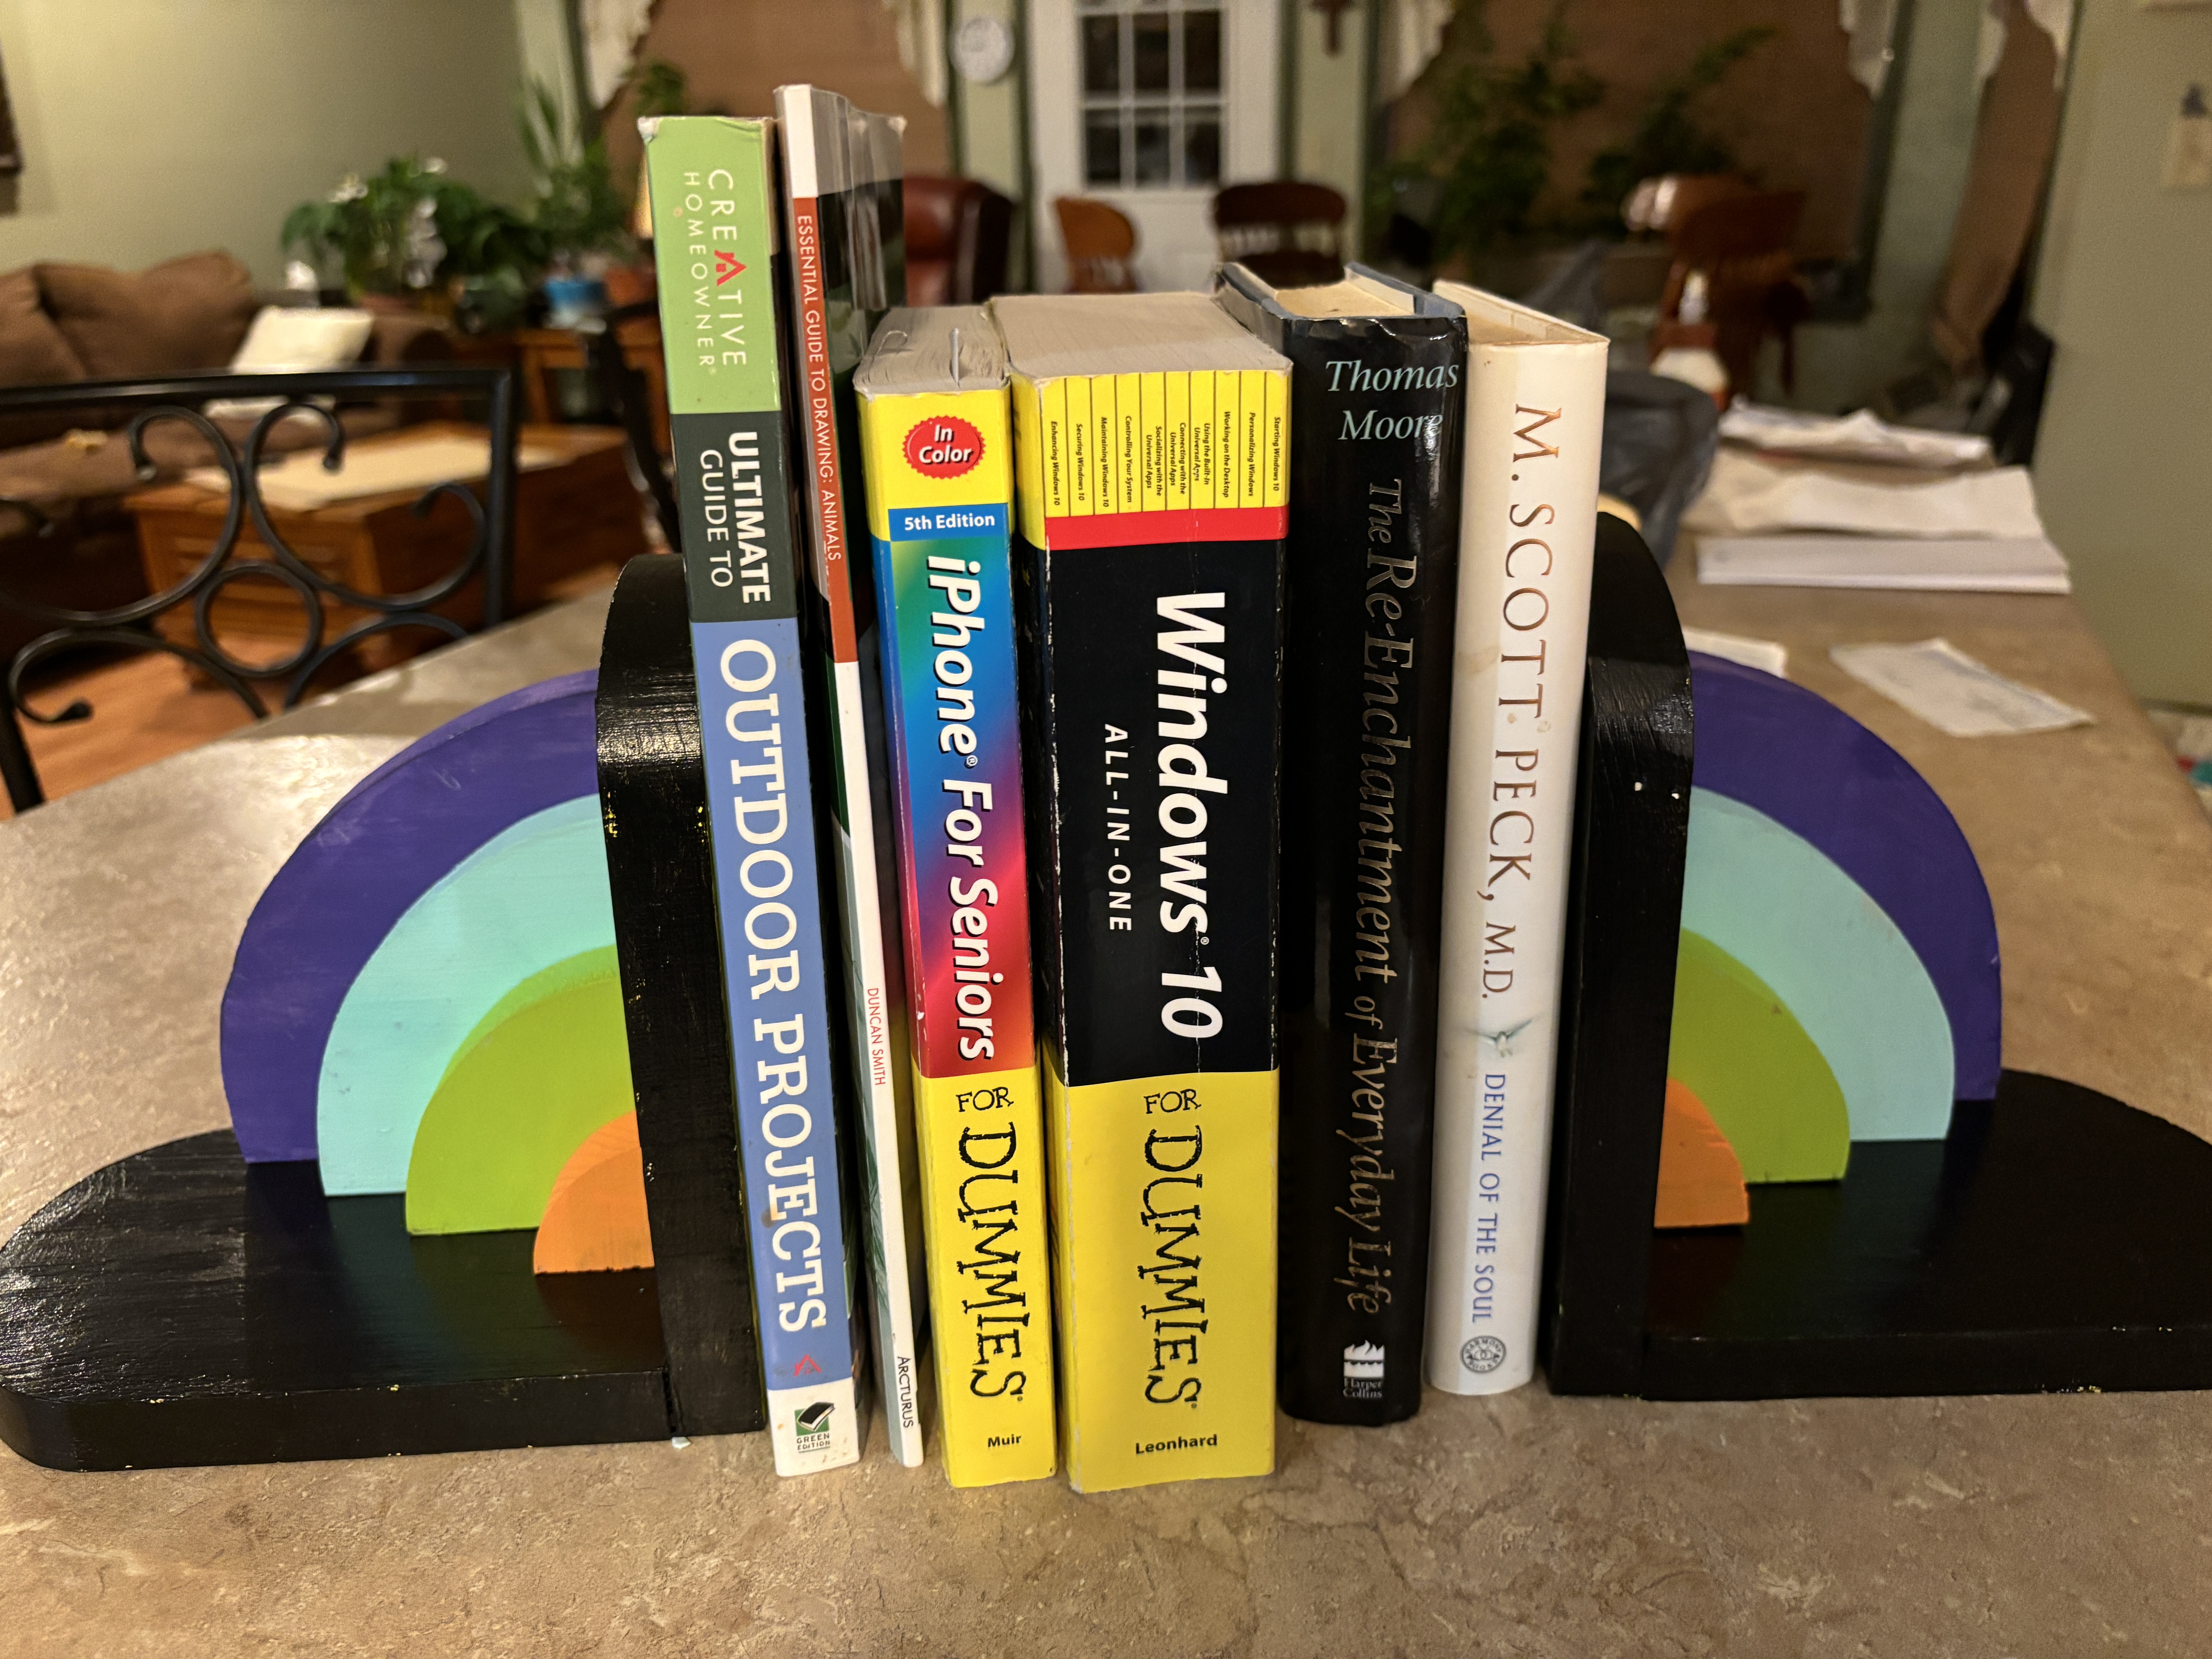
I just want to tell you that since it warmed up a little, I have been enjoying my workshop.  But, I didn't know what to make, I had dug out an old board that I knew would work for whatever project I decided on.  Flipping through an artists' journal gave me an idea, so now I will get busy and show you what I made so you can go out and make yourself 1 or 2. This would be great in a toddler's room to hold his colorful books.


I used just one board.  1 x 7 x 48  


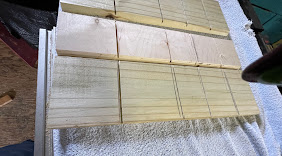
First, I transferred my pattern onto my board Then, using my Proxxon mini bandsaw I cut  out all the pieces.  Note if you use the extra narrow band saw blade you can cut out these pieces very easily as it will take tight curves with ease.

After sanding real well, I used some carpenter's glue to glue the basic braces together.  Note:  The longer one is glued to the shorter one so that the sides and the base are of equal length.   When the glue dries I add some nails for added support.  I used the Proxxon cordless rotary tool to pre-drill my holes to avoid cracking the wood.  


Then I sand all the pieces well and proceed to painting. 


]\

Let that get good and dry then glue it up like a rainbow to the base and side pieces.  Drill and add the nails or screws for added support and you're done.  The bookends are heavy enough, so they don't slide.  

It was easy, wasn't it.  Put it anywhere you need a splash of color or to hold those oversized books neatly.

Thanks for visiting!  Check out Proxxon tools next time you get a chance.  Small precision tools are so easy to use.

Saturday, August 5, 2023

How to make a simple shoe rack

 Hi everyone, it's me again.   I struggled a little bit this month trying to come up with a project that I thought you might enjoy.  This is another hopefully useful item that is easy to make and doesn't take a lot of time or resources.  Are you ready?  drumroll please....... We are going to make a small shoe rack that can sit by your door so shoes dont collect all over the house.  


I used some reclaimed poplar plywood, and some left over hollow metal tubes to make this project.   If you don't have the tubes, dowels would work just as well.  Add little paint, a few small screws and you have everything you need.   Oh, I also used the Proxxon mini table saw,the Proxxon mini bandsaw, the Proxxon cordless rotary drill and a screwdriver.

Let's get started.   I laid  out my design on the plywood to get started.   


 Using the Proxxon mini table saw I cut my pieces out.   For the diagonal cutting I did not use a fence or

 miter guide but simply and carefully ran the wood through the saw blade


Then I cut out the notches using the Proxxon mini band saw.


Using a full size drill. I drilled holes where the pipes will settle into.


I put it together, then fastened the fromt and back pieces with small screws.  It fits tight and I am pretty sure will not soon come apart.   So basically, it's done.  Now let get some shoes in it.   See below.


This will be great by the back door.  

I forgot to mention that it is easiest to paint before it is permanently put together. 


All done.   Well, I did say it was an easy project.  Thank you for visiting, Thanks Proxxon, Im still loving your tools.  Carol


Friday, June 17, 2022

How to make a Proxxon tool caddy to keep things organized

 Hi again.  It's time I got my act together in the shop.   I have a lot of tools and when I get to working, they end up all over, which I don't mind, but...in between projects I like to get things back in order so that in my next flash of creativity I know where to find them.   Also, if you are like me, 4 or 5 corded tools can get so tangled up together it sort of slows projects way down.   Anyhow, today I am going to fix all that, so that my tools will be at my ready and not cluttering up all my free space at the workbench.

Let's make a Proxxon tool caddy for all our hand held Proxxon tools.   


Supplies needed

1/2" pine or plywood   Need a width of about 6"  I used a dog-erred fence board for part of this hat had been planed very smooth.  (very inexpensive wood that looks great if you spend a little time cleaning it up

1/16" or 1/4' thin plywood or paneling pieces.   Likely you have appropriate scraps for this part.

wood glue,

Proxxon mini table saw

Proxxon mini drill press with drill bits

Proxxon mini bandsaw

Proxxon ozi/e delta sander 

small screws and screwdriver

Proxxon rotary tool with rasp cutting bit.

masking tape.


Let's get started.    Cutting the wood is the trickiest part.  Be careful and, measure and cut accurately and it will go together like a puzzle in the end.    see the cutting dimensions below


I began by cutting some pieces using my proxxon mini table saw  Remember we need the 30 degrees on the long edges of the bottom and sides so I set the gauge on my Proxxon mini table saw to 30.   This way I can cut that angle on both my sides at the same time.    I want the  sides to lean out a little bit.


Next I lined up my sides and bottom and made my lines where I will cut my small slots for the inserts.  The best way to make sure they will fit well is to set the fence for the first cut and run them all through.  Then change the fence for the next cut and run them all through again.


Remove the blade cutter and splitter from the Proxxon table  saw and set the blade height to about 1/8 to 1/4"   Then set the fence and run the boards through making a slot that fits the inserts.


I cut the slot for my inserts using the Proxxon mini bandsaw.   I stacked them up and cut them all at once.

I remembered the cord problem and decided to cut some notches  where I can pass the cord through, then I cut a couple slots out where I plan to put some velcro straps to hold the cords on the outside of this box.   I used the Proxxon mini drill press to start my holes then cut them using the proxxon rotary tool with the rasp cutter to join the holes.


I applied glue to the angled cuts on the sides and bottom, then inserted a couple of my inserts to maintain the shape and taped in using masking tape to hold it until it was dry,  I will reinforce things later with some small screws.  


I finished by gluing in the rest of my inserts and securing the sides with some small screws.


This is going to sit in the center of my workbench.  My tools have a place to be and wont be all over the workbench now.   I will add a handle later but I was anxious for you to see this project.  Looks like I have room for a couple more hand tools.  hint hint.   

I had a good time making this.  I hope you enjoyed the journey.  Till next time have fun and be creative.  Carol     Thanks Proxxon.   I love your tools!


Monday, November 8, 2021

How To Build A Double Breadbox


Hi everyone! Today I wanted to show you a breadbox I built for my kitchen. I decided to make a double one because I need the extra room to stash a lot of stuff in it. Because the price of wood has gone up I wanted to just use scrap pine that I had laying around. When I build things like this I hardly ever make a pattern. I did draw something for the sides and center divider but the rest just depended on what wood I had on hand. I did vinegar grain painting on the two lids and the top. Follow along with me and you can see how I made it :-)

Supplies:
  Scrap pine boards
  Hinges (4)
  Wood Glue
  Brad Nailer and Brads
  Vinegar Paint and Varnish 

     
First I determined the size I wanted the box to be and drew a pattern for the side pieces.


Transfer pattern to pine and cut using the Proxxon Mini Band Saw. 


Using the Proxxon Table Saw I cut a board for the front face after I figured how long I wanted the piece to be.


Next I glued and nailed the to sides on the front.


Now I needed to cut the center divider so I altered my side pattern cutting a notch in the front and attached it with glue and brads.


.Before I went any further I wanted to cut out my lids. I determined the size that both lids needed to be and figured out the angle each had to be and cut to fit up to the base. I set my band saw at the angle and cut the long edge of the lids.


Next I measured and cut the upper front face using the band saw. I sanded the edges using the Proxxon Disc Sander and attached it with glue and brads,


I measured and cut a top piece and two back pieces and sanded on the disc sander.  Attached with glue and brads.


I then dry fit the lids and attached the hinges.


I removed the lids and hardware and sanded lightly. Next I prepared to paint. The lids and top board I did a faux graining technique using vinegar paint. Let those dry the applied a varnish.


The base and the inside I painted with Plaid Inspirations Chalk Paint. Color was called Ink. After dry I brushed on Plaid Inspirations Wax in Clear.


Here it is sitting on the countertop in my kitchen. I'll have it filled up in no time. Thanks for following along.... Colleen