Showing posts with label Proxxon mini table saw. Show all posts

Saturday, July 6, 2024

How to make a plexiglas business card holder

 Hi everyone.  Hope you all had a good 4th of July.  It was hot here but still had a good time with friends  We had an indoor picnic so to speak.  Anyway, I chose a simple little project so as not to spend a whole lot of time out in my un-airconditioned workshop.  The challenge today was to find the right tools for the job.  I really dont have a lot of experience with plexiglas so I learned some tricks I want to share with you.  

What we want to make is essentially a little box.  The trick is cutting plexiglas without chipping or cracking it, then finding the right glue. 

 Ok. lets get started.  I made a pattern for myself that I felt would hold the cards in a nice way.  I drew my cut lines on masking tape.  I was off to the Proxxon mini table saw to do my cutting.  It went well for a little while but then I started chipping and cracking the little pieces.


Make sure you wear safety glasses as bits of hot plexiglas are flying.


Here is the first trick.  I took a slim slab of wood and taped the plexiglas securely to it.  I drew the pattern onto the wood and cut the pieces with the wood side up.  I got a very smooth cut and there was none of the flying plexiglas pieces. 


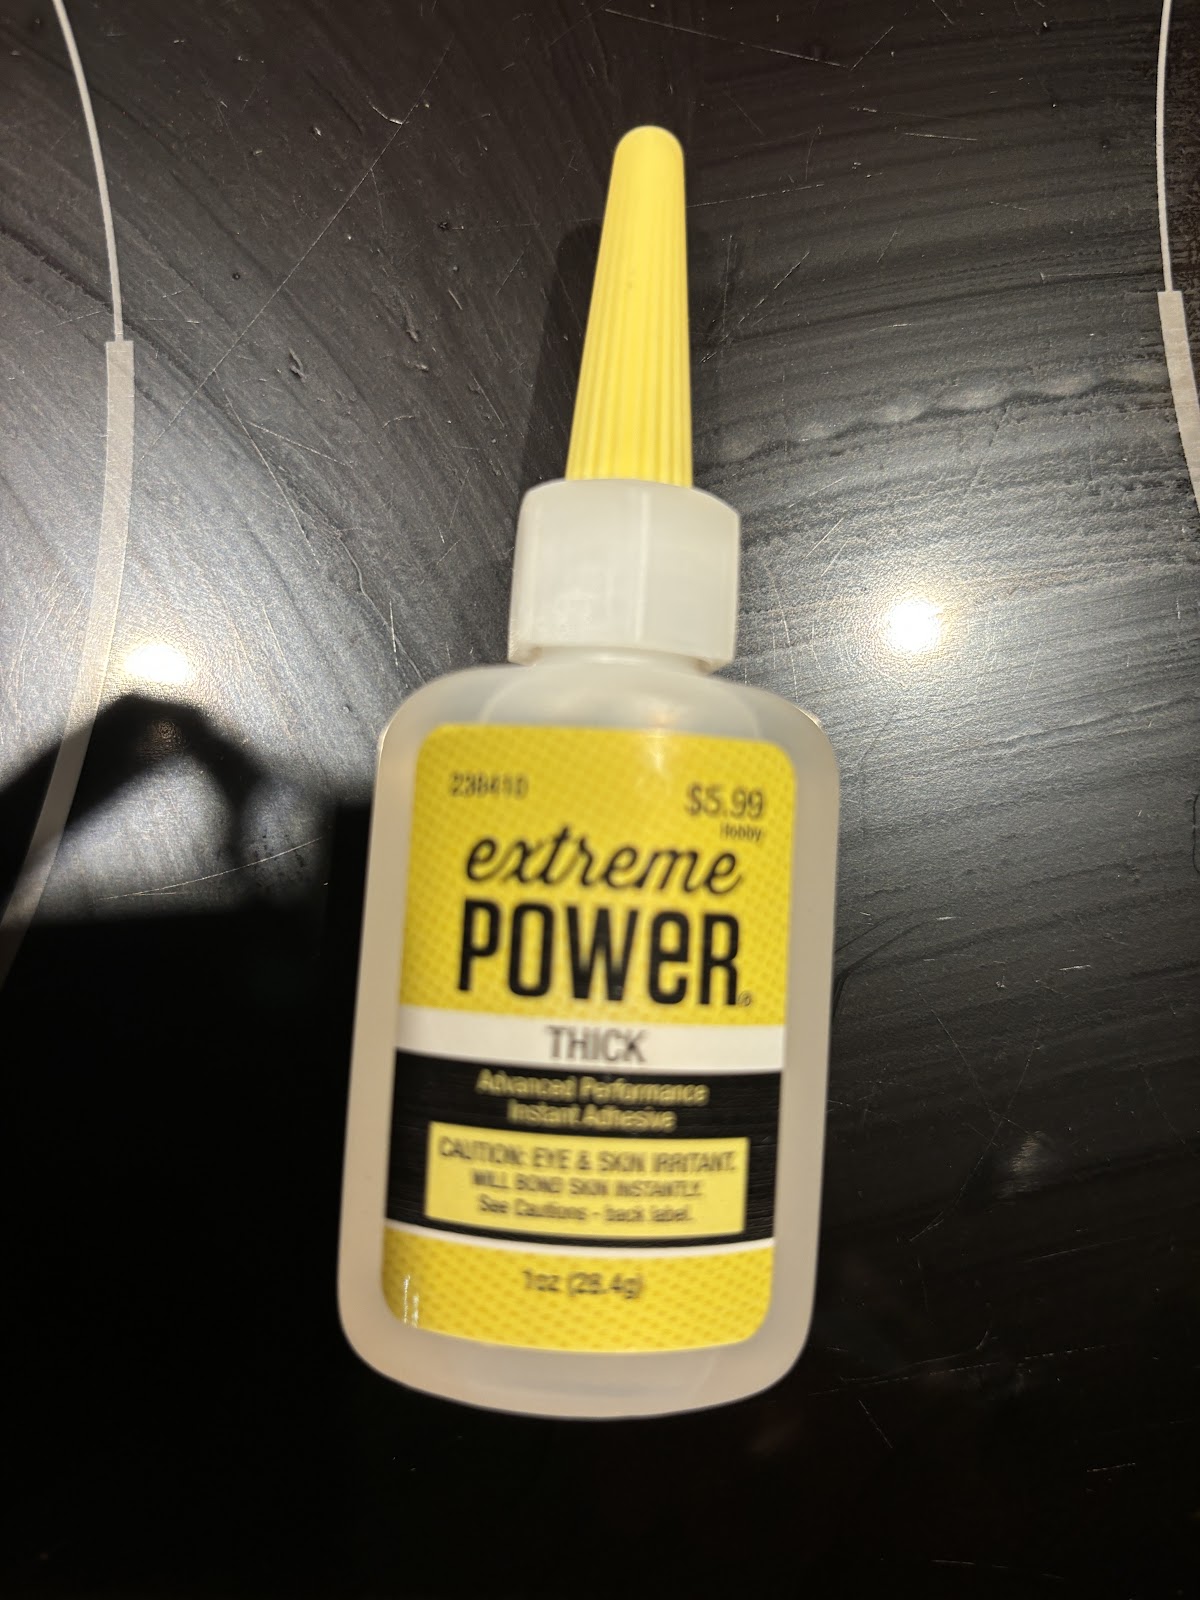
When I got all the pieces cut I began the gluing process.  The trick here is to leave the protective plastic on over the plexiglass to keep the glue off the glass.  Peel the edges away and lay a line of glue.  I use glue that is made for model making.  
Go slow, one side at a time.  It doesnt take long for the glue to hold. When the box is made, peel away the protective plastic and you got a nice little box.   Oh, I used the proxxon mini scroll saw for the finger cut-out on the front side.   Any extra plexiglas (overlap), can be removed with the Proxxon OZI/E delta sander.  But be careful not to scratch the plastic sides.    


.


sorry for the poor picture.  The project acttually looks good 


Hope you all enjoyed the little project.   Catch ya next time.  Carol


Saturday, April 6, 2024

How to make a simple spice rack

 Hi folks.  My friend has asked me to make a spice rack for her kitchen.  Says she is tired of all the spices falling out everytime she needs one.  And if hers is like mine, I can never find the one Im looking for until I drag them all out.  So, today let's make her a spice rack.


The first thing I did was sort through my wood on hand.   I found a piece of 1/8" oak plywood and a couple pieces of some pine I felt would work.  

1st step was to cut my piece to length.  I left the plywood piece as is thinking that it was as good a size as anything else.  so I will cut my wood for the outside "box", and shelves to fit it.

The plywood (back), measures 23 1/2 x 15" x 3 1/4 "  Sides will be 24 x 3 1/4  Top and bottom 15 1/2 x 2 1/4 x 3/8    There will be 3 shelves which measure 14 7/8 x 2 5/8" x 1/8"

\


I used the Proxxon mini table saw to cut my wood.   And Ill be using this saw in the next steps also.

I need a way to put these thin boards together.  I know I cannot use nails or screws so I am going to make some grooves where the pieces will fit together.  
I set up the Proxxon table saw to make some cuts partway through my wood.  I move the saw blade so that it is about 1/8" high.   then I move the fence to 1/4" away from the sawblad and run one long side of each of my sides, top, and bottom pices..  The groove is not quite wide enough to secure the plywood back piece in so I moved the fence out just a little and ran them all through again being careful not to make my groove too wide.  I want my pieces to fit snugly.


Looks like it fits but before we glue it we need to make the slots for the shelves.
Do this in the same manner.  I took 2 passes to make it the right width.  
Make sure both sides are exactly the same.  


Now glue the sides, top and bottom together and let the glue dry well.  Then slide the shelf pieces in.


I painted it with white primer.  My friend will paint it whatever color she wants.   Look how it looks when I put some spices in it.


I added 2 sawtooth hangers on the back.

Thats all folks....Thanks for visiting.  Come back soon and see what we're making next
Thanks Proxxon, awesome tools.   Carol


\

Saturday, November 4, 2023

How to make a patriotic frame for Veteran's day


Hi folks, Carol here to show you how to make a simple but fun picture frame to celebrate Veterans' Day

Does anybody out there have scraps of wood laying around?   
Who doesn't,  right? 
Ok, we are going to take those little scraps of wood to make our Veteran a special picture frame.  


I started with a long piece of simple pine.  It measured 1 1/2 inches wide by 3/8 inches thick and about 3 feet long.   I'm going to rip it down to 3/8 inches wide so that I can have a perfect square strip.


I use the Proxxon mini table saw to cut my strips of wood.
\

Now I have a long square strip of wood, I need some angles for what I'm doing.  I chose and 8-pointed star so that I could make 45-degree angled cuts that will fit together nicely.   This is so easy using the Proxxon mini chop saw.  I just set the angle to 45 and make my cuts.  I want the lengths to be even, so I use a guide mark where to put the wood for cutting.  I am going to use the edge of the circle to line up my cuts.  If I want a different spot, I might place a piece of tape to guide me.


So, I need 16 identical pieces to form my eight-pointed star.  So easy with the Proxxon mini chop saw.  I love it!


I use the Proxxon disc sander to just smooth the edges.  Use a gentle touch here.  
\
Ok, now glue 2 pieces together to form a >   8 times.  Let it dry good.

I use Titebond glue.  I use the premium for quick setting and ultimate for stronger set.  For this project I used the Premium because I'm a little impatient. 😁  

To hold things really well I added toothpicks.

\Using the Proxxon cordless mini rotary tool I drilled a hole through both pieces and stuck a toothpick in it.  When it dries, I will break off the toothpicks and sand it smooth. before I paint it. 

Put them all together in a similar manner and you have made a 8-pointed star.  


Ok, I wanted to take it a little further, so I did exactly the same thing only cutting my pieces slightly shorter on the Proxxon mini chop saw.
And then I did it again.    Hmmm 3 starts just beckoned to be red, white, and blue, the colors of our glorious flag.  
I glued it all together and temporarily placed a flag picture in it for Veteran's Day.   I like it, and am going to place it on our door.  


Hope you had some fun, I wanted to show you that no scrap is too small, that you can't make something out of it, using Proxxon tools.  They are the best tools for little projects.  

Thanks for visiting today.  Hope you all have a wonderful Veteran's Day.  Well everyday can be wonderful,,, ENJOY !!    Carol

Sunday, October 15, 2023

Building A frame For A Trade Sign


Hi everyone!  This is part 3 of building my trade sign.  This is the final step aside from painting it, which will come at a later time.  Follow along with me and I'll show you how I built the frame. 


Supplies:
  Clamps
  Wood Glue
  Brad Nailer and Brads
  Pine Trim Molding


First, I needed to cut, glue and clamp the trim across the curved top of the sign.  Using the 6table saw I cut a length of trim with excess on both sides. Knowing that this piece had to be flexible, I needed to soak it in water.  I wish I had taken a photo, but I forgot.  I soaked it in our pool for two hours. Removed it and bent it across the top curve.  Using clamps, I held it in place till it dried.


Once it was dry, I removed it. I cut it to size with a tiny bit extra. I then glued it and re-clamped it.  Next came the sides. I held a piece of trim up to figure the angle I needed to cut it. I wanted that piece to slide up under the top trim.  I marked it and cut the angle with the band saw. Checked for length and trimmed using the table saw.  I applied glue and attached the side. I repeated for the other side.


I measured and cut the bottom trim. When all the pieces were glued, I used the brad nailer and brads to secure everything.


Lastly, I used the Belt Sander to sand off each corner for a perfect fit.


My project is complete, except for painting.  That's coming at a later date. I'll be sure to post a picture when its painted!  Thanks for following along  :-)
Colleen


Saturday, August 5, 2023

How to make a simple shoe rack

 Hi everyone, it's me again.   I struggled a little bit this month trying to come up with a project that I thought you might enjoy.  This is another hopefully useful item that is easy to make and doesn't take a lot of time or resources.  Are you ready?  drumroll please....... We are going to make a small shoe rack that can sit by your door so shoes dont collect all over the house.  


I used some reclaimed poplar plywood, and some left over hollow metal tubes to make this project.   If you don't have the tubes, dowels would work just as well.  Add little paint, a few small screws and you have everything you need.   Oh, I also used the Proxxon mini table saw,the Proxxon mini bandsaw, the Proxxon cordless rotary drill and a screwdriver.

Let's get started.   I laid  out my design on the plywood to get started.   


 Using the Proxxon mini table saw I cut my pieces out.   For the diagonal cutting I did not use a fence or

 miter guide but simply and carefully ran the wood through the saw blade


Then I cut out the notches using the Proxxon mini band saw.


Using a full size drill. I drilled holes where the pipes will settle into.


I put it together, then fastened the fromt and back pieces with small screws.  It fits tight and I am pretty sure will not soon come apart.   So basically, it's done.  Now let get some shoes in it.   See below.


This will be great by the back door.  

I forgot to mention that it is easiest to paint before it is permanently put together. 


All done.   Well, I did say it was an easy project.  Thank you for visiting, Thanks Proxxon, Im still loving your tools.  Carol


Thursday, October 20, 2022

How to make a little shelf

 Hi out there.   Still being practical, I have a easy peasy project today.   Little organization projects can help you keep your wrrkshop neat.   Today let's make a little shelf because I need somewhere to put my glue so I can find it.  I wull be using Proxxon tools.


This can all be made out of one piece of 1 x 6" board.  I mainly am going to use my Proxxon mini table saw and my OZI/E delta sander and new cordless Proxxon mini belt sander.

First i want to cut my (U chose a 16" piece of fence board) on the Proxxon mini table saw.  Using the fence, I measure 4 inches from the fence to the saw blade and lock the fence.


This wood is too thin to simply glue them together, so I am going to make a groove to fit the2 pieces together.   This is easy to do again on the Proxxon mini table saw  I make my first cut 1/2" from the edge of the larger piece.  Remember to set the blade height at 2/3 the height of the board, so in this case at 1/4"


After the first cut I nudge the fence just a tiny bit outward and make another cut.  Look the groove has begun.  I do these 3 or 4 more times until I have the width of the groove the same size as the edge of the other piece of wood.  Now this wood can slip into the groove and this will hold it better than a "butt joint"


Convienetly, the Proxxon cordless mini belt sander is 1/2" and I can use it to smooth and sand my new groove.


next add glue to the groove and place the other piece of wood into the groove.  Make sure it sits at 90 degrees while the glue sets.

I used the Proxxon cordless rotary tool to make pilot holed from the back into the wood after the glue dried to reinforce the bond.  

A couple more pilot holes where i will screw it into the wall.    Now to find a place.


Here is a good place, on the back of the door.   Now I will always find my glue.  

Thanks Proxxon tool company.   and thank you all for visiting.        Carol