Showing posts with label PROXXON Tools. Show all posts

Saturday, August 5, 2023

How to make a simple shoe rack

 Hi everyone, it's me again.   I struggled a little bit this month trying to come up with a project that I thought you might enjoy.  This is another hopefully useful item that is easy to make and doesn't take a lot of time or resources.  Are you ready?  drumroll please....... We are going to make a small shoe rack that can sit by your door so shoes dont collect all over the house.  


I used some reclaimed poplar plywood, and some left over hollow metal tubes to make this project.   If you don't have the tubes, dowels would work just as well.  Add little paint, a few small screws and you have everything you need.   Oh, I also used the Proxxon mini table saw,the Proxxon mini bandsaw, the Proxxon cordless rotary drill and a screwdriver.

Let's get started.   I laid  out my design on the plywood to get started.   


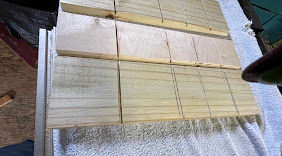
 Using the Proxxon mini table saw I cut my pieces out.   For the diagonal cutting I did not use a fence or

 miter guide but simply and carefully ran the wood through the saw blade


Then I cut out the notches using the Proxxon mini band saw.


Using a full size drill. I drilled holes where the pipes will settle into.


I put it together, then fastened the fromt and back pieces with small screws.  It fits tight and I am pretty sure will not soon come apart.   So basically, it's done.  Now let get some shoes in it.   See below.


This will be great by the back door.  

I forgot to mention that it is easiest to paint before it is permanently put together. 


All done.   Well, I did say it was an easy project.  Thank you for visiting, Thanks Proxxon, Im still loving your tools.  Carol


Thursday, September 1, 2022

How to use metal to make a decorative plaque.

 Hi again.   Time for another little project.   I was reading up a little bit on some of Proxxon's tools and I found out that the micro bandsaw cuts metals.  Well, no kidding I should have known this long ago, but in my past. I dealt with a bandsaw that only cut wood. In fact, it was written all over the saw itself, "wood only", and I'm not one to argue with an ornery looking giganto bandsaw.  Finding out that I can cut metals has opened a new door.  Let's walk through it and try a small project.  

 Equipment and supplies
Thin piece of metal
masking or painters tape
Wood plaque or other backing for cutout
small files
tProxxon drill press and small drill bi
hammer
small nails..
Small piece of dowel (to make nail holder)
saw tooth picture hanger

First thing I did was to place masking tape on the front side of all my tiles and draw my design.  Bearing in mind that there can't be any inside cuts, make sure that you can enter the closed letters at some point that won't interfere with it's stability or readability.  I got my inspiration from my friend.  I asked her what she would like to see on a plaque and she told me, " Beyond Blessed".  Guess who gets the plaque when it is finished.    In the picture above you can see the progress I was making cutting out the saying.   PLEASE MIND YOUR FINGERS-  This cutting requires some up close holding.  Nope, the red on the letters is not blood, it is where I marked the way in to the closed areas.  I guess I should have used green or blue paint.  The Proxxon micro scroll saw cuts easily into this thin metal.  Another word of warning.  Please wear eye protection.  You surely don't need a metal splinter in your eye.  


This is what I wear when there is any danger of eye injury.


Here is how it turned out.

I sand it a little bit using the OZI/E delta sander.  This makes it shiny.

Now over to the Proxxon mini drill press to make some holes.
I want to use a lot of nails as a decorative feature. 


Now lets nail it to our wood piece.  Oh but the nails are too small to hold.   Hint- make this (below).  Take a dowel or small piece of wood and drill a small hole about 1" up that will hold the nail you are going to use.  Make a cut from the end of the dowel to the small hole.  (It doesn't have to be pretty)


Nail holder!  Lightly tap the nail to get it started and pull out the dowel.  Finish tapping in your nail.
Add a picture holder to the back and it's done.  


Give it to someone you love.  

Thanks for visiting.  Come back again and meanwhile play safe
Carol


Thursday, June 30, 2022

How to make a Plexiglas card holder for personal or business cards using Proxxon tools

 Hi folks, time for a new project.  Today I am going to show you how you can use Proxxon tools to make clear beautiful boxes.  For instructional purposes we are going to make a small little business card holder, but I'm sure you can imagine any number of things a person could make.   Hang on and let's get started 


I went to the local hardware store in town to see what Plexiglas sheets they had for sale.  Ooops.... there is a little bit of sticker shock involved, but I didn't need the giant sheets they were selling.   What I did find out was that most people come in not needing that big ol sheet either so there was a lot of cutoffs and scrap there.  Nice hardware man here said, "Oh that is the junk pile, help yourself", so I did.  😉    I got a bunch of it.  For Free!  I bet every hardware store has pieces like that.  Anyhow, let's get started.

The first thing to do is design the little box.  I wanted to make mine 4" x 2" x 2" but the sides will be shorter and the back taller.   I  also want to use the Proxxon engraver to personalize it a bit.

So off to the Proxxon mini table saw to cut the plexiglas.  I cut the pieces as below

back and bottom 4 x 2          sides 1 x 2                 back 4 x 4


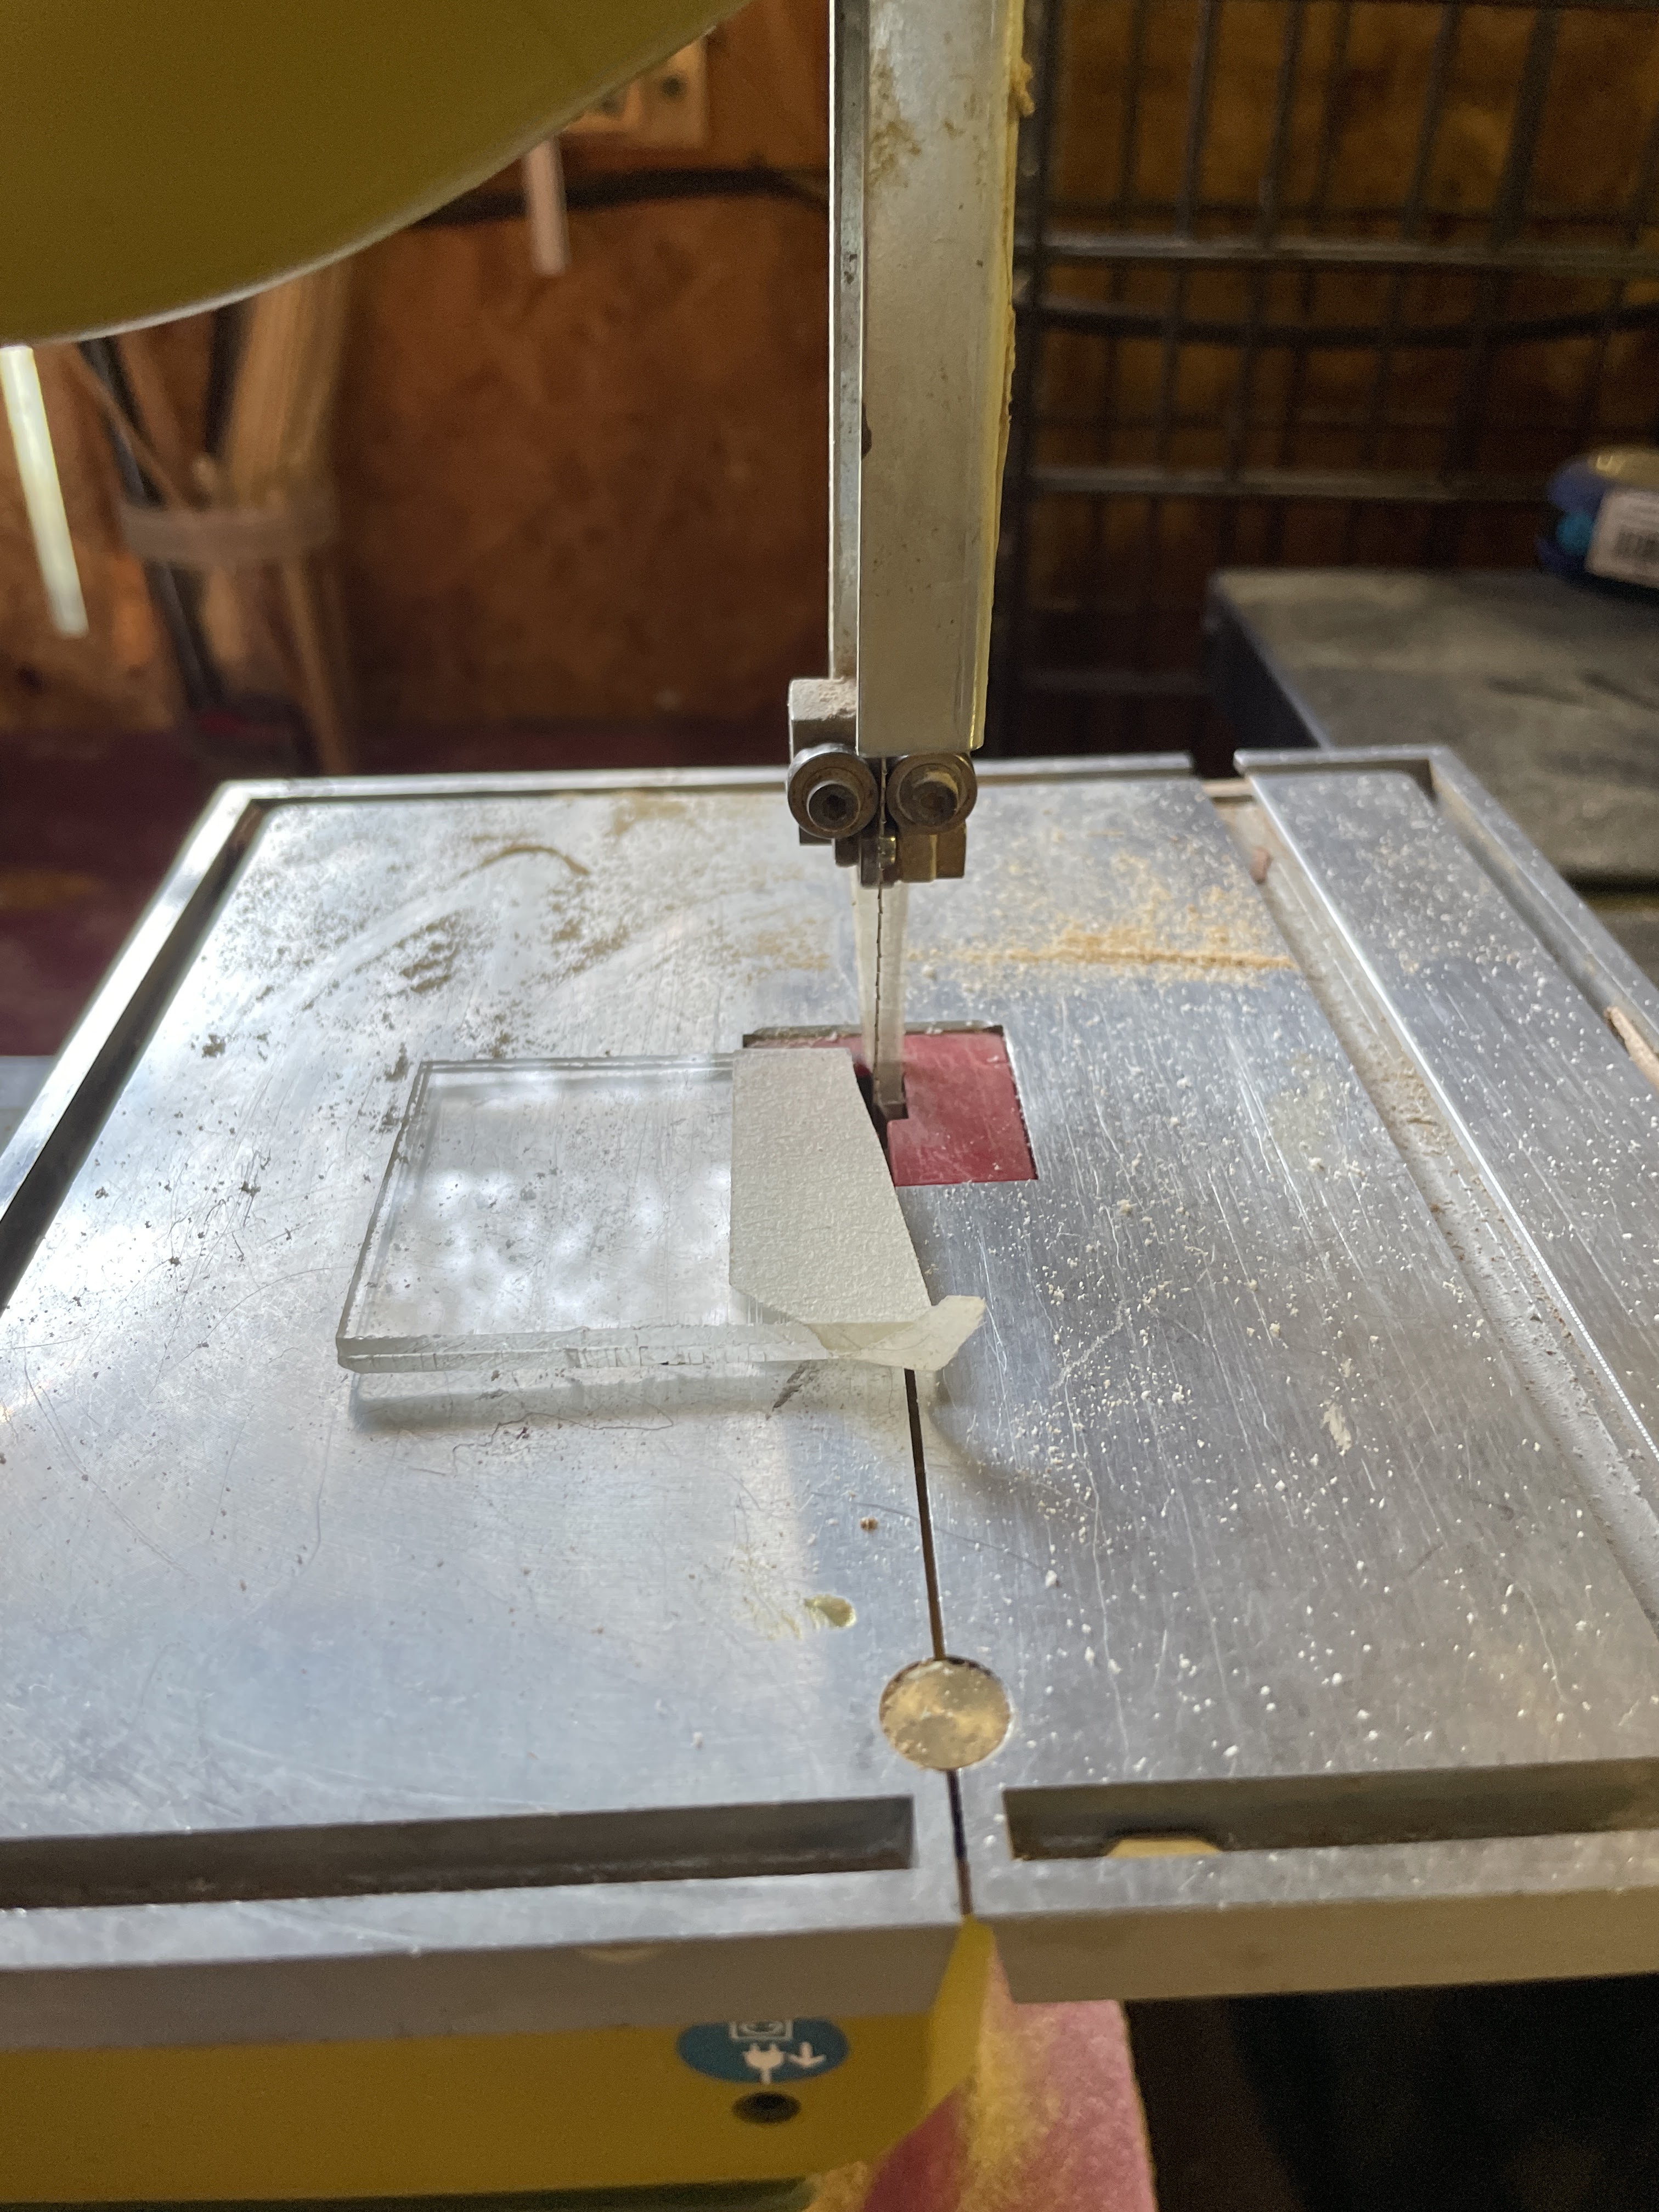
On the front piece I drew an arc that I cut out using the Proxxon mini bandsaw.  This just makes it easier to grab our business cards.


Then using the Proxxon OZI/E delta sander, I lightly sanded the exposed edges to remove any stuck-on pieces that might be sharp.   Oh... that reminds me.   When cutting plexiglas little pieces fly off everywhere.  Use eye protection without fail.  


Check out my face shield.  I use it in the shop all the time. It has a filter in it as well, so my lungs and face are protected!


Next, I glued up my box except the back using super glue plus an accelerator which makes the bond happen super fast so be ready.


Then, I took the back piece over to the engraver, made by Proxxon tools.   I set it up to engrave our company name.  Good directions come with the engraver so it can be set up accurately.   I placed the Proxxon rotary tool in the holder and engraved, my plexigals back with our company name.


Hey it looks good. And cost nothing but a little time.


I can't wait to make something else

Hope you enjoyed this quickie project and maybe learned how easy it is to work with plexiglas and Proxxon tools.  

Till next time   Play safe, Use eye protection please.!   Carol

Thanks for visiting.  


Friday, June 17, 2022

How to make a Proxxon tool caddy to keep things organized

 Hi again.  It's time I got my act together in the shop.   I have a lot of tools and when I get to working, they end up all over, which I don't mind, but...in between projects I like to get things back in order so that in my next flash of creativity I know where to find them.   Also, if you are like me, 4 or 5 corded tools can get so tangled up together it sort of slows projects way down.   Anyhow, today I am going to fix all that, so that my tools will be at my ready and not cluttering up all my free space at the workbench.

Let's make a Proxxon tool caddy for all our hand held Proxxon tools.   


Supplies needed

1/2" pine or plywood   Need a width of about 6"  I used a dog-erred fence board for part of this hat had been planed very smooth.  (very inexpensive wood that looks great if you spend a little time cleaning it up

1/16" or 1/4' thin plywood or paneling pieces.   Likely you have appropriate scraps for this part.

wood glue,

Proxxon mini table saw

Proxxon mini drill press with drill bits

Proxxon mini bandsaw

Proxxon ozi/e delta sander 

small screws and screwdriver

Proxxon rotary tool with rasp cutting bit.

masking tape.


Let's get started.    Cutting the wood is the trickiest part.  Be careful and, measure and cut accurately and it will go together like a puzzle in the end.    see the cutting dimensions below


I began by cutting some pieces using my proxxon mini table saw  Remember we need the 30 degrees on the long edges of the bottom and sides so I set the gauge on my Proxxon mini table saw to 30.   This way I can cut that angle on both my sides at the same time.    I want the  sides to lean out a little bit.


Next I lined up my sides and bottom and made my lines where I will cut my small slots for the inserts.  The best way to make sure they will fit well is to set the fence for the first cut and run them all through.  Then change the fence for the next cut and run them all through again.


Remove the blade cutter and splitter from the Proxxon table  saw and set the blade height to about 1/8 to 1/4"   Then set the fence and run the boards through making a slot that fits the inserts.


I cut the slot for my inserts using the Proxxon mini bandsaw.   I stacked them up and cut them all at once.

I remembered the cord problem and decided to cut some notches  where I can pass the cord through, then I cut a couple slots out where I plan to put some velcro straps to hold the cords on the outside of this box.   I used the Proxxon mini drill press to start my holes then cut them using the proxxon rotary tool with the rasp cutter to join the holes.


I applied glue to the angled cuts on the sides and bottom, then inserted a couple of my inserts to maintain the shape and taped in using masking tape to hold it until it was dry,  I will reinforce things later with some small screws.  


I finished by gluing in the rest of my inserts and securing the sides with some small screws.


This is going to sit in the center of my workbench.  My tools have a place to be and wont be all over the workbench now.   I will add a handle later but I was anxious for you to see this project.  Looks like I have room for a couple more hand tools.  hint hint.   

I had a good time making this.  I hope you enjoyed the journey.  Till next time have fun and be creative.  Carol     Thanks Proxxon.   I love your tools!


Thursday, May 19, 2022

Homemade dice

Hello again.   If you got a little time, I have a fun little project today.   Let's make some dice.  I thought most games require 2 dice, some require 4, but I play a game with friends that need 6 dice so that is what we will make today.  Yes, I know dice are cheap enough, but the satisfaction that comes with making something out of nothing is always fun.


This doesn't take a lot of resources.  All you need is a short piece of wood that can be cut down to 3/4" by 3/4" size.  I chose a piece of pine because it is relatively soft and that will be helpful later on.  Other equipment and supplies. 

Proxxon OZI/E delta sander
Paint
wood treatment.

To get started we need to cut our wood down to size.  I did this by cutting a strip 3/4" wide and high.  Using the fence on the Proxxon mini table saw makes this easy.   ++by all means use a push stick and keep your fingers away from the blade. 


  Now we have 6 little cubes

off to the Proxxon micro press to make our marks in dice making
I chose a round punch to make the dots on the dice.   This does a good job of making them all the same.

Remember when you are planning your dice that opposite sides of the cube will equal 7.   In other words the 6 is opposite the 1, and the 4 is opposite the 3.

Once the dots are all imprinted it is time to paint the dots.  You don't have to worry too much if the painting isn't perfect.   We will take care of that in the next step


Using just a couple of Proxxon's sanding tools, the OZI/E delta sander and the Proxxon cordless mini belt sander it is easy to erase all the wayward paint


Knowing that I used a soft pine, I chose to use a pre-stain on my dice prior to the final finish.   And they are ready to play.  I like how they are quieter on a table top

Thanks for visiting .Hope you come back next time and we will make something interesting.
Thanks Proxxon.   Carol


Thursday, March 31, 2022

How to make a glassy eyed cat

 Hi everybody.   Spring is here yay!  Time to start getting out and having some fun in the yard.  Today, purely for fun lets make a cat to stick wherever I want to in the yard.   I'm going to show you how easy it is to cut some metal and make a cat stake using Proxxon tools.


Supplies
Proxxon mini bandsaw
Metal cookie sheet
wood chisel or wide straight screwdriver
hammer.
scrap wood for stake
2 screws.
pliers
2 glass marbles

  First things first.  Lets draw our design.


The next thing I did was go to the Dollar Tree and bought a cheap cookie sheet.   I wish it were a little stouter but it will work.


I drew the pattern onto the cookie sheet then I proceeded to cut it out using the Proxxon mini bandsaw.  Truthfully, I usually only cut wood but I read the back of the blade packages and found out they cut all kinds of metal, including steel!  Wow!   So I cut it out.  It works, it cuts like butta.   :)

Here comes the tricky part, (not real tricky, just a little tricky), the eyes.  I decided I would use a little wood chisel to cut the eyes.   What we need is to cut an X or something similar.  It is going to hold the eyes.  


I used some spray paint I had on time to color the kitty.  

The next step is to bend the Xs.  Use a pair of pliers, this metal is very sharp.  I bent the horizontal ones backward and the vertical parts towards the front.  I messed with the angles until I had them where they would hold the marbles secure.


I used the Proxxon mini bandsaw to cut a scrap piece of wood into a stake and screwed the cat onto it.   There you have it.  The glassy eyed kitty stake.  It's going to look good in the yard.


Thanks for visiting.   This was a quick and fun project.  I learned that I can now cut various metals using the Proxxon mini bandsaw.     See you soon   Carol