Hi everyone. I have a neat and easy little project today that I think you are going to like It's a cute little, totally customizable, outdoor shelf. I originally planned it to hang next to the outdoor sink, where we do a lot of potting and repotting but seeing how handy this can be, I am planning a larger one for there. It is easy to build and adjustable to suit your needs so let's make a dozen.
Proxxon tools made creating it a snap!!
EQUIPMENT and SUPPLIES
1" x 4" lumber (note that this actually measures at ¾" x 3 ½")
My shelf support was 32" high , (need 2 of these) and the shelves were 19" each ( 3 of those) and there are top and bottom pieces that measures 2 ¾" long. (2 needed) so I needed a total of about 13 feet.
1 ¼" wood screws and screwdriver.
Proxxon mini table saw
Proxxon rotary tool with small drill bit
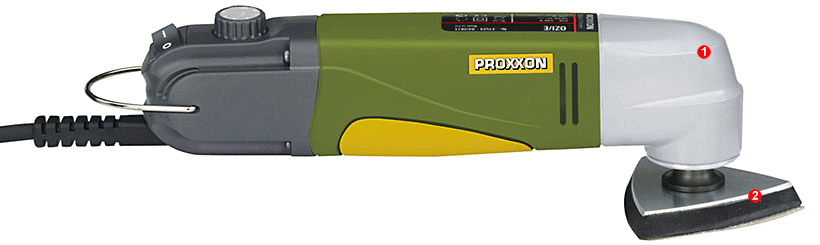
Proxxon OZI/E delta sander
wood glue
Sealer or paint of your choice.
Let's get started.

Since this project is customizable to your needs the first thing you should do is to measure the space where you plan to put it and decide on your dimensions.
Mine required 2 boards cut to 32" 3 boards cut at 19" and 2 pieces cut at 2 ¾"
Next, cut your pieces to length. I cut all my pieces on the
Proxxon mini table saw.
The next part of this project highlights some different ways to use the
Proxxon mini table saw. We are going to cut some grooves into our vertical pieces that will support the shelves. To do this we need to remove the blade guard/splitter off the table saw. This is simple to do. There is a small yellow thumb screw on the front right bottom of the table saw. Remove that and lift the table up. It has a catch that will hold it there while you loosen the screw underneath holding the blade guard. (where my finger is pointing in the picture below.) After you loosen it a little you can simply pull the blade guard off from the top.

With the blade guard off adjust the blade height to about 1/4"
Next step is to measure and mark on your vertical pieces where you will want your shelves to rest.
Make sure to mark both sides at the same time. The shelf is 3/4" so mark down from your first line 3/4"
Using the miter guide on the Proxxon mini table saw run your wood through the saw blade. Next slide your board just a tiny bit and run it through the saw again. Do this several more times until you reach your stop line. We are aiming to make our groove the exact width of our shelf piece. Smooth out the groove using a wood chisel or large screwdriver. Do this 3 times on your vertical piece (for 3 shelves) then make an exact match on the other vertical piece.
I next clamped the shelves in place so that I could attach my top and bottom pieces. These are the same width as the shelves and will hold the 2 vertical pieces apart at the right depth. It is a good time to ensure that your shelves will slide. If it is too stiff you may need to widen your slots just a little before you glue the top and bottom pieces. After the glue dried I used the
proxxon rotary tool to drill some guide holes then added wood screws to secure the pieces.


Almost there....

.....it's almost enjoyable. 👍
I used some water based polyurethane to seal it.
Now, Hang it, it's done
Again, this was one of those projects that was a heck of a lot easier to make than it was to describe how to make it. Give it a try it really is simple and I know you can find someplace to hang it. 😀
Thanks
Proxxon, your tools are great --- fun and easy to use---
Thank you all for visiting. Leave me a comment. and come back soon. Carol