Showing posts with label easy wood projects. Show all posts

Sunday, March 3, 2024

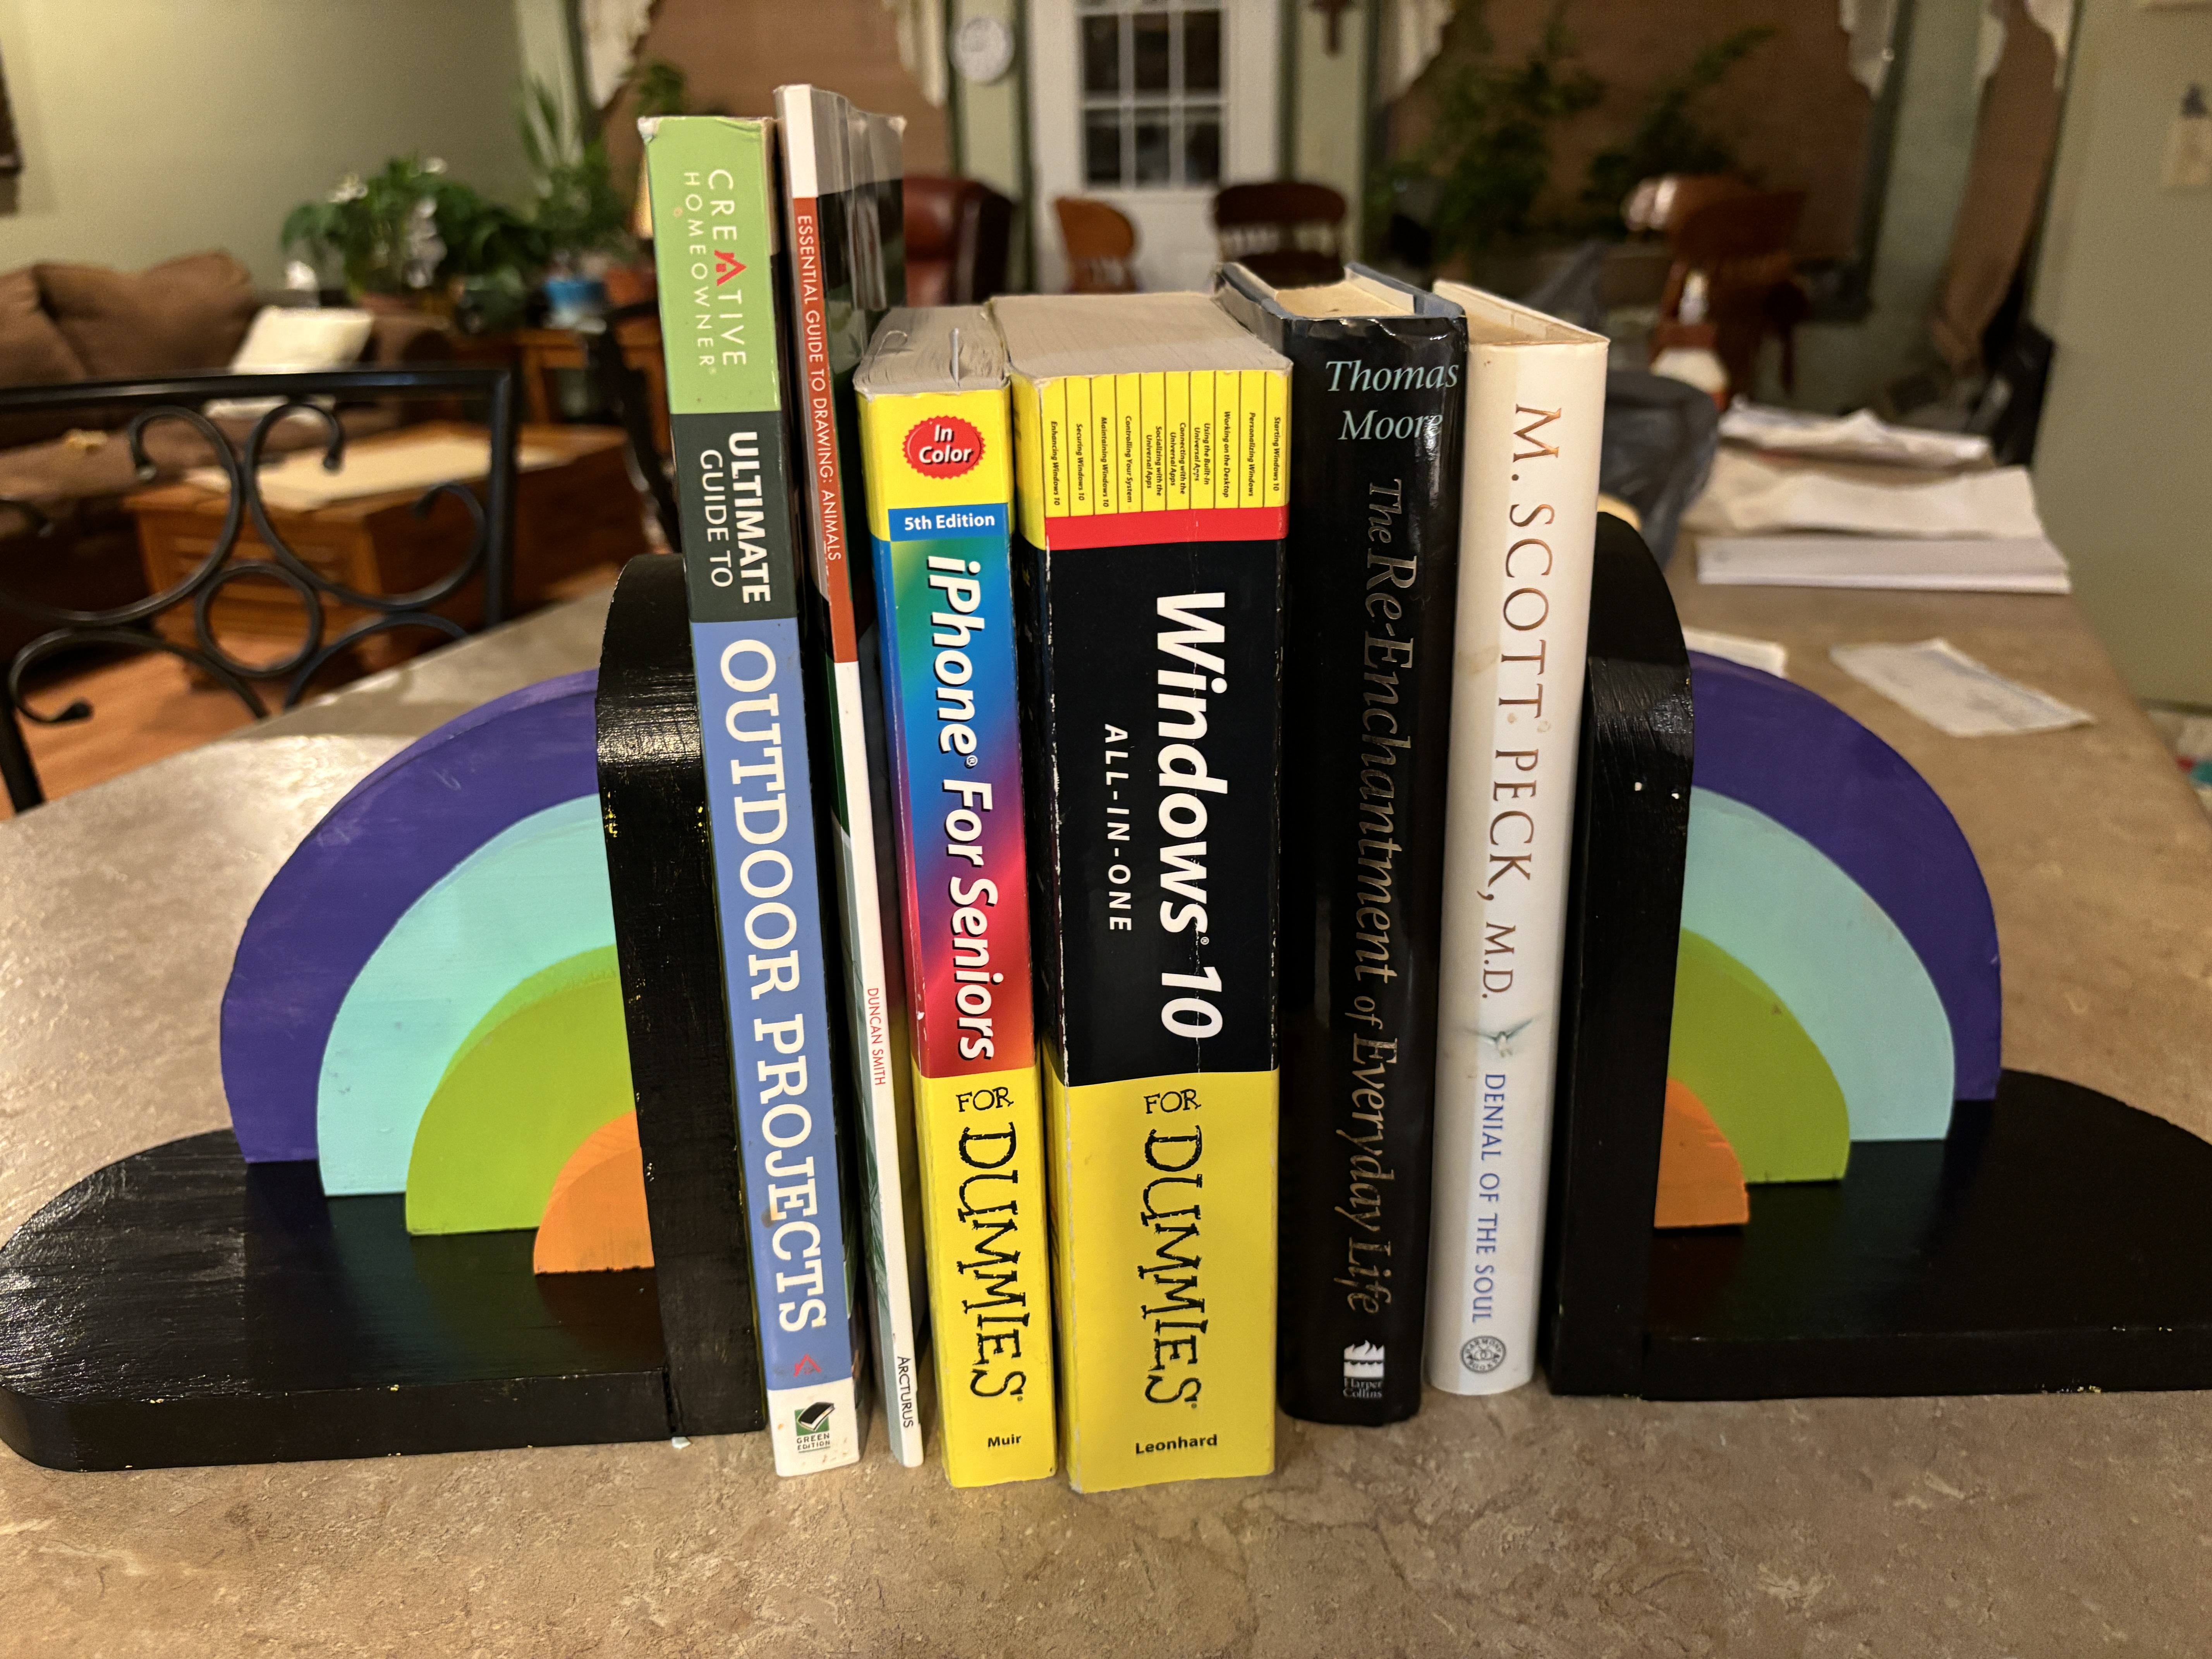
Easy to make bookends

 Hi everyone.  Hope this finds everyone well, and anxious and motivated for a new project. 

I just want to tell you that since it warmed up a little, I have been enjoying my workshop.  But, I didn't know what to make, I had dug out an old board that I knew would work for whatever project I decided on.  Flipping through an artists' journal gave me an idea, so now I will get busy and show you what I made so you can go out and make yourself 1 or 2. This would be great in a toddler's room to hold his colorful books.


I used just one board.  1 x 7 x 48  


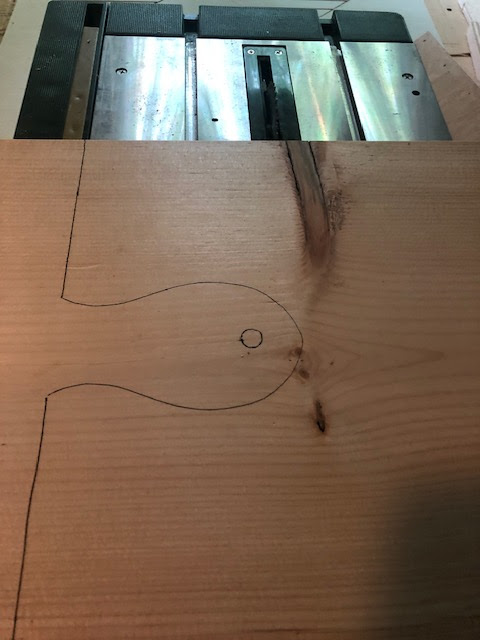
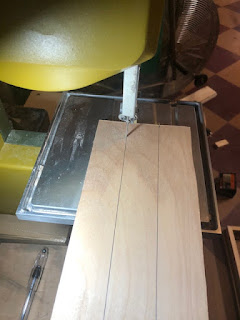
First, I transferred my pattern onto my board Then, using my Proxxon mini bandsaw I cut  out all the pieces.  Note if you use the extra narrow band saw blade you can cut out these pieces very easily as it will take tight curves with ease.

After sanding real well, I used some carpenter's glue to glue the basic braces together.  Note:  The longer one is glued to the shorter one so that the sides and the base are of equal length.   When the glue dries I add some nails for added support.  I used the Proxxon cordless rotary tool to pre-drill my holes to avoid cracking the wood.  


Then I sand all the pieces well and proceed to painting. 


]\

Let that get good and dry then glue it up like a rainbow to the base and side pieces.  Drill and add the nails or screws for added support and you're done.  The bookends are heavy enough, so they don't slide.  

It was easy, wasn't it.  Put it anywhere you need a splash of color or to hold those oversized books neatly.

Thanks for visiting!  Check out Proxxon tools next time you get a chance.  Small precision tools are so easy to use.

Friday, October 27, 2023

 ~Vintage Story Telling Blocks~


by Sherri Welser

I love everything Vintage and when I had purchased some blocks I had something fun in mind! Follow along with me as I take you on a "story telling adventure"!

Supplies

Proxxon OZI 115/e

 6 Square wooden blocks

White crackle paint( Ranger  brand is what I used)

Copper acrylic paint

Sepia stamp pad

Brown stain wax (craft)

Tim Holtz Victoriana paper cut outs and ephemera

Mod Podge 

Large buttons or jewelry components

E6000 glue

Sepia Stamp pad


I started by taking the Proxon Ozi with sand paper  on the attachment and  rounding off the corners so they weren't so square. 


After rounding them over I painted on a base coat of the copper acrylic paint covering each block 


I then applied the  Distress White Crackle paint in a thick layer over the copper paint.


 Let completely dry... To deepen the cracked look I applied some brown stain wax to get in all cracks and give that" vintage look"


I then added fun little Victorian ephemera such as flowers, butterflies and  old fashioned children
I used the distress Sepia ink pad to age the edges of the papers . 


I previously had chosen the jewelry "tops" for the blocks so at this point I was ready to apply them with the E 6000

After attaching the paper ephemera and gluing the Jewelry items on top I added some inspirational words " as to tell a story"


I always enjoy finding  unique and different ways to create from every day items! I hope you have been inspired to create your own "story"....


Tuesday, June 7, 2022

How To make a Charcuterie Board


     Hi everyone. I've been trying to get back to my woodworking since I had surgery. I thought I'd start with something fairly simple, but also something that's pretty trendy right now. I wanted one of these for my Fourth of July picnic.  Follow along with me and I'll show you how simple it is to make one.


Supplies:
   Proxxon 2 Speed Scroll Saw DS 460
   Proxxon long neck angle grinder LHW/E
  1"x12" pine board  (you can determine the length you want)
   Drill and large drill bit
   Butcher Block Conditioner


First I determined how long I wanted my board to be.  That was simple because I had a pine board that was left over from another project. I just worked around a few knot holes that I didn't want on my finished board and cut out what looked like the clearest area. The only thing I really had to draw was the handle. 


I started out using the Proxxon Band Saw but quickly realized I wasn't going to have enough room to swing the board so I switched over to the Proxxon Scroll Saw. 


I was easily able to swing the wood and get the handle cut out.


I used the Proxxon Long Neck Angle Grinder to sand around the edges of the handle and also around the edges of the entire board.


Next using my drill and a fairly large drill bit, I drilled a hole in the handle for hanging. 


                                      I gave the entire board a good sanding and wiped clean.


Lastly I wiped a butcher block conditioner on the entire board. I let it dry and put on a second coat.  You must make sure you use a product that is food safe.  I may put on a third coat after it dries overnight. Hopefully it will darken more with time and use.


Here's my finished charcuterie board!  I'm pretty happy with the way it turned out. These would even make great gifts! 
Thanks for following along with me. 
Colleen  :-)


Thursday, May 5, 2022

How to make a little bird feeder

Welcome back.  Yesssss I am talking to you, and the flowers and the warm sunshine and the little birds.  I am so happy to be defrosted and ready for spring.  I noted the birds have come back, and to look at my birdfeeders they are hungry.  Little birds were getting rude treatment at my big feeders so I decided to make a little one that would be just for them. See below the instructions on how to build this cute little bird feeder using Proxxon tools.


Equipment and supplies

Proxxon mini table saw

Proxxon OZI/E delta sander

Pine boards 1/2" to 3/8" thick

2 small pieces of 1/8" plexiglass

wood glue

small screws

16" of rope or strong twine.   

6 x 1" wood slat

See the cutting pattern below I used the Proxxon mini table saw to cut my pieces.

The first thing I did was to build the fence that I am going to put around the bottom of this feeder.  This will help keep all the seeds from spilling out.

I have my two longer pieces and 2 of the shorter ones.  The long pieces will go on the long side of the bottom with slight overhang on each side. The shorter pieces will go inside of the longer pieces on the short sides of the bottom.  Confused yet?  👀  see picture below


Now I have glued it in place.  I add a few nails along the bottom of the fence just to be sure.  And I sand my edges smooth using my Proxxon OZI/E delta sander.   I love this sander!


Next I need to make a slot in the wooden sides so that the plexiglass front and back can slide in.

I need to remove the blade cover and splitter for the next step and set my blade height to about 1/4"  I want to cut only about half way through the wood, making a slot.


I set the fence about 1/2" from the saw blade and run both long sides of each of the side pieces over the blade.  It is not quite wide enough to insert the plexiglas yet so I move it just the tiniest bit either way and run those boards through it again.  Now I have a slot that will accommodate the plexiglass pieces.


Glue the bottom supports to the bottom of the sides. 
Then, glue the sides to the short side of the base then secure it with a couple of screws.  The plexiglas should slide in easily.  Note at the bottom the support acts as a stop so there is space for the seeds to fall through.   I've taken the protective plastic off the glass now.  Look how clear. 


A couple of screws or i-hooks on the side to tie the piece of rope to, then up through the top holes and  you are finished.  Now we can fill it with seed and hang it outside.  


This works good for the little birds because the big birds have a hard time holding on and eating from the narrow trough.  It is easy to fill because the lid lifts up.  

Poor angry bird too big for the new feeder.


This is a fast and easy project.  Proxxon tools are just the ticket.   Give it a try.
Thanks for visiting.   Love my Proxxon tools.
till next time....   Carol


Thursday, January 20, 2022

How To Build A Paint Cabinet


Hi friends. It's January and I need to make some major changes in my workshop. My New Year's resolution Is to get more organized.  I desperately need a place to store my paint bottles so I can see what colors I have.  I had a cabinet door that I saved for future projects.  It seemed perfect for what I had in mind. Follow along with me and I'll show you how I built the wall cabinet.


SUPPLIES:


        Wooden Cabinet Door
        1x2" pine boards for outside frame
         1/2" scrap birch plywood
         Drill
         Screws
         Brad nails and nail gun


First I laid the cabinet door on the floor to get the exact measurements. Simple way was to just lay the 1" x 2" next to it and transfer the length.  


I cut 2 side pieces and then figured the measurement for the top and bottom pieces. Measure the top then deduct 1 1/2".  I cut these pieces to length with the Proxxon Scroll saw but I could have also used the Proxxon Table Saw FET.


Now with my 4 pieces cut I simply drilled tiny holes in the ends of the side pieces and screwed them together making a frame the same size as the door.


Next, I needed to make the shelves.  I used scrap 1/2' birch plywood.  I measured the inside distance between the 2 outer sides and also measured the depth.  I cut out as many shelves using the Proxxon    Micro Bandsaw as I could, remembering to leave a little head room so I could pull out each bottle with my finger. Measuring the height of each shelf, I attached them to the frame using the brad nailer.


Here's how it looks so far.  I decided to add one more piece of plywood inside at the top to have something to screw through to attach it to the wall


I drilled two holes at the top through the header piece and screwed it to the wall.


Next I attached the hinges to the cabinet door.  Held the door to the frame and attached the hinges to the frame.


Thats it!!!  All I needed to do was fill it up.  I did end up putting a hook and eye latch on it to securely close it


Depending on the width and depth of your wood this could be modified and used to store all kinds of stuff.  Thanks for following along with me.  Till next time....
Colleen :-)

.