Showing posts with label Proxxon mini chop saw. Show all posts

Sunday, May 5, 2024

How to make a simple learning game for the kids

 Hello again,   How about we make one for the kids today.   It's going to be a simple tic tac toe game using symbols that are recognizable to children.  Actually if the kids are not too little, let them choose the theme and help with the painting.


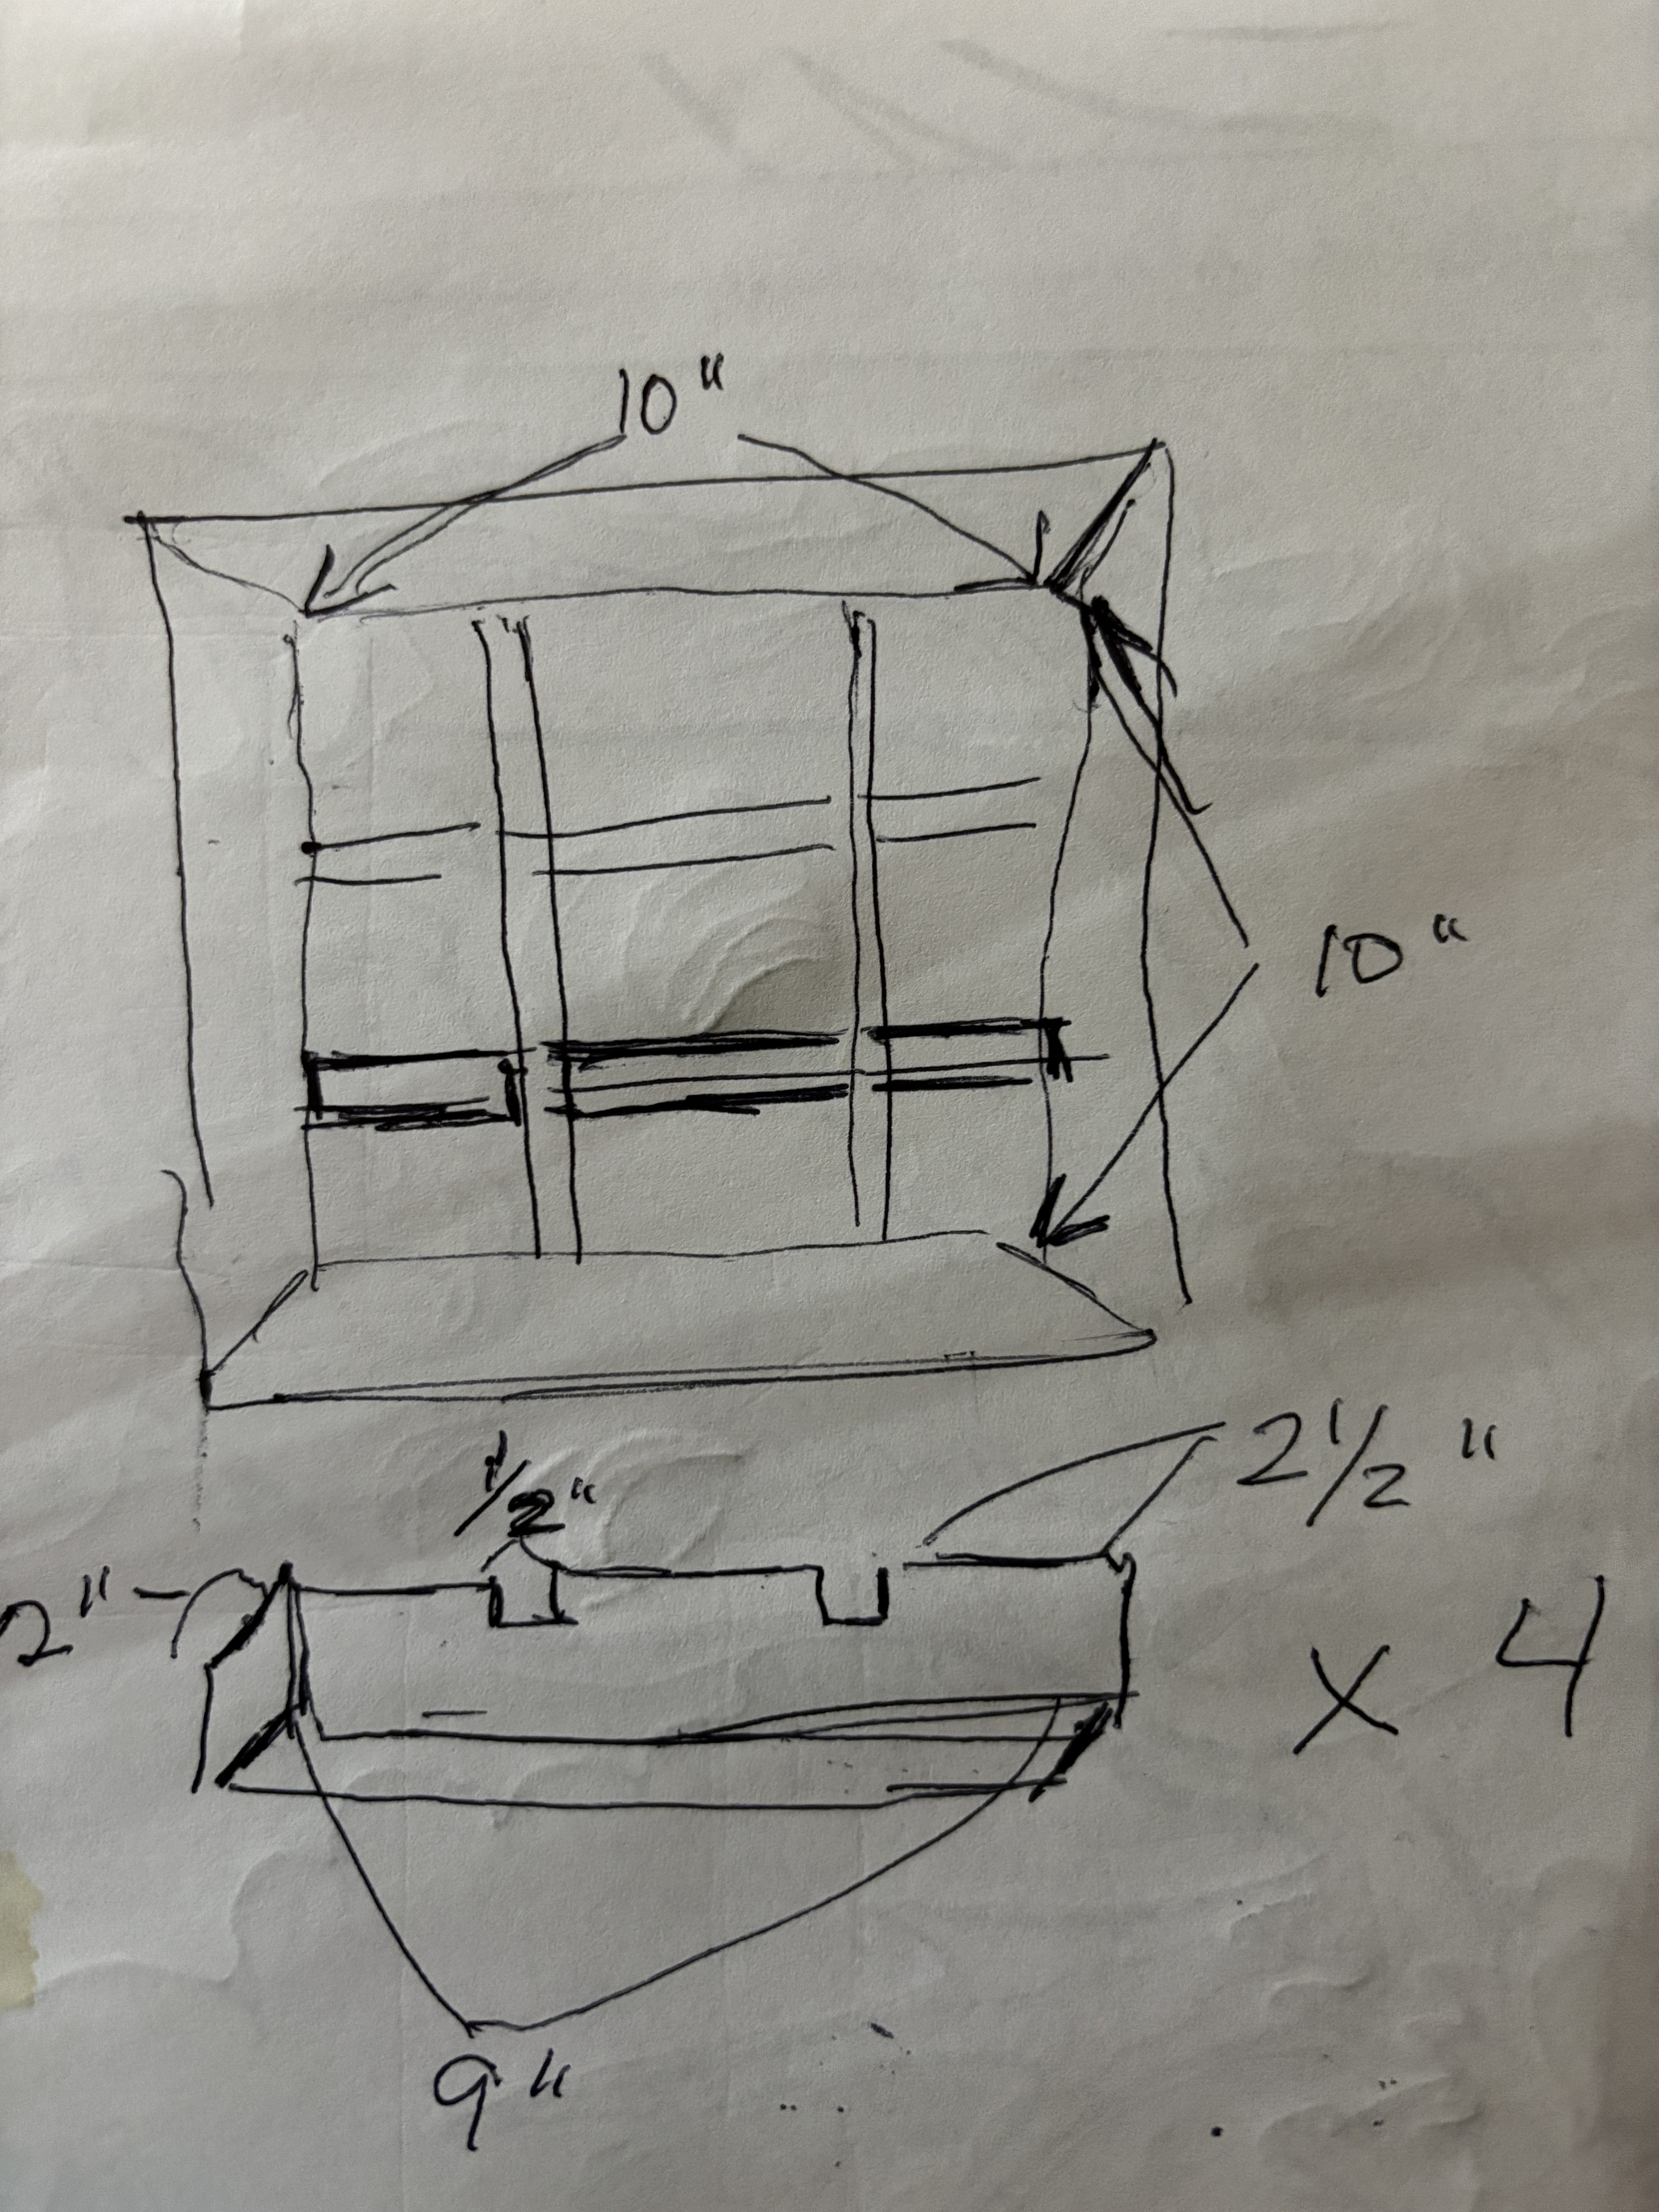
The first thing I did was to make the frame for the game.  This is really easy using the proxxon mini chop saw.  Ive tried a million times to make a decent mitered corner using any number of tools, but always one or more angle was slightly off or bowed a little bit so it just wont fit tight.  But with the Proxxon mini chop saw it is a simple task and if measured correctly, I guarantee it will fit perfectly.  But first, lets cut it to size using the proxxon mini table saw.


Oncw the boards are cut to the proper width move over to the Proxxon mini chop saw and set the guage to 45 degrees and make your first cut. Then measure (the short side) and set it up to cut the proper length.   Measure only the short side.  The long sides will take care of themselves. (refer to picture)  If you are using my measurements, short to short will measure 10'     


Put the frame together around the back piece, glue it then clamp it until it dries completely.    Next we will work of the dividers.

I used the proxxon mini band saw to cut out the notches,


I put it together with glue then put it aside while I work on the tiles.  This is easy using the proxxon mini chop sawWe are going to make (10)  2 1/4" square blocks.  And while we are at it, I am going to cut (10) 2 1/2" long 1/4" diameter dowel pieces. 


Using a drill, I made 1/2" deep holes in the upper right corner of each of my 10 blocks.  This just makes it easy to place the tiles during a rousing game of tic tac toe. 😵

Next, paint, stain or do whatever you or the kids like to decorate your board and the tile pieces.  We opted for dogs and cats, (you need 5 of each) so we painted them on our tiles.  We painted the board black.  We fisinshed it all with krylon triple thick gloss spray..


I think it is done, except it would be nice if we put a stand on the back so it can be verticle.  Lets do that.  I just cut a piece of thin wood.  Using a hinge attach it to the back, just like any old picture frame that sat on the living room tables.

Well that was  fun and not too hard. Im ready to see if the kids llike it.

thanks for visiting today.  Hope to see you next month.  Carol

Thursday, January 20, 2022

How to build an "illusion" plant or anything stand

 Hi, It's me again.  I got an easy project for ya today.  We are going to make a plant or anything stand that looks miraculous and impossible (unless you look too close).  It's fun to sit it on a shelf somewhere out of reach of the little kiddies and wait for the comments of surprised people.


This is an easy project and highlights the use of the Proxxon mini chop saw.  This is a fairly new addition to my collection and I love it.  Perfect for cutting small wood pieces for construction.  You can count on getting the straight and miter cuts that you need for projects to go together smoothly.  Check it out at Proxxon.com. 


Supplies and Equipment needed
wood glue
fishing line
small screws
patience 😉
wood pieces


I started with some  1 x 2 pieces of pine.  I think it is called furring strips.   I used the Proxxon Mini table saw to cut them down to 1 x 1" long slats.  I will use these to make my pieces.  

Check out my drawing with measurements below.   This is one half of the "illusion"  You need to make 2 of these so the cutting list will be as follows.


 1" x 1" x 8"   (will need 4 of these)

 1 x 1 x 6 n  (2)

1 x 1 x 4   (4)

1 x 1 x 1 (4)


Using wood glue I first put the pieces that are on the same plane together then let them dry real well.


Next using the Proxxon mini drill press I predrilled some holes where I will insert screws for strength.


I then fastened the top piece using glue and screws and let it dry well.


Now comes the tricky part.  Add small screws as per the picture below then use fine fishing line attached as shown.  It took me a little while.  (clumsy fingers), but if I can do it, you can too.\


 Put a small shelf across the top two pieces and add a plant, or statue or ???   and amaze your friends.

From a small distance the fishing line cannot be seen and it appears the shelf is floating......ooooh.


Thank you all for visiting.   Try this cute little, easy peasy project, it's fun and a conversation piece.
Thank you Proxxon.  You make good tools so the making stuff is easy and fun.
till next time... be safe   Carol


Thursday, January 6, 2022

How to make a unique picture frame

 Hi again.  I have a project today I think you might like.  I saw something similar somewhere but don't remember where.  I would like to give that person credit, but ... Anyway, I'm sure my memory is faulty so I'm sure there are several changes.  But I like how it turned out, and it was fun to make.  Thank you to whoever's design inspired me.

Supplies and Equipment

Proxxon mini table saw
Proxxon mini chop saw
Proxxon OZI/E delta sander
scrap wood 
wood glue
tape 
saw tooth picture hanger

I made this frame for a 6" x 8" painting.   The Cutting guide for that size is below.  Your picture may require different dimensions.


1st cut your scrap wood into 1" slats on the Proxxon mini table saw.   Then cut the sides to size. I cut them on the Proxxon mini chop saw.  We need 45 degree angles.  This is easy to set up on the Proxxon mini chop saw.  


Next I grabbed some more scrap wood that is basically the width I am looking for,  So using the Proxxon mini chop saw again, I can cut it to the sizes I need.   
Now that I have my basic window laid out, I glue it together and let it dry overnight.

It looks rough, but that was my intent.  I was aiming for a rough looking old window frame.

I added some paint.  I always use Plaid Paints ,  I painted the frame just like the windows on my house,  Then taped my picture to the back of the frame.

Now for the bricks.  Using the Proxxon mini chop saw again, I cut loads of little bricks roughly 2" long.  This is easy work using this tool.     I used approximately 50 long bricks, (3/4" x 2") and about 10 little short bricks.. (3/4" x 1")

 I glued them to the frame in a sort of random manner.  Put a picture hanger on the back and hung it on the wall.  


Hope you liked this project.  I had fun making it. 

Thanks for visiting.  Thanks you Proxxon for the tools that make it happen.   
Carol

proxxon.com