Unleash your creative personal style with this funky houses key holder.
Supplies:
- Paint stir sticks
- Dowel rod 1/8" x 6"
- Acrylic paints
- Adhesive
- Funky Houses patterns
- Sawtooth picture hanger
Equipment:
Instructions for making the Funky Houses Key Holder:
- Mount the patterns for the house shapes on a paint stir stick. Cover one side of the blank with painter's tape. Mist the back side of the pattern with spray adhesive, and mount on the taped paint stir stick. The painter's tape makes removal of the pattern easy without leaving any sticky residue.
- Cut the shapes using either the bandsaw or the scroll saw.
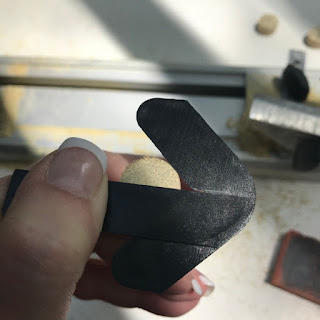
- Cut a 3/8" x ~8" strip from one of the paint stirs. Cut this strip into appropriate lengths for the roofs of the houses.
- Cut a 7" strip from a paint stir or other scrap lumber for mounting the houses.
- Cut the dowel rod into six 1" lengths for the key pegs.
- Sand the edges using the Delta sander. I have my sander mounted in the Precision Vice FMZ, so that both hands are free.
- Paint the houses, mounting strip, and roofs using your favorite acrylic paints. I used FolkArt Antique Wax for the houses and mounting strip and a black acrylic for the roofs. I left the key pegs natural.
- While these are drying, fashion the doors and windows for the houses. I 3D printed mine, but other options include cutting them from vinyl or cardstock, or drawing them on the houses with permanent marker or paint. Window and door patterns are included in the downloadable PDF.
- Use the bench drill press to drill holes ~3/8" from the bottom of the houses for the key pegs. Use a strip of waste wood under the house shapes to help prevent tearout.
- Now, to assemble the key holder. First, glue the doors and windows in place. Then, glue on the roofs. Next, glue in the key pegs.
- Attach the sawtooth picture hanger to the back of the mounting strip.
- Arrange the houses on the mounting strip and glue in place.
As an option, you could eliminate the key pegs, and have a neat funky houses décor piece.
 |
| Carole |


.png)


