When I'm testing out a new pattern I often use MDF for the first prototype. It's less expensive than wasting a great piece of hardwood. That's what I've done for this display stand.

Supplies and Equipment
- ¼" MDF, Baltic birch plywood, or hardwood
- Display Stand Pattern
- Proxxon Bandsaw MBS/E or Proxxon Scroll Saw DS 460
- Proxxon Delta Sander OZI/E
- Acrylic paints
Instructions
- Print the display stand pattern of your choice, and cut two blanks of appropriate size.

- Tape the blanks together with painter's tape to facilitate cutting both at the same time.
- Mist the back side of the pattern with spray adhesive, and mount on the taped blanks. The painter's tape makes removal of the pattern easy without leaving any sticky residue.

- Use the bandsaw or scroll saw to cut out the shape.

- Sand the edges with the Delta sander. I use the Delta sander mounted in the Precision Vice FMZ.

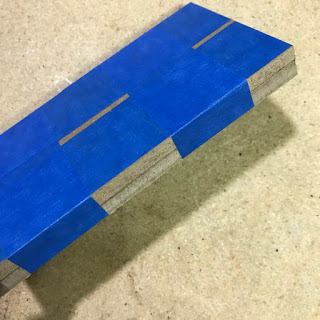
- Since this was a prototype, I could stop here, knowing that the design works. But, it seemed that I could still make this a serviceable display stand, so I coated each piece with gesso, and then painted them with acrylic paint. If this were a completed hardwood stand, I would probably opt for a waxed or oiled finish.

- The final step in making this prototype functional was adding hinges. Problem: even the slimmest nails/screws split the MDF. Solution: I cut two ½" x 2"pieces of aluminum tape for hinges. For a hardwood stand, I would choose tiny brass hinges.

- So, now I have a functional display stand from a prototype. I know the design works, so I plan to make more using a variety of hardwoods.
.png)


.png)
 |
| Carole |

No comments:
Post a Comment