
Hi everyone. One of my other passions besides woodworking is designing and selling punch needle patterns. I just finished this Revolutionary Soldier and I needed to put him on some sort of base. I really wanted him to be standing on a drum. I searched online for antique drum pictures and figured in my mind how I would make one using my Proxxon Tools. I think it turned out awesome! Follow along with me and I'll show you how I made it :-)
Tools & Supplies
Proxxon Micro Bandsaw
Proxxon Delta Sander
Proxxon Rotary Tool
Scrap 2" x 6" pine
Thin strip of balsa wood
Tiny Tacks
One 2 1/2" wood screw
Embroidery Floss Gold color
Plaid Paint Navy, Red, Beige
ModPodge
Printed Eagle
First I figured out how large I wanted the finished drum to be and drew my pattern on the scrap 2x6" pine. Using the Micro Bandsaw I cut out 2 circles.


Next I glued the two circles together and let dry. After they were dry I drilled a 2 1/2" screw in the bottom just to insure they wouldn't come apart.

Using the Delta sander I sanded around the outside making it smooth and seamless.

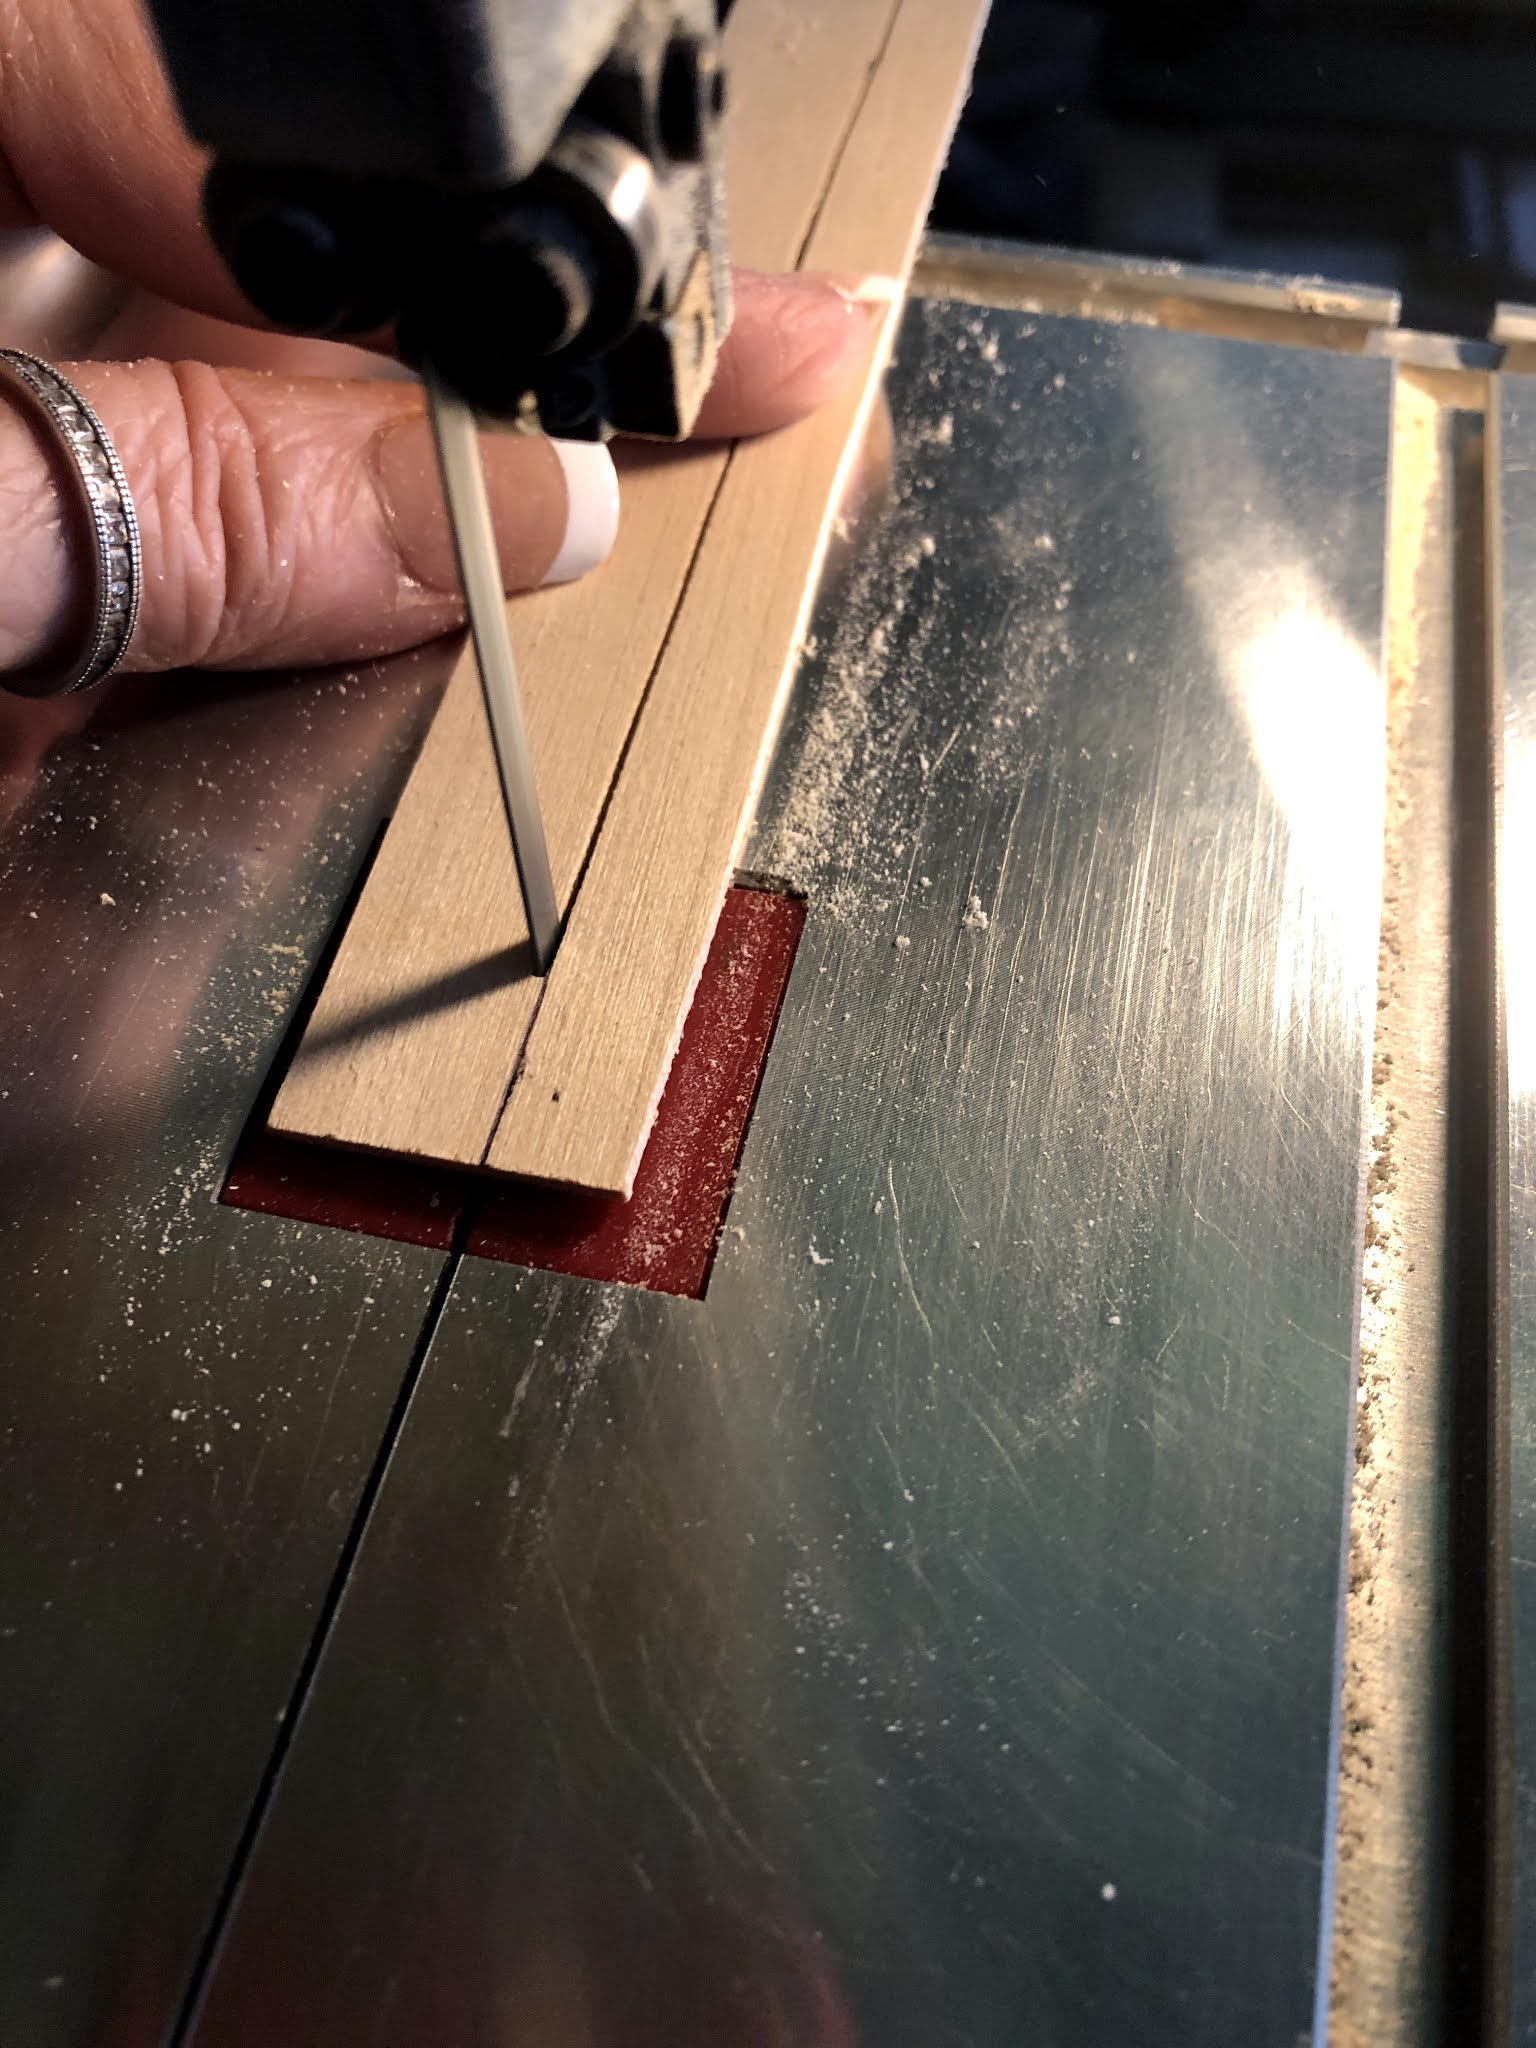
Next using the Micro bandsaw I cut two 1/2" strips of the thin balsa wood. I measured around the drum base to figure out how long they needed to be. These strips will be the bands at the top and bottom of the drum.
Now comes the fun part! I looked up on the internet how to bend wood. I put a skillet on my stove with water in it. Brought the water to a boil and laid the two wood strips across. I let them steam maybe 10 minutes then took them off and bent them around a mug. The wood was very pliable. I held it in place with rubber bands and let dry.


After the strips were dry they held their shape and I was able to tack them on the drum base. I made sure to leave half of the band stick up above and below the base.


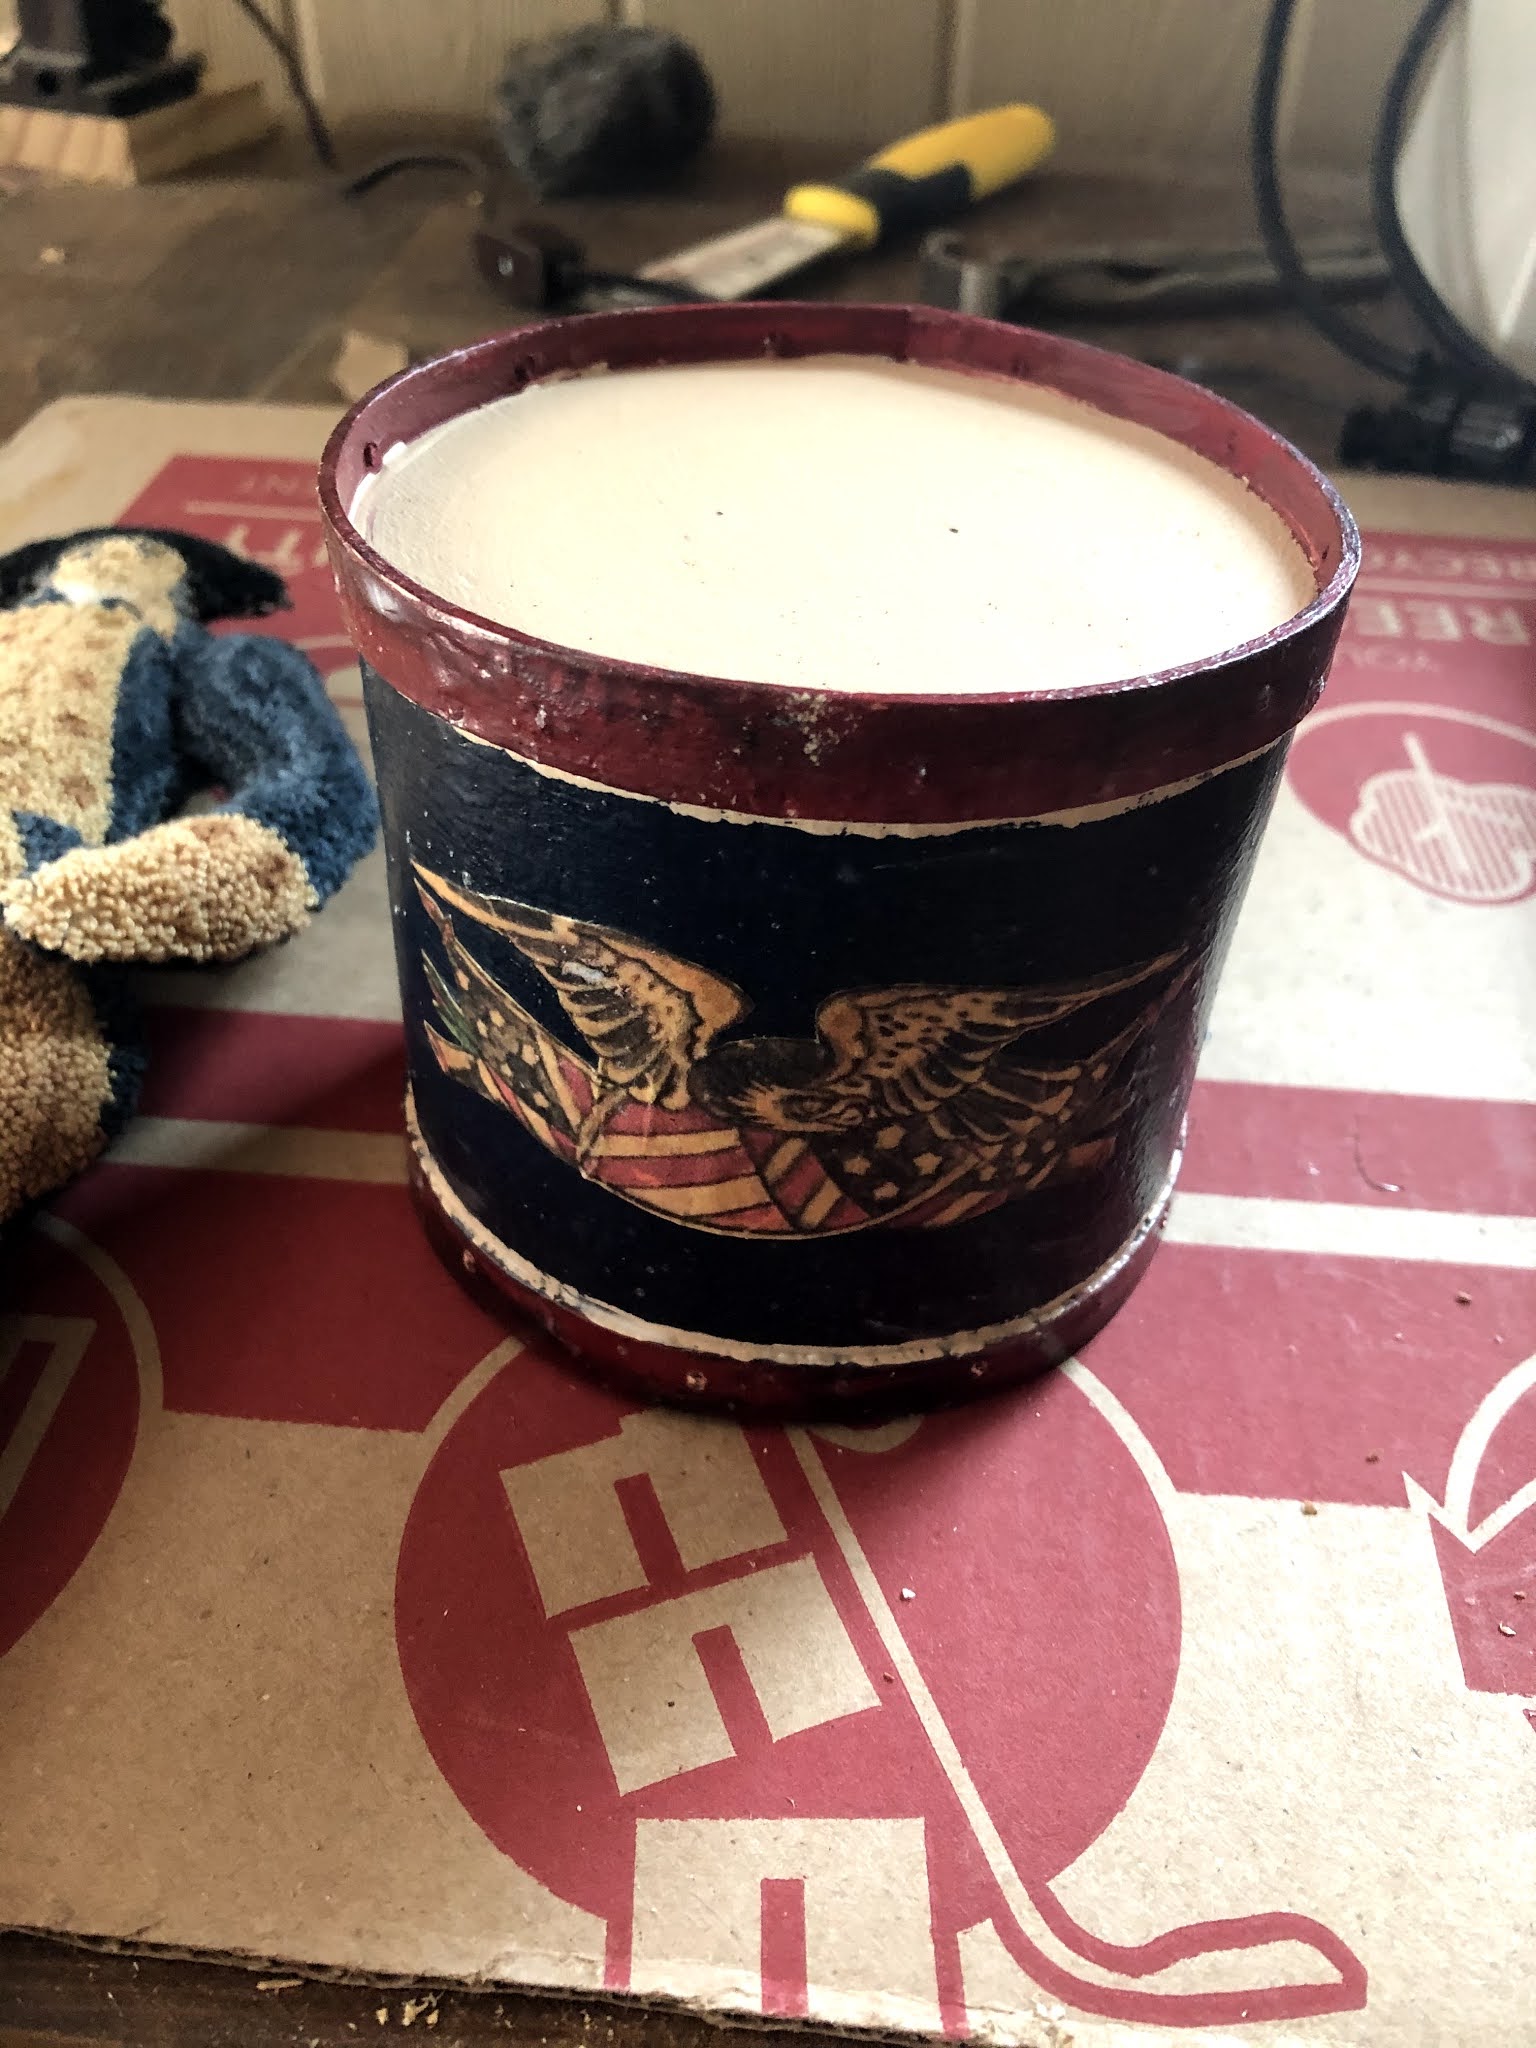
Next I painted the drum. the body I painted navy. The bands I painted red and I put a tiny line of cream just under the bands. The top I painted cream. Let dry. After it was dry I dry brushed a little black and mustard paint here and there to make it look old.

I found a picture of a vintage eagle on Pinterest. I printed it out and carefully cut out two of them. One for the back and one for the front. I applied the to the drum using Modpodge. After dry I coated the whole drum with Modpodge.

Lastly I drilled 10 tiny holes around the bands. I then fed my embroidery floss through the holes going top to bottom and tied it off in the back.


This was a fun project and I learned a lot! Thanks for following along with me.... Colleen :-)
No comments:
Post a Comment