
Hi friends! As always, I like to build things for my old colonial farmhouse. I had seen a pair of these candle sconces in a home of a Facebook friend. Although hers were to large for where I wanted them. I decided to try and make a similar but smaller version. Follow along with me and I'll show you how I made them.
Supplies:
3/4" pine boards 8" wide
1/2" birch plywood
Proxxon Micro Bandsaw MBS 115/E
Proxxon Table Saw FET
Proxxon Disc Sander TSG 250/E
Proxxon Cordless Belt Sander BS/A
Brad nailer and brads
Wood glue
Paint
Glass and mirror
Drill and drill bit
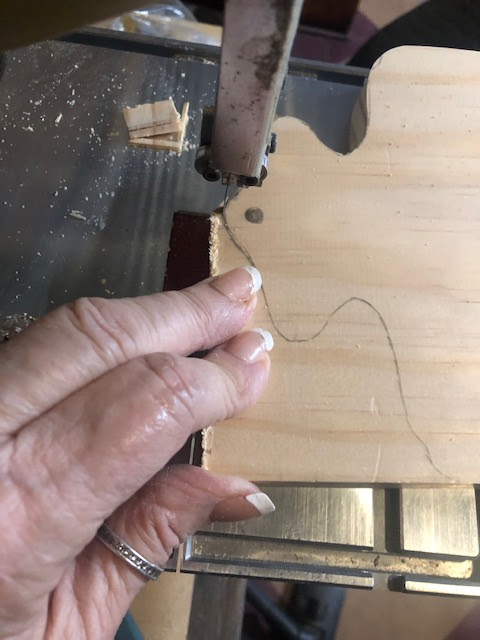
To begin with I drew my pattern then transferred it to my 8" board. I started cutting it out with the belt sander and finished cutting it with the scroll saw due to some of the tighter cuts that were needed.


When the backboard was cut, I used the belt sander to smooth some of the curved edges and the disc sander to smooth the long sides.


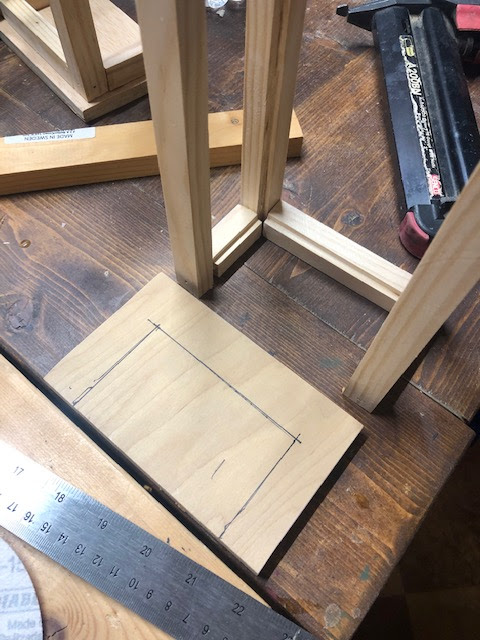
Now to figure how to build the box that the candle will sit in. Using the table saw I set the guard so I could cut perfectly square pieces. 3/4' x 3/4"pine. I ran long strips of this, as I know I'm going to need a lot. Then I lowered the blade on the table saw to 1/8". I ran each strip through cutting a notch. Turned that same strip opposite and ran through again to cut out the notch completely. This notch will enable the glass to fit in.


Next, I cut my pieces to length according to my pattern using the table saw. I started laying out the pieces of my box. After I was satisfied with my layout I glued and nailed the pieces together.


The next step was making a top and bottom for the box. Using the table saw I cut out two pieces of the 1/2" birch plywood. The piece for the top also had to be cut out so when everything is assembled, I could reach my hand in to insert the candle. I used the band saw to make those cuts and smoothed the edges off with the belt sander. I nailed and glued the top and bottom on the box. I then checked it against the back board but can't attach it yet till the glass gets inserted.

.jpg)
.jpg)
Before I could put everything together, I cut my glass to fit.

I painted the box and backboard black then put the glass in using a small bead of silicone. I decided to screw the box to the backboard incase the glass ever got broken it would be easy to open and repair.

I did end up cutting a piece of mirror for the back. I just attached it with silicone. I hope you like watching me build my sconce. I'm in the process of making a second one now so I have a pair for on my wall. As always, thanks for following along with me.
Colleen :-)

.jpg)
No comments:
Post a Comment