Hi everyone. Today I'm continuing on with may trade sign. This will be part 2. The ship will be above the whale when everything gets assembled on the background board which will be part 3. Follow along with me to see what tools I used and how I made it :-)
Supplies:
Scraps of clear pine 3/4" thick
3/8" wood dowel rod
Wood Glue
Drill
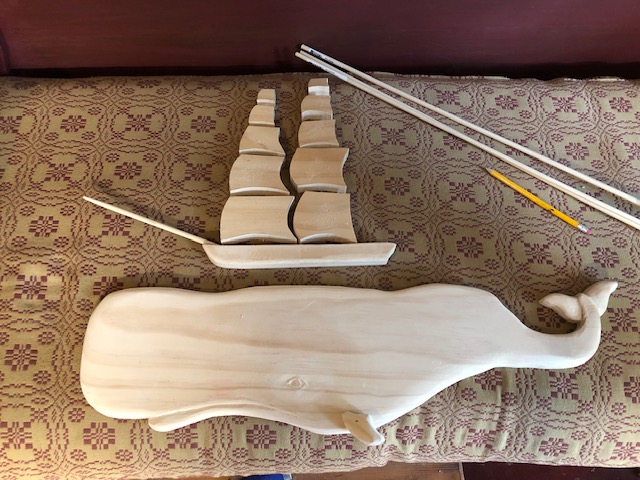
First, I tried to decide how big I wanted to make the ship. I laid a piece of pine above the whale to figure the length. I then drew the ships hull on and cut out with the scroll saw.


I cleaned up the edges using the Proxxon Disc Sander.

Next, I cut some dowel rod for the masts. Using my drill I made a hole in the hull, at an angle for the front pole. I sanded the pole to a point with the disc sander and inserted it in the hole.


Next, I drew out the masts on the 3/4' clear pine and cut out with the scroll saw.


I started to lay out my pieces to see how the looked and were lining up as far as size. After I was satisfied, I continued on with the rest of the rows of masts.


Now I needed a way to connect the masts together. I drilled a hole in the top and bottom of each one and inserted small pieces of dowel that I cut on the Micro Band Saw.

After all the holes were drilled, I started to sand each piece. I initially started with the belt sander, which worked great. Because I had so many pieces, I switched to the Long Neck Angle Grinder. It seemed to work much quicker. I sanded them to give them a 3D look.


Using the small pieces of dowel, I connected all the masts together.


Here's how it looks sitting above the whale.

This completes part two! Part 3 will be making the board they get mounted on, then painting everything and assembling it all.
Thanks for following along. See you next time!
Colleen :-)
No comments:
Post a Comment