Hi everyone. Hope you all had a good 4th of July. It was hot here but still had a good time with friends We had an indoor picnic so to speak. Anyway, I chose a simple little project so as not to spend a whole lot of time out in my un-airconditioned workshop. The challenge today was to find the right tools for the job. I really dont have a lot of experience with plexiglas so I learned some tricks I want to share with you.
What we want to make is essentially a little box. The trick is cutting plexiglas without chipping or cracking it, then finding the right glue.
Ok. lets get started. I made a pattern for myself that I felt would hold the cards in a nice way. I drew my cut lines on masking tape. I was off to the Proxxon mini table saw to do my cutting. It went well for a little while but then I started chipping and cracking the little pieces.
Make sure you wear safety glasses as bits of hot plexiglas are flying.
Here is the first trick. I took a slim slab of wood and taped the plexiglas securely to it. I drew the pattern onto the wood and cut the pieces with the wood side up. I got a very smooth cut and there was none of the flying plexiglas pieces.
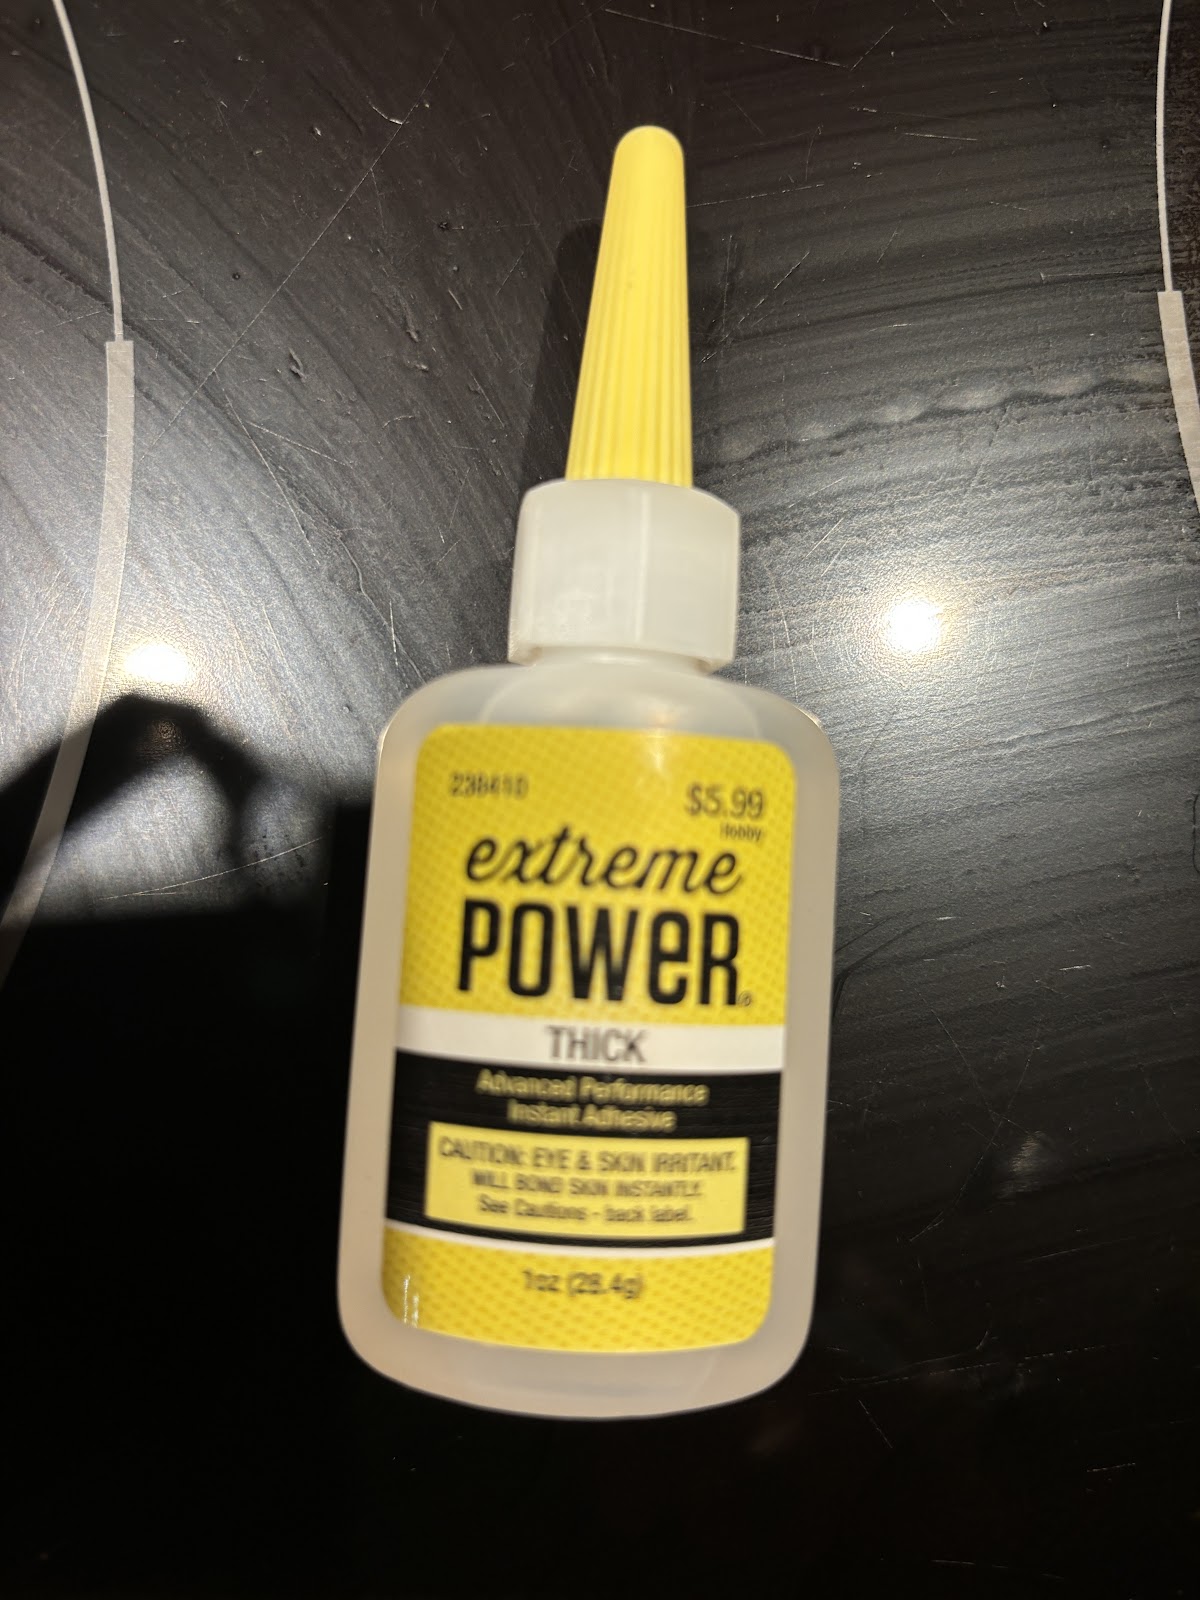
When I got all the pieces cut I began the gluing process. The trick here is to leave the protective plastic on over the plexiglass to keep the glue off the glass. Peel the edges away and lay a line of glue. I use glue that is made for model making.
Go slow, one side at a time. It doesnt take long for the glue to hold. When the box is made, peel away the protective plastic and you got a nice little box. Oh, I used the
proxxon mini scroll saw for the finger cut-out on the front side. Any extra plexiglas (overlap), can be removed with the
Proxxon OZI/E delta sander. But be careful not to scratch the plastic sides.
.
sorry for the poor picture. The project acttually looks good
Hope you all enjoyed the little project. Catch ya next time. Carol


.png)