I designed the pattern in Make-the-Cut, and used the print and cut feature to print the pattern. When I mount the pattern to the wood, I start by covering the surface of the wood with painter's tape. Next, I spray the back of the pattern with spray adhesive, and put that on top of the painter's tape. The spray adhesive holds the pattern in place, and the painter's tape makes removing it a breeze. Here is the pattern mounted on my piece of wood.
Then, right to my Proxxon scroll saw to cut out the birds.
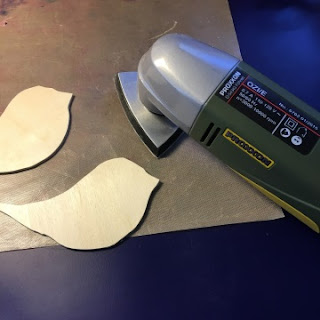
Next step is a light sanding with the Delta sander.
Back to Make-the-Cut and my Zing electronic cutter to cut out the papers for each side of the birds.
I drilled a hole in each bird for attaching a cord for hanging, then used burnt umber acrylic paint on the edges of the wood blanks. When the paint was dry, I glued the papers to the birds and added a twine hanger. They're already to fly away to a new owner attached to a Christmas gift.
Here's the pattern for the retro birds:
 |
| Carole |


2 comments:
Such a cute idea!!
Great project Carole! I love birds and these are sweet.
Post a Comment