
Proxxon Jig Saw
Proxxon OZI/E Detail Sander
Proxxon Rotary Tool
Needle
Supplies I used
Martha Stewart Marbling additive
Plaid Paints
Beads Of your choice
Sinew for stringing beads
Krylon Crystal Clear Sealer

First step was to find a piece of gourd that had just the right curve to lay on the chest nicely. Then, using the Proxxon Jig saw, I cut the piece in the tear drop shape I wanted.
It was not just the shape I was looking for so I used the sander to finish shaping the shard.

Sorry no one around to take a photo of me sanding this
so just showing you what this tool looks like.
It is a favorite of mine.

This is the shape I was looking for and gee, I found it lol Poured this paint on to see if I had the right mix of paint to additive. It was going to flow nicely.
This Martha Stewart Marbling medium was such a pleasure to work with. Just add to your paint and it is as close to a no fail pour as possible. This does not make the cells that a mixable fluid does. It of course does not cost as much as some of the two or three other additives call for and you do not need a torch. So easy.
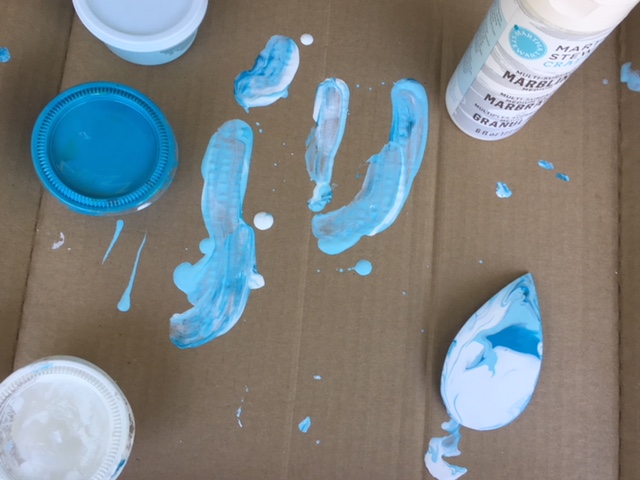
picked my color mix and
poured directly on the shard, and loved the way it flowed and the mingling of colors.
The dark blue looks like a inset stone.
Lastly before beading I used my Proxxon Rotary tool
to drill out beads where the hole was too small to take the Sinew.
It did a fine job and took a tedious task and made it super simple.
This is the finished Product Sprayed with Krylon Crystal Clear Triple Thick

Hope you found this an easy and simple, but lovely project.
Pick colors of your choice to match any color scheme, a very nice addition to the wardrobe, and does not add a lot of cost for the link that pulls it all together.
This necklace does not have a clasp that will come apart on you but is put over your head.
Nothing to fall apart.
Like to thank all of the friends and follows that visit this Blog, and leave their comments.
You are the reason we are still here. Thank you very much, We appreciate your time
and efforts on our behalf.
We also would like to thank Proxxon Tools who has been so kind as to support this blog. These mini tools are most excellent to work our crafts with and so light and easy to use. Love mine.
Also like to thank Plaid paints for their continued support. If you have not visited and seen all the new items they have to offer, please do, it is amazing all of the different items they carry and develop.
Terri Sproul is our mentor and point of contact for all of the sponsors. She works on the behalf of the sponsors and ourselves and does a bang up job for both parties. Many thanks Terri!!

8 comments:
Thanks for this post, I am looking forward to trying it. I also have beads with small hole and want to enlarge them. How do you hold the bead? Could you explain the procedure for increasing a bead hole size? Thank you!
This is so pretty Misty I love it. Thanks for all your hard work.
It is beautiful. I bet you could sell some of those at your shows...♡
Thank you Charlotte I hope to find the time to
make a few. Have a few skins in the works,
Just have to find some time.
Thank you for visiting.
Very pretty, Misty. Love the way the paint flowed. Great job !
Very pretty! It’s a great idea and wonderfully executed!
This necklace is really beautiful. It looks like stone inlay in person. I really like how it came out. Nice work
Very pretty necklace Misty! And as I've seen it in person, I can say that in all honesty lol. The colors are so nice and so is the design. Great job!
Post a Comment