
Hi everyone. Today I'm going to show you how I made these miniature ornaments for a tree I have on display in my spare bedroom. The room has a nautical theme. Follow along and I'll show you how I made them using Proxxon tools.
Supplies:
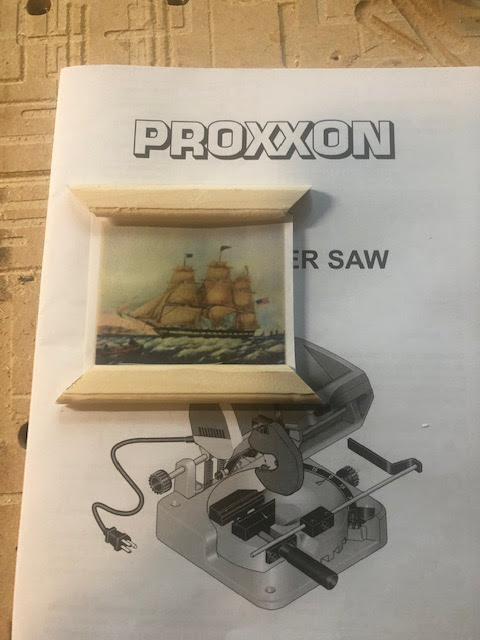
Proxxon Micro Band Saw
Proxxon Miter Saw
Proxxon Table Saw
Plaid Paint
Scrap pine
Scrap thin Plywood
Assorted photos
Wood Glue
String
First I ripped some thin strips of wood using the Proxxon Table Saw.


Theen taking those strips I ripped out a notch without cutting all the way through.

Turning the strip again I ripped out a notch going the other direction. This made a rabbit on the edge of the strip that the picture will slip into.

I then took my strips and measured the sides to figure out the size I wanted my frames and cut at right angles on the Proxxon Miter saw.


Next I glued the corners together and let dry.


I had found a few ship pictures online and printed them to fit my tiny frames. I cut backs for each photo out of thin plywood using the Proxxon Micro band Saw that would fit into the backs of each frame.


I used Mod Podge to secure the photos to the plywood backs.

I then tried them in the frames to make sure they fit.

I removed the pictures then painted each of the frames with black Plaid Paint. I returned the photos to the frames and painted the backs.

Lastly I applied a string to the backs with glue for hanging.

These are going to look so adorable on my little nautical tree. Thanks for following along...
Colleen
No comments:
Post a Comment