Sunday, May 14, 2023

Building A Garden Obelisk


    Hi everyone. Springtime is here and I've been wanting to build a few things for the garden. I've always loved a obelisk.  I want something that I could grow stuff on vertically. After looking at lots of pictures and doing some research, I came up with this design. Follow along with me and I'll show you how I made it.


Supplies:

   Proxxon Table Saw FET

   Proxxon Micro-Bandsaw MBS 115/E

   Proxxon Cordless Belt Sander

   Pressure Treated Pine 1"x 2"   10 pieces 8' long 

   Pressure Treated Finial 

   Outdoor Wood Glue (Gorilla Brand)

   Drill and Drill Bit

   Screws

   Brad Nailer and Brads


First thing is I determined how tall I wanted the obelisk to be. I decided on 7' without the finial. I laid out my wood on the floor. Marked 4 of the pieces at 7' and cut with the Proxxon Table Saw.


   Lay 2 of the pieces on the floor and put a clamp at one end just to hold them together.  Open the legs on the other end. I made mine 24" across the bottom. I tacked my legs to the floor temporarily just so it would stay still while I figured the sizes of the side stretchers.


I decided I wanted a side stretcher every 21".  I marked that along each leg. Then at each mark I laid a piece of wood under the les and just drew on the angle that it had to be cut. So much easier than doing all the math.  Cut with Proxxon table saw and dry fit in between legs.


          Take all the 3 pieces out and get ready to glue. Glue and let dry. Repete for the second side


Once those side stretchers are dry then I removed the clamp, cut and secured a top piece with glue and brad nails.  I also measured up an inch and added a stretcher to the bottom.


After both sides were dry, I drilled and put a screw in at each stretcher, to add extra stability.


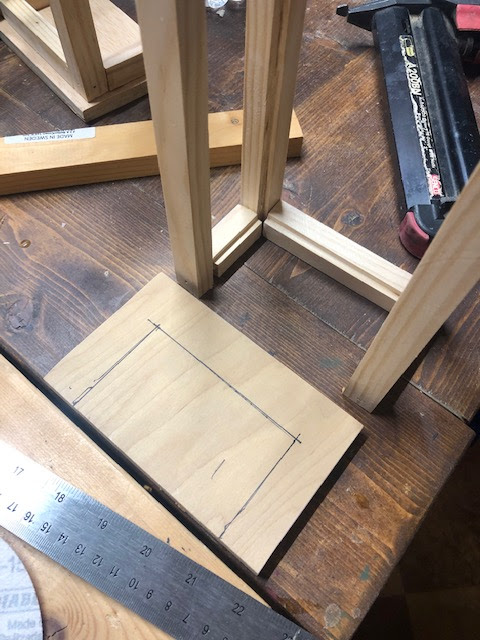
                    Now the sides are done enough to stand up and clamp together at the top.  keeping the top clamped, lay piece on its side so we can measure the side pieces for sides 3and 4.  again I measured 24" spance at the bottom.  I wanted these side pieces to go on the outside of the legs and each one to cover the screw holes.  Lay a piece of wood across and mark the angle with a pencil. Cut angles with either the Proxxon bandsaw or the Proxxon table saw. Glue and nail on the with brad nailer.


Repete for side 4.  Now stand the piece up.  I decided each side needed a strip going up the middle for style and extra stability.


Two of the sides I shortened. the strip and cut a point on one end using the band saw, then again attached with glue and brads.  I also cut another top piece for these two sides, I glued and nailed with the brad nailer


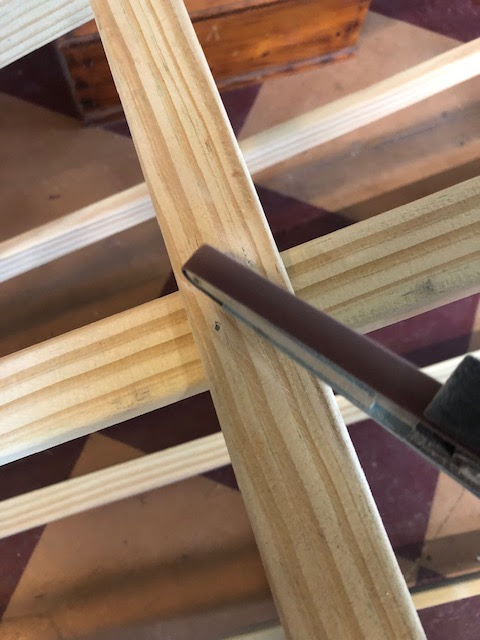
Now there was some places that the brads came all the way through to the other side of the wood strips. I didn't want any sharp nails exposed so I grinded them off with the Proxxon belt sander.


I sat my piece up. Screwed the finial on the top and started to paint.


 My obelisk is complete!  I'm thrilled at how it turned out.  I cant wait to place it in my garden and start growing stuff on it.  Thanks for following along with me.   Colleen :-)


Sunday, April 16, 2023

How to Make a Wooden Ring and Rope Puzzle

 The ring and rope puzzle is a classic. The object is to free the ring. You can make a wooden one using Proxxon MICROMOT tools.

Supplies:

  • Scrap wood 5" x 3½" x ¼"—hardwood, plywood, or MDF
  • about 30" of cord thin enough that 3 thicknesses can pass easily through one of the corner holes
  • 2 beads large enough that they will not pass through the corner holes

Equipment:

  • Proxxon Bandsaw MBS/E
  • Proxxon Disc Sander TSG 250/E
  • Proxxon Delta Sander OZI/E
  • Bench Drill Press TBM 115
  • Proxxon Scroll Saw DS 460
  • Proxxon Professional Rotary Tool IBS/E with Flexishaft 110/BF
    • Instructions:

      1. Mount the pattern for the square base and large ring onto the blank. Cover one side of the blank with painter's tape. Mist the back side of the pattern with spray adhesive, and mount on the taped blank.  The painter's tape makes removal of the pattern easy without leaving any sticky residue.

      2. Cut the square base and exterior of the large ring on the bandsaw.

      3. Round the corners of the base on the disc sander.

      4. Sand the edges of the ring with the Delta sander.  I have my sander mounted in the Precision Vice FMZ, so that both hands are free.

      5. Drill pilot holes for the scroll saw blade in the four corner and center rings of the base.

      6. Thread the scroll saw blade through the ring's pilot hole, and cut the shape on the scroll saw.

      7. Sand the interior of the large ring and the holes in the base using sanding drums and the flexishaft attached to the professional rotary tool.

      8. Now, the puzzle is ready for assembly.

      Assembling the Ring and Rope Puzzle:

      1. Thread the cord through the base as pictured.

      2. Attach beads to the ends of the cord. I used window blind pulls that are hollow and conceal the securing knot.

      3. Slide the large ring between the legs of the X formed by the cord.

      4. Pull up the lower leg of the X to form a loop.

      5. Thread this loop through the lower right hole.

      6. Thread the right hand bead through the loop.

      7. Tighten the cords.

      Solution:

      1. Pull up on the bottom cord of the X and form a loop.

      2. Thread the loop through the lower right hole, and pass the end of the cord through the loop.

      3. The ring is released!!

      Enjoy your Ring and Rope Puzzle!!

      Carole

      Sunday, April 9, 2023

      Making A Colonial Candle Sconce Using Proxxon Tools


      Hi friends!  As always, I like to build things for my old colonial farmhouse. I had seen a pair of these candle sconces in a home of a Facebook friend.  Although hers were to large for where I wanted them.  I decided to try and make a similar but smaller version.  Follow along with me and I'll show you how I made them.


      Supplies:

         3/4" pine boards  8" wide
         1/2" birch plywood
         Proxxon Micro Bandsaw MBS 115/E
         Proxxon Table Saw FET
         Proxxon Disc Sander TSG 250/E
         Proxxon Cordless Belt Sander BS/A
         Brad nailer and brads
         Wood glue
         Paint
         Glass and mirror
         Drill and drill bit


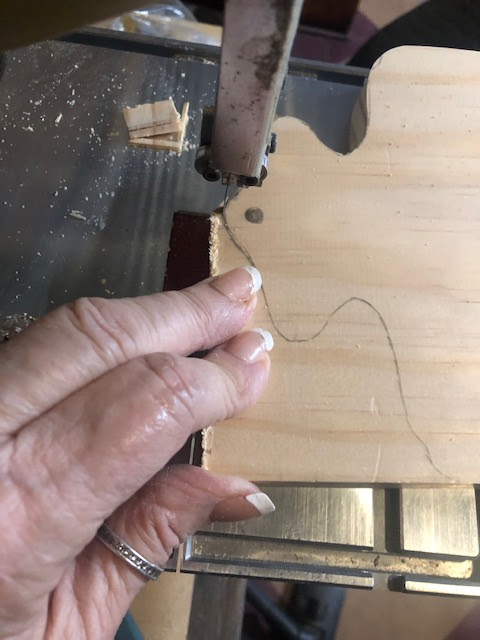
      To begin with I drew my pattern then transferred it to my 8" board. I started cutting it out with the belt sander and finished cutting it with the scroll saw due to some of the tighter cuts that were needed.


      When the backboard was cut, I used the belt sander to smooth some of the curved edges and the disc sander to smooth the long sides.


      Now to figure how to build the box that the candle will sit in. Using the table saw I set the guard so I could cut perfectly square pieces.  3/4' x 3/4"pine.  I ran long strips of this, as I know I'm going to need a lot.  Then I lowered the blade on the table saw to 1/8".  I ran each strip through cutting a notch. Turned that same strip opposite and ran through again to cut out the notch completely.  This notch will enable the glass to fit in.


      Next, I cut my pieces to length according to my pattern using the table saw. I started laying out the pieces of my box. After I was satisfied with my layout I glued and nailed the pieces together.


      The next step was making a top and bottom for the box.  Using the table saw I cut out two pieces of the 1/2" birch plywood.  The piece for the top also had to be cut out so when everything is assembled, I could reach my hand in to insert the candle.  I used the band saw to make those cuts and smoothed the edges off with the belt sander. I nailed and glued the top and bottom on the box. I then checked it against the back board but can't attach it yet till the glass gets inserted.


      Before I could put everything together, I cut my glass to fit. 


      I painted the box and backboard black then put the glass in using a small bead of silicone.  I decided to screw the box to the backboard incase the glass ever got broken it would be easy to open and repair. 


      I did end up cutting a piece of mirror for the back.  I just attached it with silicone.  I hope you like watching me build my sconce.  I'm in the process of making a second one now so I have a pair for on my wall.  As always, thanks for following along with me.

      Colleen :-)