Saturday, June 10, 2023

Building An Arbor


Hi everyone!  We've had a lot going on here at the Colaizzi homestead.  We had a new deck put on our new pool.  There was a lot of scraps leftover of the treated lumber and I asked the builder to leave everything in hopes I could make something from them.  I thought I'd try building an arbor that will eventually be put in front of the gate to my garden.  Follow along with me and see how I built it with the help of my Proxxon tools.

Supplies:
 Treated lumber... 2x4s, 2x6s, 1x2s
 Lag Bolts  8 (3.5" long)
 Screws...1.25",  3"
 Brad Nailer and Brads

I had treated 2x4s that I cut with my miter saw but these could easily have been cut to size at the store you purchase the wood at.  I started with 2 pieces 7' long and 2 pieces 24" long.  I measured down 4" from the top and 8" from the bottom on the 2x4s.  These marks are where I put the 24" pieces and screwed them together. Using the Proxxon Table Saw, I then cut a piece of 1x2 lumber 63" long. I inserted it inside and nailed it in with the brad nailer.  This piece formed a ledge for all the lattice to lay on and get nailed in with the brad nailer.


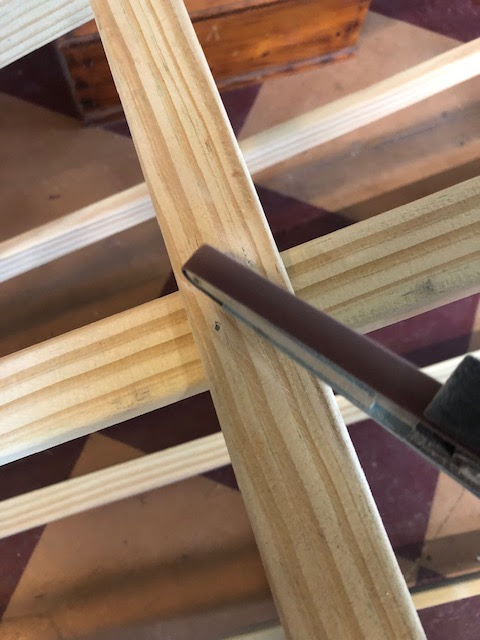
I used the brad nailer for all the vertical and horizontal pieces but later I used small wood screws at the intersections.  Repeat this and make two sides.

Using the scroll saw I cut two 2x6s  60'long.  These will be the headers that will connect the two side panels. I drew a design on each end of the headers and cut out with the Proxxon Micro Band Saw.


I laid the two sides on end on the ground and laid the headers across measuring in 9" on each end.  These got attached with lag bolts.  Once one side was complete, I flipped it over and attached the back side.  Now the arbor was able to be stood up.


Next the corner brackets were cut out of 2x6s using the Proxxon Band Saw and attached with 3" screws to the upper corners.


At this point I ran out of 2x6 wood so I do have to add the back braces when I get more wood...I did attach the front corner braces with 3 1/2" screws.


Lastly I cut 8 pies of the 1x2" slats for the top using the Proxxon Table Saw.  These were spaced out across the top and attached with small screws.


For now It's finished until I can find the wood for the back corner braces. I am eventually going to stain or paint it, but treated lumber needs to dry before putting any finish on.  Thanks for following along with me as I made this fun project :-) 
Colleen


Sunday, June 4, 2023

How to make a little storage box to hang on the wall

 Hi folks, it's been awhile since I posted anything.  I have been in Italy on the fabulous trip.  Now that I am back and rested its time to get busy in that workshop of mine.  Today Im going to show you how to make some simple little box drawers that you can attach to your wall to hold miscellaneous items.  You will see in the picture below that I am using mine to hold oversize paint bottles.  This project is fairly easy and we will use our Proxxon mini table saw to do a couple new things beyond just cutting wood.    Lets get it going now.


Supplies and equipment

1/2" plywood board
wood glue, 
screwdriver and  5/8" screws
proxxon.com
1/8" plexiglass

Here we go.   First thing to do is cut all the pieces se are going to need to make a big box.  Don't worry it won't be so big when we get finished.  And it won't be a box either.  


Simply remove the blade guard from the Proxxon mini table saw.  Then raise or lower the blade until it is approx 1/4" high.  See above picture.   Next set up your fence so that the blade will cut 1/4" from the outside edge.  Run all your pieces that need this groove along the fence and over the blade.   Check the fit with the Plexiglas.  It should be a good fit, not so wide as to be wobbly.  You may need to adjust the fence just a hair to widen the groove.  If you do, make sure to run all the boards through again.   Easy- peasy.  

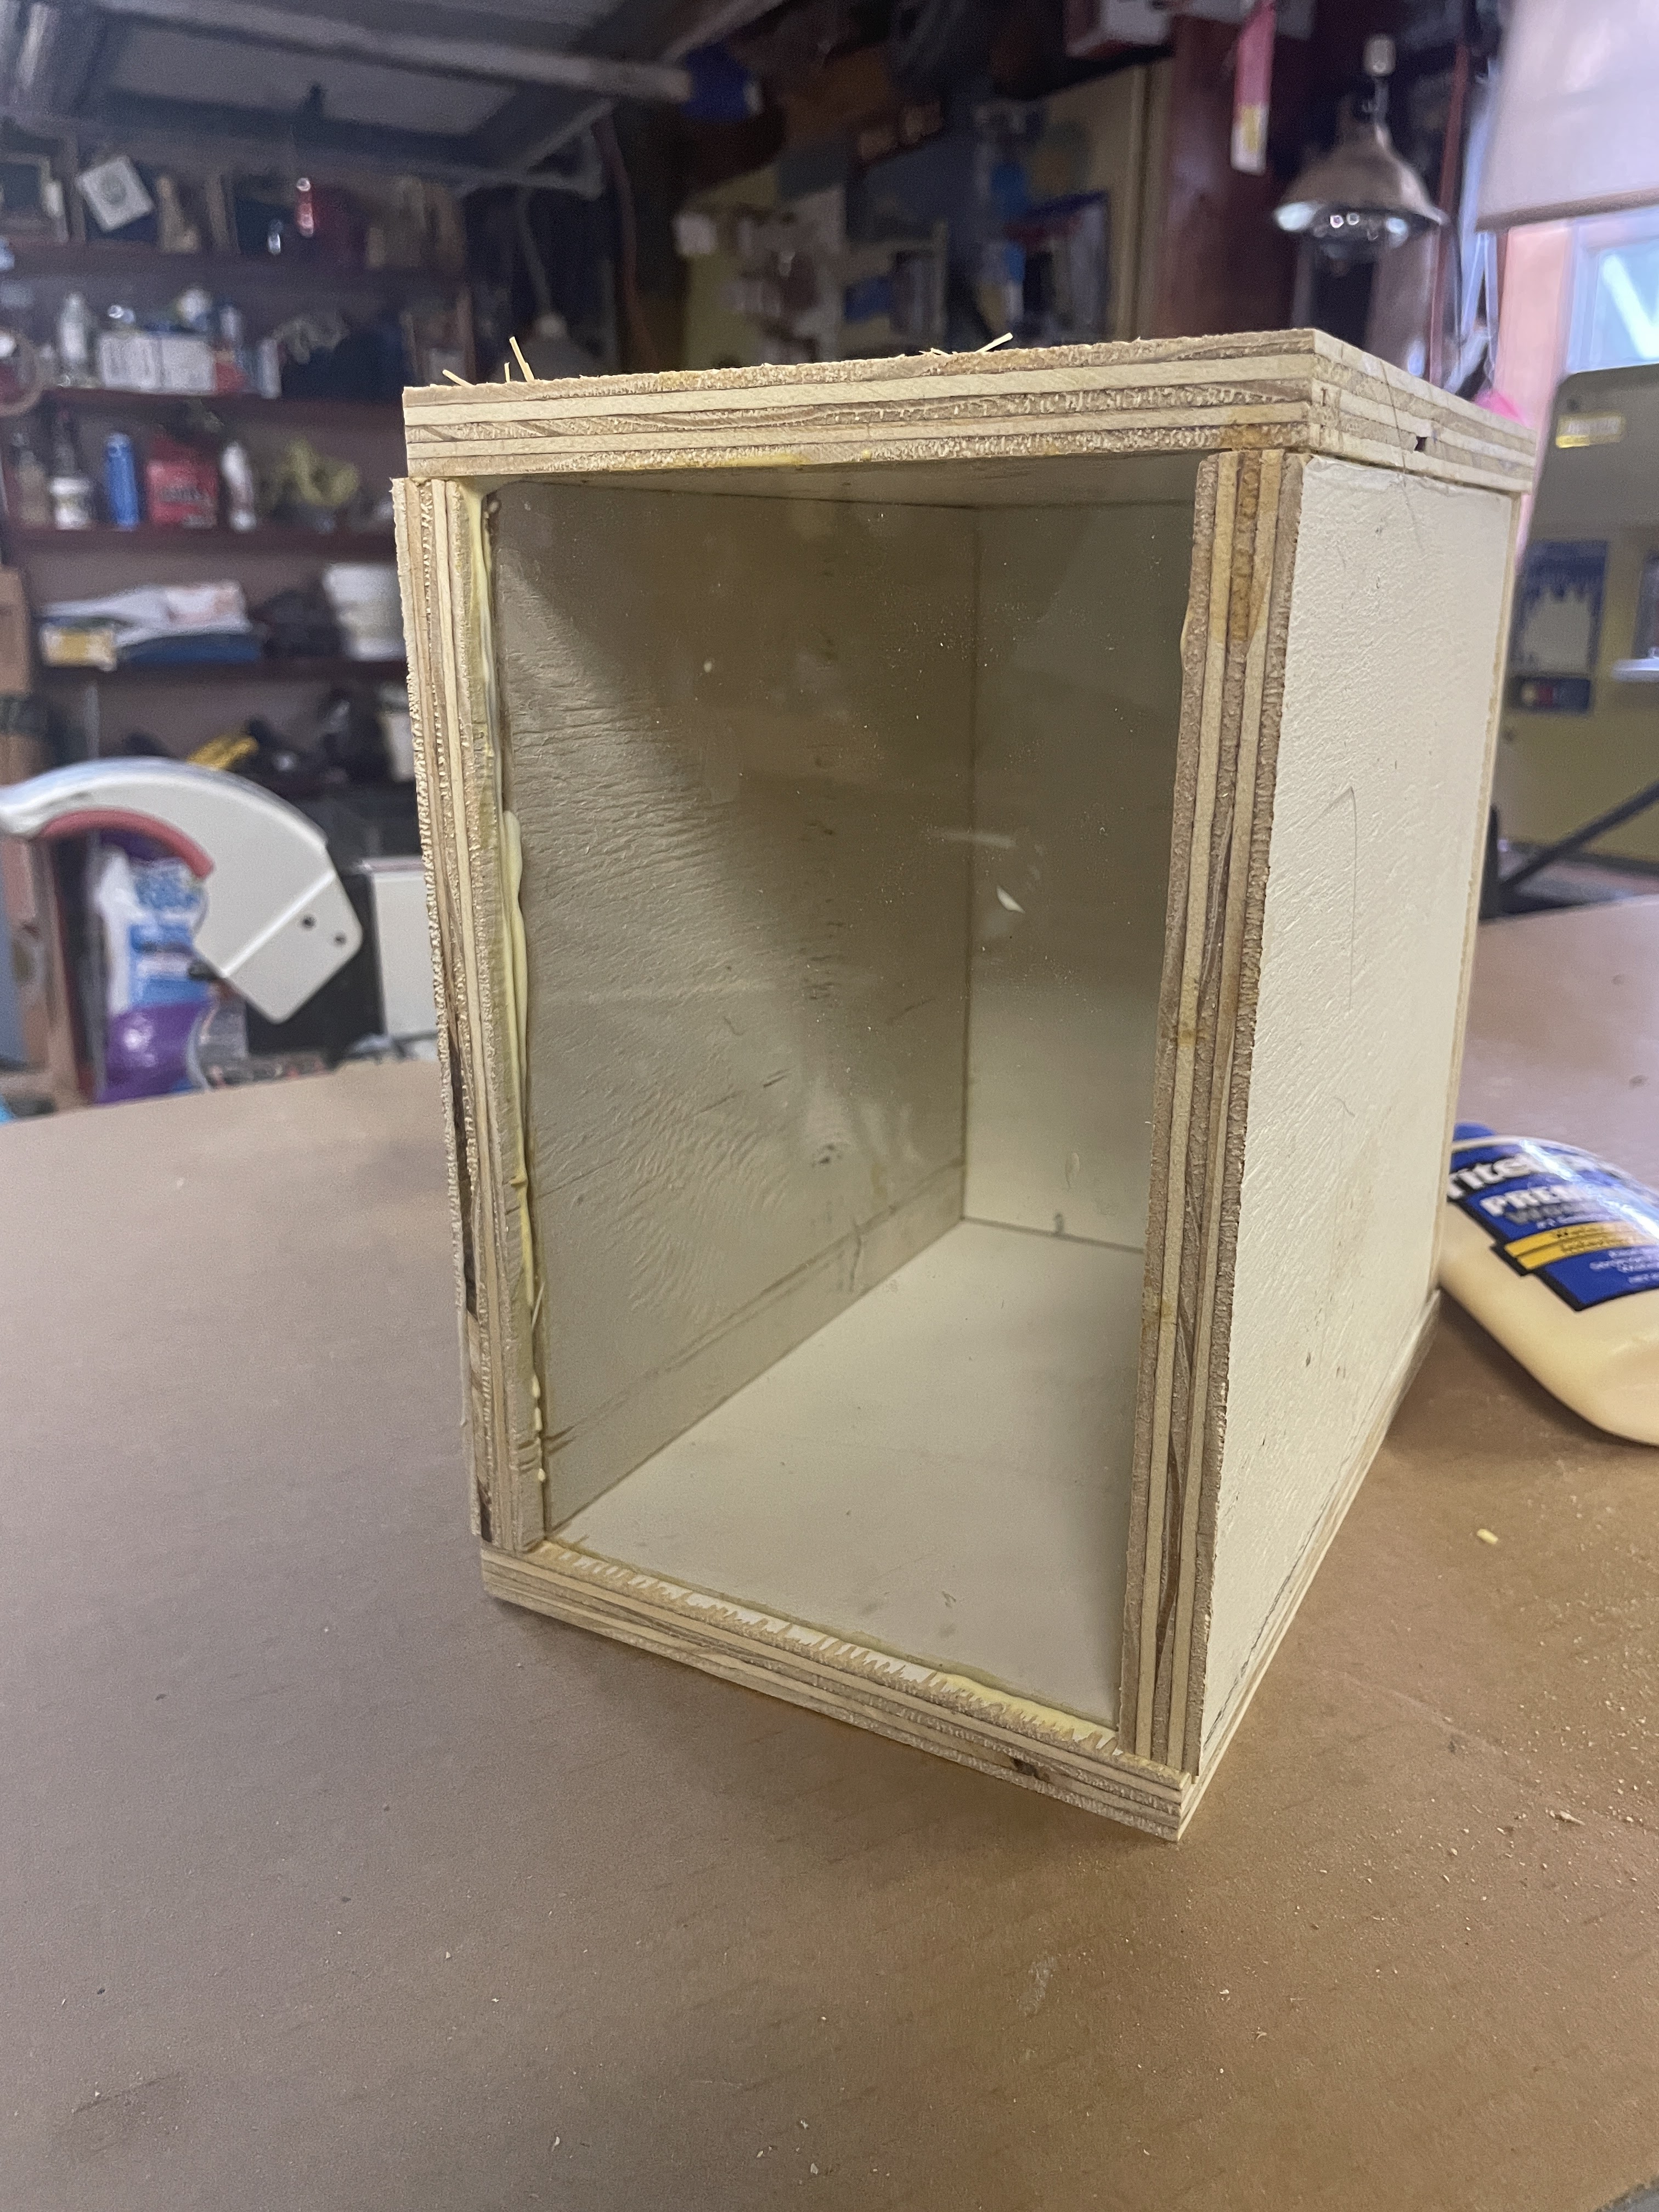
Now we put it all together.   I did 3 sides to begin with.  ( bottom, back and side), I used glue and clamps to start.
When the glue was dry and the structure was semi sturdy at this point I used the Proxxon professional rotary tool to make some pilot holes then added screws for strength.  

Now finish by gluing the top, other side and plexiglass.  Clamp it and let it dry good.  Now we have a box with a clear side.  


-
Next step is a little tricky, (not much),   We are going to cut this box in half on the Proxxon mini table saw.  Sounds daunting but is really easy.   I started on the side of the Plexiglas so that I knew I was cutting it right.  Set your fence so that it is 4 1/4 inches away from the blade. Raise your blade to about 1 1/2" high.    Lay the box on its Plexiglas face with the bottom along the fence and run it over the blade.  Then turn it 1/4 turn and do it again, Then rotate 1/4 turn and cut again.  And one last time rotate and cut.   Now you have 2 drawers.  Dont forget to sand everything.  Sanding with the Proxxon OZI/E delta sander makes this a breeze.


To put them on the wall.   Grab yourself a piece of 2 x 4 approx. 8" long.  Raise the blade on the Proxxon mini table saw as far as it will go.  Then change the angle to 45 degrees.


line your 2 x 4 up lengthwise along the fence so that the pieces will be even when you cut them.  Then run your board over the blade.   It will not cut through the piece so turn the piece over and run it over the blade again to complete the cut.

Should be 2 identical pieces.   cut one board in half.   These 2  will be mounted on the back of the little drawers.   The small side goes up against the back of the drawer with the other side pointing down.   Secure this with screws from the inside of the box into the 2 x 4.

To the wall mount the other piece (which can remain as one long piece)  Small side to the wall.  Pointy side up.   There you go.  It will hold the drawers while still making them easy to take down.  

Hope you learned something.  I think its fun to learn new things you can do with the tools you have,
 
Thanks for visiting.    Thanks Proxxon.     Carol

Sunday, May 28, 2023

Use Proxxon Tools to Make the Cutest Dino Refrigerator Magnets

 Who doesn't need refrigerator magnets? These cute dinosaur magnets are a great beginner project for getting acquainted with your Proxxon MICROMOT tools.


Supplies that you'll need:

  • Thin wood blanks—mine were 1/16"
  • Dino Magnets pattern—I used three of the eight patterns
  • Magnets—found mine at the dollar store
  • Super glue

Equipment that I used:

Let's make the dino frig magnets:

  1. Mount the patterns for the dinosaurs on the blank. Cover one side of the blank with painter's tape. Mist the back side of the pattern with spray adhesive, and mount on the taped blank.  The painter's tape makes removal of the pattern easy without leaving any sticky residue.

  2. Cut the shapes using the bandsaw or the scroll saw.

  3. To cut the embedded collar line on the triceratops, I used the omnidirectional spiral blade.

  4. Sand the edges using sanding drums and the flexishaft attached to the professional rotary tool.

  5. Super glue magnets on the back side of the dinos.

  6. Now, you're ready to put your dino frig magnets into action.

Carole

Sunday, May 14, 2023

Building A Garden Obelisk


    Hi everyone. Springtime is here and I've been wanting to build a few things for the garden. I've always loved a obelisk.  I want something that I could grow stuff on vertically. After looking at lots of pictures and doing some research, I came up with this design. Follow along with me and I'll show you how I made it.


Supplies:

   Proxxon Table Saw FET

   Proxxon Micro-Bandsaw MBS 115/E

   Proxxon Cordless Belt Sander

   Pressure Treated Pine 1"x 2"   10 pieces 8' long 

   Pressure Treated Finial 

   Outdoor Wood Glue (Gorilla Brand)

   Drill and Drill Bit

   Screws

   Brad Nailer and Brads


First thing is I determined how tall I wanted the obelisk to be. I decided on 7' without the finial. I laid out my wood on the floor. Marked 4 of the pieces at 7' and cut with the Proxxon Table Saw.


   Lay 2 of the pieces on the floor and put a clamp at one end just to hold them together.  Open the legs on the other end. I made mine 24" across the bottom. I tacked my legs to the floor temporarily just so it would stay still while I figured the sizes of the side stretchers.


I decided I wanted a side stretcher every 21".  I marked that along each leg. Then at each mark I laid a piece of wood under the les and just drew on the angle that it had to be cut. So much easier than doing all the math.  Cut with Proxxon table saw and dry fit in between legs.


          Take all the 3 pieces out and get ready to glue. Glue and let dry. Repete for the second side


Once those side stretchers are dry then I removed the clamp, cut and secured a top piece with glue and brad nails.  I also measured up an inch and added a stretcher to the bottom.


After both sides were dry, I drilled and put a screw in at each stretcher, to add extra stability.


                    Now the sides are done enough to stand up and clamp together at the top.  keeping the top clamped, lay piece on its side so we can measure the side pieces for sides 3and 4.  again I measured 24" spance at the bottom.  I wanted these side pieces to go on the outside of the legs and each one to cover the screw holes.  Lay a piece of wood across and mark the angle with a pencil. Cut angles with either the Proxxon bandsaw or the Proxxon table saw. Glue and nail on the with brad nailer.


Repete for side 4.  Now stand the piece up.  I decided each side needed a strip going up the middle for style and extra stability.


Two of the sides I shortened. the strip and cut a point on one end using the band saw, then again attached with glue and brads.  I also cut another top piece for these two sides, I glued and nailed with the brad nailer


Now there was some places that the brads came all the way through to the other side of the wood strips. I didn't want any sharp nails exposed so I grinded them off with the Proxxon belt sander.


I sat my piece up. Screwed the finial on the top and started to paint.


 My obelisk is complete!  I'm thrilled at how it turned out.  I cant wait to place it in my garden and start growing stuff on it.  Thanks for following along with me.   Colleen :-)