I love using unique frames to display pictures of family. You're sure to enjoy creating this eye-catching display frame.
Supplies and Equipment for Making the Display Frame
Instructions for Making the Display Frame
- Mark measurements on the piece of ¼" MDF and on the 1/16" wood. You will need one 8" x 5½" piece, and two 5½" x ¾" strips.
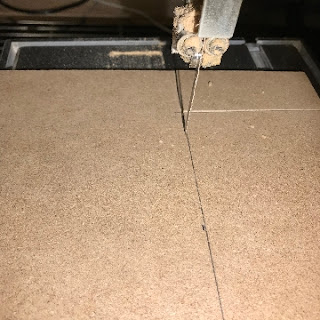
- Use the band saw to cut these pieces.
- Select the pattern for the scroll top of your frame. I've included both a solid and openwork pattern for the frame top.
- Mount the pattern onto your selected substrate. Cover the substrate with painter's tape; spray the back of the pattern with removable adhesive; place the pattern on the substrate. The adhesive holds the pattern in place, and the painter's tape makes for easy removal.
- Use the scroll saw to cut the top of the frame.
- Sand the strips and sides of frame using the disc sander.
- Glue and clamp the 1/16" spacers to the back of the frame cross strips.
- When the glue is thoroughly dry, paint the cross strips. Paint the frame piece, and optionally, decorate with stamped or painted images.
- Decision time!! Decide if you want to display your photos in portrait or landscape orientation.
 |
| Landscape orientation |
|
 |
| Portrait orientation |
|
- Position the cross strips according to your display choice, and glue and clamp them in place. I place a piece of scrap paper between the clamp and the cross strip to protect the paint.
- Enjoy displaying your favorite photos in this unique picture frame.


5 comments:
Carol this is lovely, and a beautiful way to display family and friends. Very well done.
Carole sorry I dropped the E on the last post.
Beautiful!. This really shows some extra love for who/whatever is in the picture that you would make such a special frame for it. I think it came out wonderful. The instructions are very clear. I love it!
I really like this frame Carole! Great tutorial too!
Great job, and cute kids
Post a Comment