Sunday, August 4, 2024

How to make a flying bird mobile

 Hi again.  Time for another easy but impressive little project I think you will get a kick out of.   We are going to start with a ratty old piece of cedar board and turn it into an elegant decorative piece.  Or it could be a cute little mobile for the child's room.
Let's get started.   

                    First let's collect our supplies.

I started by making a pattern of small birds.  I might hang this in a window.
 

Next, I transferred the pattern 4 times onto my cedar board.   Pay attention here to wood grain.  Cedar board with a wide grain likes to crack along the grain if the area cut is thin.  I did not want the bird's wings chipping off so I oriented them to follow the grain.  (We still need to be careful of the bird's tail and his beak)


First to the Proxxon mini drill press to drill holes where we will string up the birds.  Check that the balance will be right so they dont hang sideways or something.  😤


Over to the Proxxon mini scroll saw,  I carefully cut out the little birds.


The next part is very important.   I hate sanding as much as you do.  But with the Proxxon tools it really isnt that much of a chore.   I started with the Proxxon mini cordless belt sander and basically took off the edges all around the birds perimeter.  


Next I picked up the Proxxon OZI/E delta sander, and using 80 grit sand paper I sanded the birds all over.  I want everything as smooth as possible.  Cedar really polishes up nice if it is sanded really well.  A glossy coat will show every scratch or rough area so it is worth really being fastidious here.  


Now, just when you think you are done,  you're not.
Change the sanding paper on your Proxxon OZI/E delta sander to 240 grit and go over everything lightly.  Now you are done sanding.

*helpful hint*  If you want to preview your final result take a wet paintbrush and lightly patint the surface with clean water.   This will show any defects that will also show up in the finsh.  Sand those rough spots once again.  Now let the pieces dry really well.

Finish with the product of your choice.  I am using 2 part resin because I am after a very shiny look.


When everything is dry and looking good, string the pieces with the fishing line.  The other ends can be attached to a small board or to a cross made with 2 board for a more 3-D look.    Hang it up and be proud.  You made that beautiful showpiece.


Hey its been fun.  I hope to see you next time.  Till then play safe, play nice.

Thanks for coming.     Thank you Proxxon for the nifty tools that are so much fun to use!

Monday, July 22, 2024

Proxxon Tools Come Out of the Workshop: How to Get More Out of Your Cordless Polisher

 I've seen ads and videos of scrubbers all over the web, and thought, "I want one of those." Then, the light went on, and I realized that I already had one. In my workshop. My Proxxon Cordless Angle Polisher.

So, I tested it out on a grody sink. You can see from the before pix how bad it was. 


I used one of the sponge heads that comes with the polisher and a paste cleanser. Wow!! No elbow grease required. The polisher did all the work.

You can see the results.

I'm making a list of household projects for my cordless polisher—a marble top table, shower stall, utility room sink. Of course, I'll use it in the workshop, too :)


Saturday, July 6, 2024

How to make a plexiglas business card holder

 Hi everyone.  Hope you all had a good 4th of July.  It was hot here but still had a good time with friends  We had an indoor picnic so to speak.  Anyway, I chose a simple little project so as not to spend a whole lot of time out in my un-airconditioned workshop.  The challenge today was to find the right tools for the job.  I really dont have a lot of experience with plexiglas so I learned some tricks I want to share with you.  

What we want to make is essentially a little box.  The trick is cutting plexiglas without chipping or cracking it, then finding the right glue. 

 Ok. lets get started.  I made a pattern for myself that I felt would hold the cards in a nice way.  I drew my cut lines on masking tape.  I was off to the Proxxon mini table saw to do my cutting.  It went well for a little while but then I started chipping and cracking the little pieces.


Make sure you wear safety glasses as bits of hot plexiglas are flying.


Here is the first trick.  I took a slim slab of wood and taped the plexiglas securely to it.  I drew the pattern onto the wood and cut the pieces with the wood side up.  I got a very smooth cut and there was none of the flying plexiglas pieces. 


When I got all the pieces cut I began the gluing process.  The trick here is to leave the protective plastic on over the plexiglass to keep the glue off the glass.  Peel the edges away and lay a line of glue.  I use glue that is made for model making.  
Go slow, one side at a time.  It doesnt take long for the glue to hold. When the box is made, peel away the protective plastic and you got a nice little box.   Oh, I used the proxxon mini scroll saw for the finger cut-out on the front side.   Any extra plexiglas (overlap), can be removed with the Proxxon OZI/E delta sander.  But be careful not to scratch the plastic sides.    


.


sorry for the poor picture.  The project acttually looks good 


Hope you all enjoyed the little project.   Catch ya next time.  Carol


Sunday, June 16, 2024

Farmhouse Style: Crafting a Country Chic Cow Wall Hanging

This country chic cow is a moo-velous project for honing your skills at cutting out shapes—as well as using lumber scraps that all woodworkers seem to accumulate.


Supplies and Equipment Used:

Step-by-step Instructions for the Country Chic Cow Wall Hanging:

  1. Print the Country Chic Cow pattern. Mount the pattern pieces on the wood blanks. Cover one side of the blanks with painter's tape. Mist the back side of the pattern with spray adhesive, and mount on the taped blank. The painter's tape made removal of the pattern easy without leaving any sticky residue.

  2. Cut out the shapes using the bandsaw or scroll saw.

  3. Drill holes using the bench drill press fitted with a 5/32" drill bit. Place a scrap of waste wood under the blank to minimize tear out. Set the adjustable fence to maximize drilling accuracy.

  4. Sand edges of hooves and body using the disc sander.

  5. Sand the edges of the head using the Delta sander. I use the Delta sander mounted in the Precision Vice FMZ so both hands are free to manipulate the piece I'm sanding.

  6. Now it's time to paint the pieces. Paint the entire surface of the body and the head white, and the hooves black. Set aside to dry.
  7. When the paint is dry, sketch areas on the head and body for black accents and for the nose on the head. Paint the sketched areas.

  8. When the paint is dry, attach picture hanging hardware to the back of the body piece.

  9. Using liquid wood adhesive, glue the head to the body.

  10. Tie the hooves to the body using twine.

  11. Glue a bow to the head.

  12. Enjoy your country chic cow wall hanging. 

Sunday, May 19, 2024

Step-by-Step Guide to Crafting the Perfect Book Thumb

So, what is a book thumb??? A book thumb, also known as a thumb book holder, is a reading aid that allows you to hold a book open with one hand. Some folks claims that using one can help reduce strain in neck, arms, back, and shoulders. They make great gifts for the avid book reader.

Supplies and Equipment:

Step-by-step Guide for making the Book Thumb

  1. Print the Book Thumb Templates, and select your book thumb model. Mount the selected pattern on your wood blank. Cover one side of the blank with painter's tape. Mist the back side of the pattern with spray adhesive, and mount on the taped blank. The painter's tape makes removal of the pattern easy without leaving any sticky residue.

  2. Cut the straight sides of the book thumb using the bandsaw.

  3. Cut the curved thumb recess using the scroll saw.

  4. Sand the cut surfaces using the disc sander.

  5. Using the disc sander, gently round the outside corners just enough to remove the sharp points.

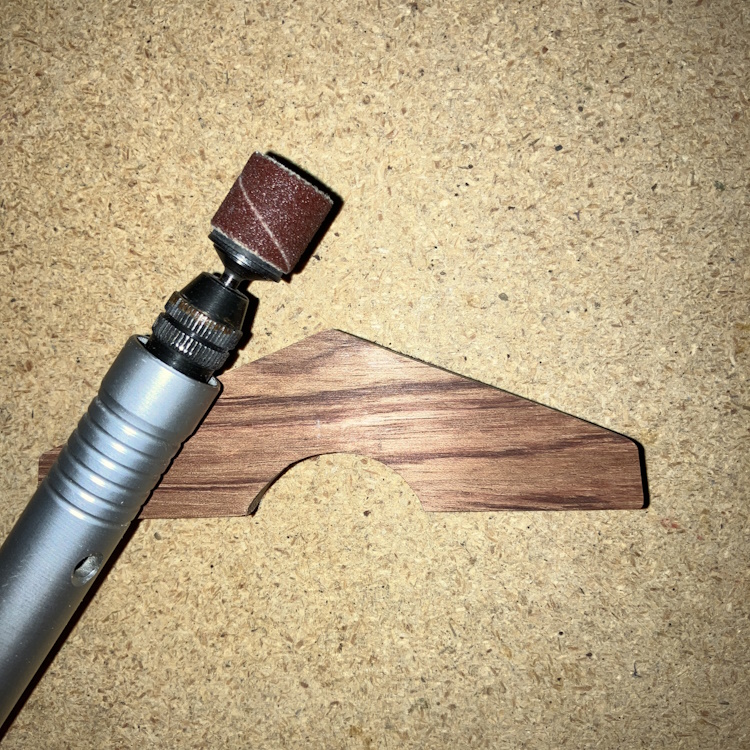
  6. Sand the inside curved thumb recess using the flexishaft and a sanding drum.

  7. Apply a thin coat of finishing wax to the book thumb, and buff using the angle polisher with a lambswool polishing disc.

  8. Grab a good book, and enjoy reading using your new book thumb.
Carole

Sunday, May 5, 2024

How to make a simple learning game for the kids

 Hello again,   How about we make one for the kids today.   It's going to be a simple tic tac toe game using symbols that are recognizable to children.  Actually if the kids are not too little, let them choose the theme and help with the painting.


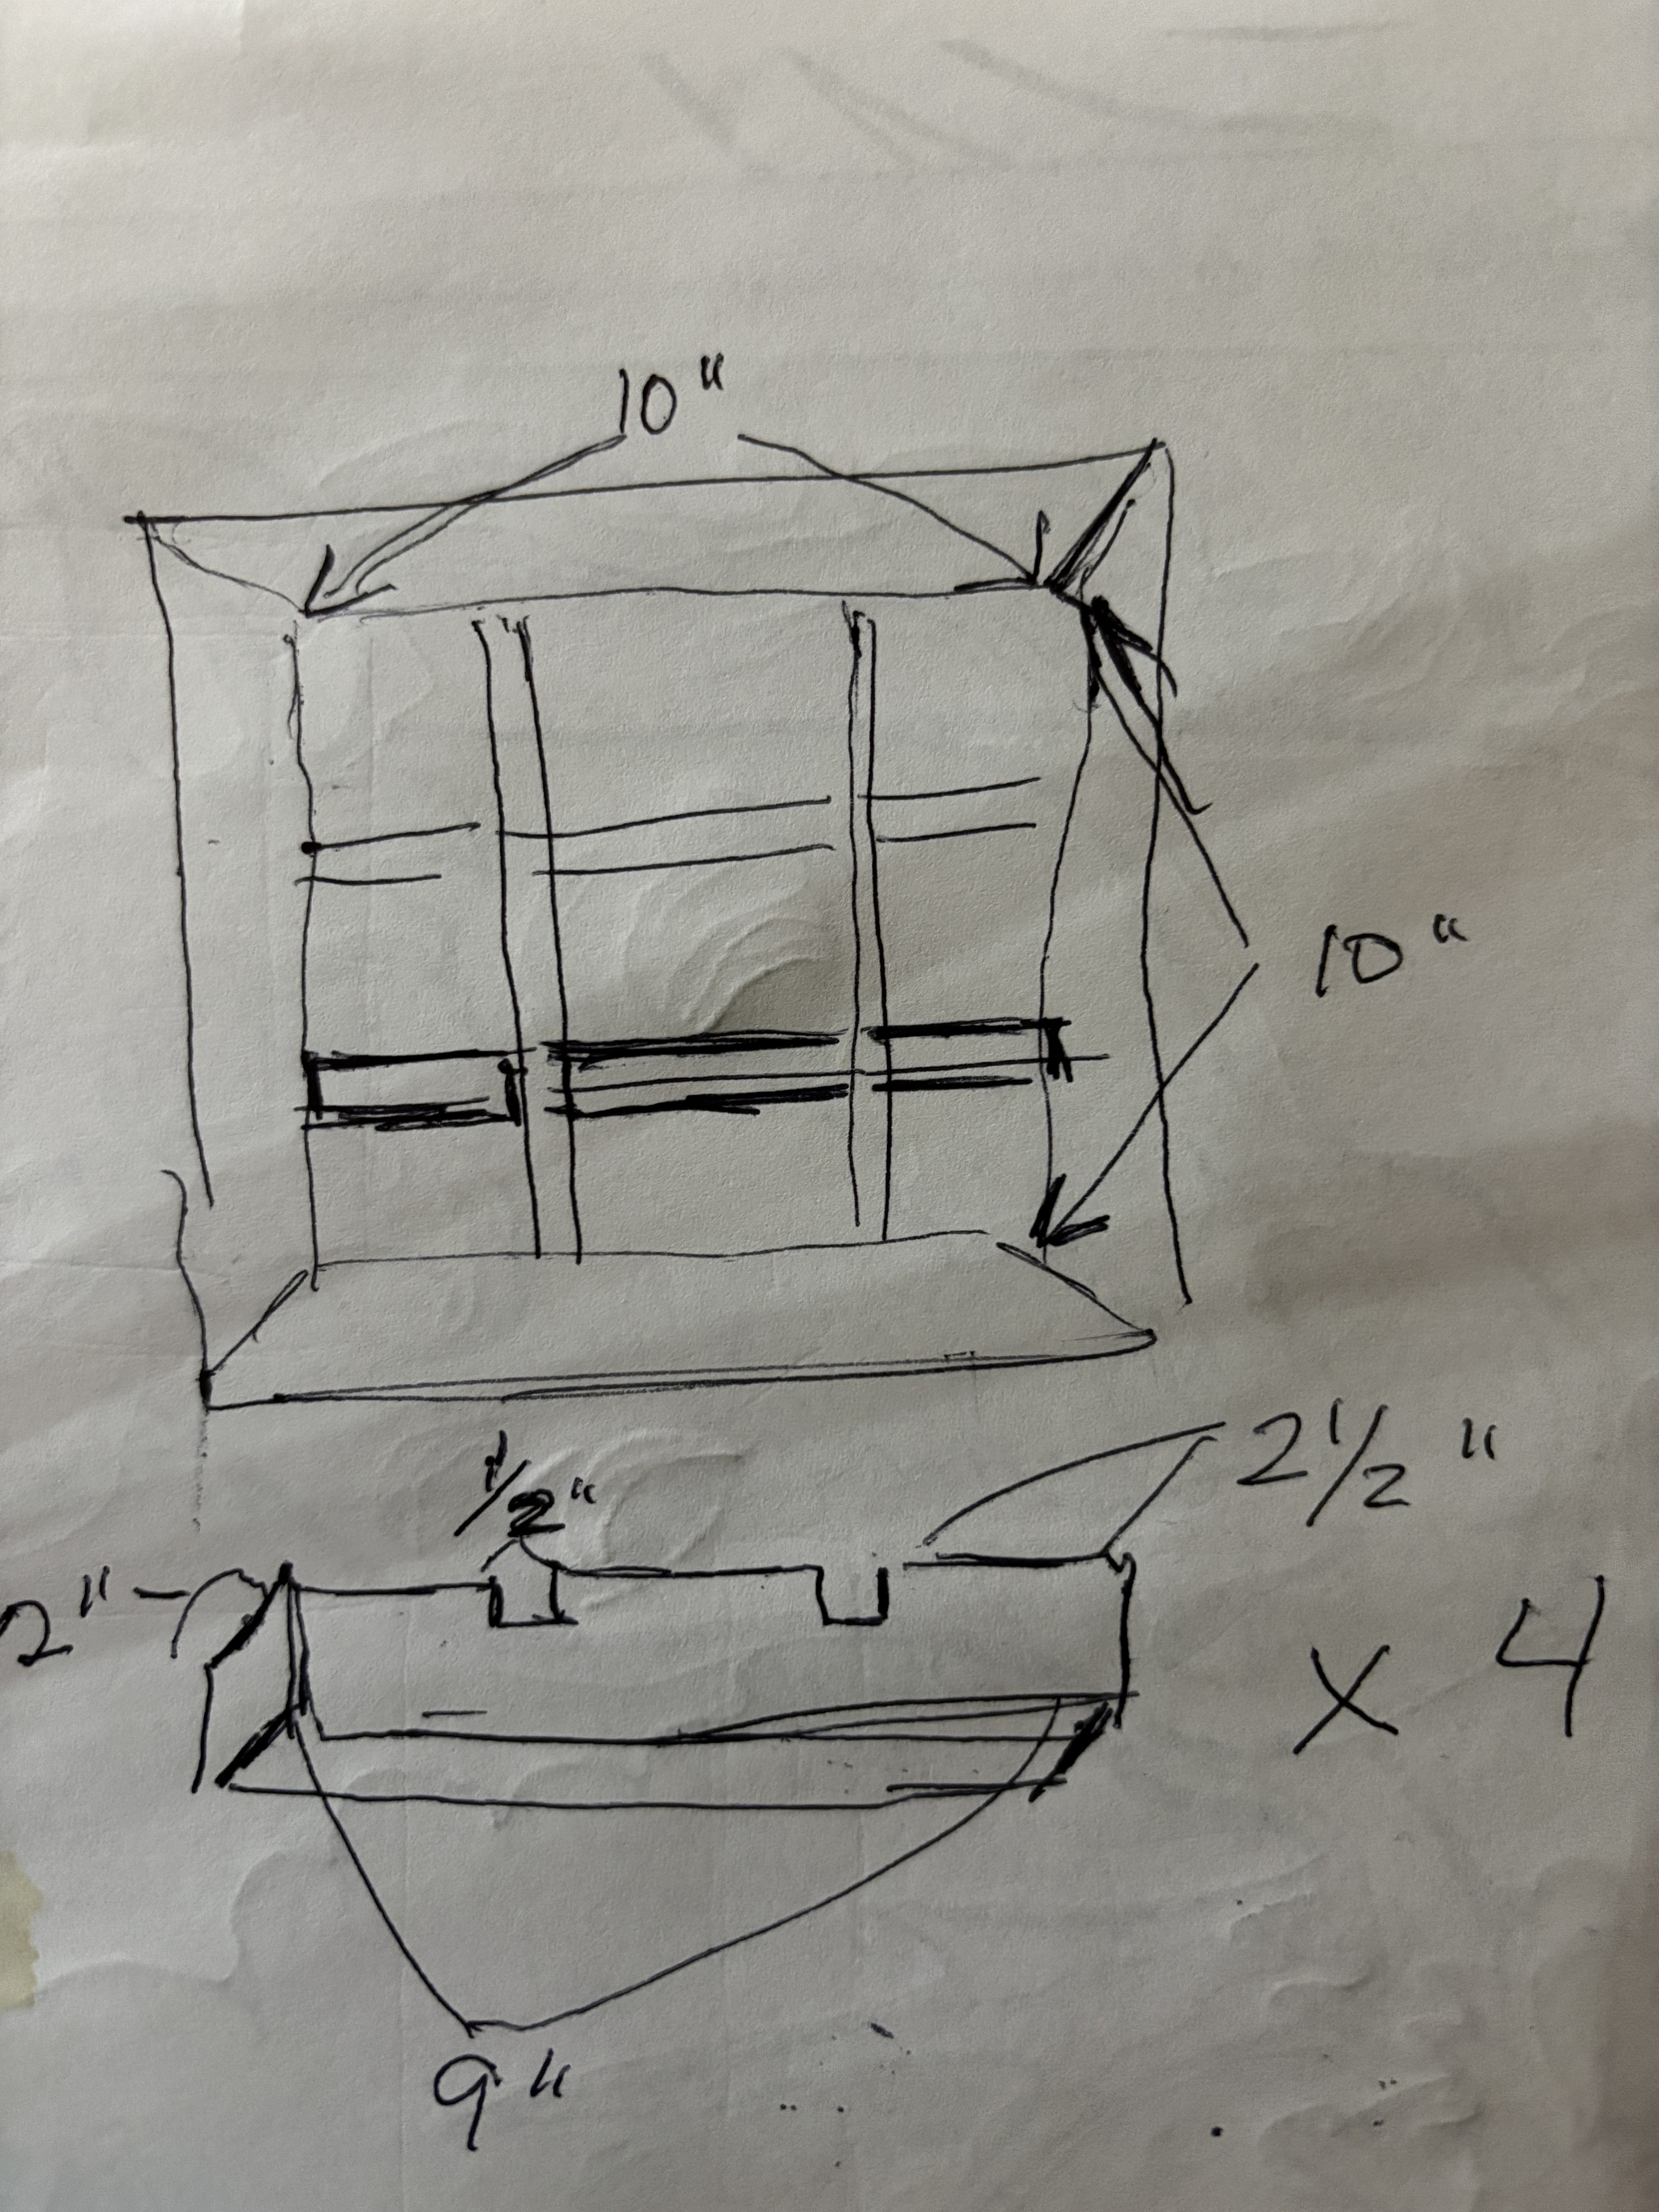
The first thing I did was to make the frame for the game.  This is really easy using the proxxon mini chop saw.  Ive tried a million times to make a decent mitered corner using any number of tools, but always one or more angle was slightly off or bowed a little bit so it just wont fit tight.  But with the Proxxon mini chop saw it is a simple task and if measured correctly, I guarantee it will fit perfectly.  But first, lets cut it to size using the proxxon mini table saw.


Oncw the boards are cut to the proper width move over to the Proxxon mini chop saw and set the guage to 45 degrees and make your first cut. Then measure (the short side) and set it up to cut the proper length.   Measure only the short side.  The long sides will take care of themselves. (refer to picture)  If you are using my measurements, short to short will measure 10'     


Put the frame together around the back piece, glue it then clamp it until it dries completely.    Next we will work of the dividers.

I used the proxxon mini band saw to cut out the notches,


I put it together with glue then put it aside while I work on the tiles.  This is easy using the proxxon mini chop sawWe are going to make (10)  2 1/4" square blocks.  And while we are at it, I am going to cut (10) 2 1/2" long 1/4" diameter dowel pieces. 


Using a drill, I made 1/2" deep holes in the upper right corner of each of my 10 blocks.  This just makes it easy to place the tiles during a rousing game of tic tac toe. 😵

Next, paint, stain or do whatever you or the kids like to decorate your board and the tile pieces.  We opted for dogs and cats, (you need 5 of each) so we painted them on our tiles.  We painted the board black.  We fisinshed it all with krylon triple thick gloss spray..


I think it is done, except it would be nice if we put a stand on the back so it can be verticle.  Lets do that.  I just cut a piece of thin wood.  Using a hinge attach it to the back, just like any old picture frame that sat on the living room tables.

Well that was  fun and not too hard. Im ready to see if the kids llike it.

thanks for visiting today.  Hope to see you next month.  Carol