Make your own cheese markers for your next party using Proxxon tools and FolkArt chalkboard paint.
Supplies and Equipment for Making the Cheese Markers
Directions for Making the Cheese Markers
- Download and print the pattern for the cheese markers. Mount on the wood.
- Cut the straight lines using the band saw.
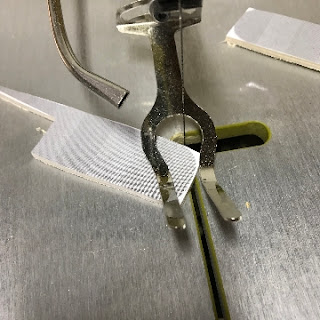
- Cut the curved corners using the scroll saw.
- Sand any rough edges and do any final shaping using the disc sander.
- Use painter's tape to tape off areas where you do not want paint.
- Paint the tops of the cheese markers with FolkArt chalkboard paint. Use two coats of paint, allowing the first coat to dry thoroughly before applying the second coat.
- Allow the paint to cure for 24 hours, then condition the chalkboard surface.
- Lay a piece of chalk on its side and rub the chalkboard surface on the cheese marker . Dampen a paper towel with water, and wipe the surface to remove the chalk dust.
- Label each marker, and serve up a plate of your favorite cheeses. When finished, wipe with a damp paper towel.


2 comments:
That is a nifty little project. great party idea. For a change I might know what kind of cheese I was eating. :)
It's nice to know what cheese it is that you're about to eat isn't it? These markers are so clever and unique. Wonderful tutorial too.
Post a Comment