Who doesn't need a place to organize their mail? This letter holder is a great project for learning to use both the table saw and the band saw.
Supplies and Equipment for the Letter Holder
Instructions for the Letter Holder
- Measure and mark the pattern from the schematic onto the wood pieces.
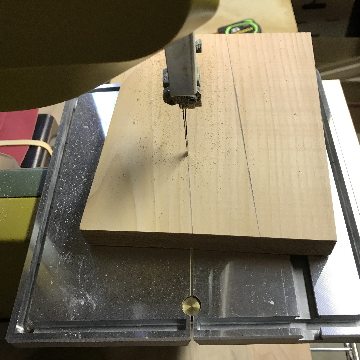
- Cut the side pieces on the band saw.
- Cut the back piece on the table saw.
- Cut the front slats and bottom on the table saw.
- Sand the edges of the slats and bottom piece on the disc sander.
- Sand all surfaces with the Delta sander.
- Glue the pieces together. Glue the sides to the back, and let it thoroughly dry. Then, glue the front slats and bottom in place.
- Paint and finish the letter holder with your choice of finishes. I used FolkArt Ultra Dye.
Attach a hanger of your choice to the back of the letter holder. Enjoy!!
 |
| Carole |


No comments:
Post a Comment