Fukuro toji (袋綴じ), or "bound-pocket books“ were created using stacks of double-wide paper, individually folder and sew on the loose edge - the edge opposite the crease. This increased the strength of each page and allowed for the use of very thin papers. Stab binding is a type of Fukuro toji. Traditionally, the holes for sewing were made with a book awl. Using a Proxxon Bench Drill Press TBM 115 simplifies the process and makes it quick and easy to create a wonderful little book.
These instructions make a 6" x 4" book that has 16 pages (32 sides).

Create N Craft has two Japanese book binding kits available. One makes the 6" x 4" book shown here. The other makes 3 books and has instructions for three types of bindings; four hole, noble and turquoise shell.

Both kits include everything you need, including pre-cut decorative and text weight papers, thread, thread, instructions with illustrations and a needle! All you need to supply is scissors, glue and bulldog clips and a way to make the holes.What You'll Need
- Two pieces of 7" x 5" decorative paper (front and back covers)
- Two pieces of 6" x 4" text weight paper (the "end papers")
- One piece of chipboard 6" x 4" to use as a template - cereal box will work
- 16 pieces of 12" x 4" text weight paper (the "book block" or body of the book)
- A 2" square piece of bookcloth to make the protective corners
- 40" of decorative thread (like embroidery floss)
- 12" of linen thread (to sew the inside binding)
- Scissors
- Good quality paper glue, like Alene's Tacky Glue
- Scrap paper to glue on
- Toothpick
- Needle
- 1/4" Bulldog clips
- Bone folder (optional)
- Small scrap of wood to use under the book when using the drill press
- Proxxon Bench Drill Press TBM 115
- Proxxon Original German Chuck for the TBM115
- 1/16" Drill Bit
- 3/32" Drill Bit
Steps To Follow
1) Fold the sixteen 12" x 4" papers in half along the short dimension. Burnish each fold well so you have a nice, sharp crease. A bone folder works great for this, but you can also use your fingers or the edge of a ruler.

2) Stack the 16 pages together. Add an end paper to the top and the bottom of the stack. Carefully line up the stack and secure it with bulldog clips. Mark 4 holes to be used to sew the book block together. Each pair of holes is 1" from the top/bottom of the book and are 1/2" apart. Be sure your marks are on the spine edge (the loose edge) of the book. Remember, in a traditional Japanese book, the folded edges are opposite the spine.

3) Use the Proxxon Bench Drill Press TBM 115 fitted with the Original German Chuck for the TBM115 and the 1/16" drill bit to drill the four holes. Put a small scrap of wood under the book block to reinforce where you're drilling.

4) With the linen thread, sew the bookblock together. Sew each pair of holes individually and tie the thread ends tightly with a square knot. I like to hold the first half of the knot down with a toothpick while tying the second half. Having a friend help hold the toothpick in place makes this much easier! Trim the ends to about 1/2" I like to put a very tiny bit of glue on each knot and tiny dots to glue the tails in place. You only need a very small amount of glue!


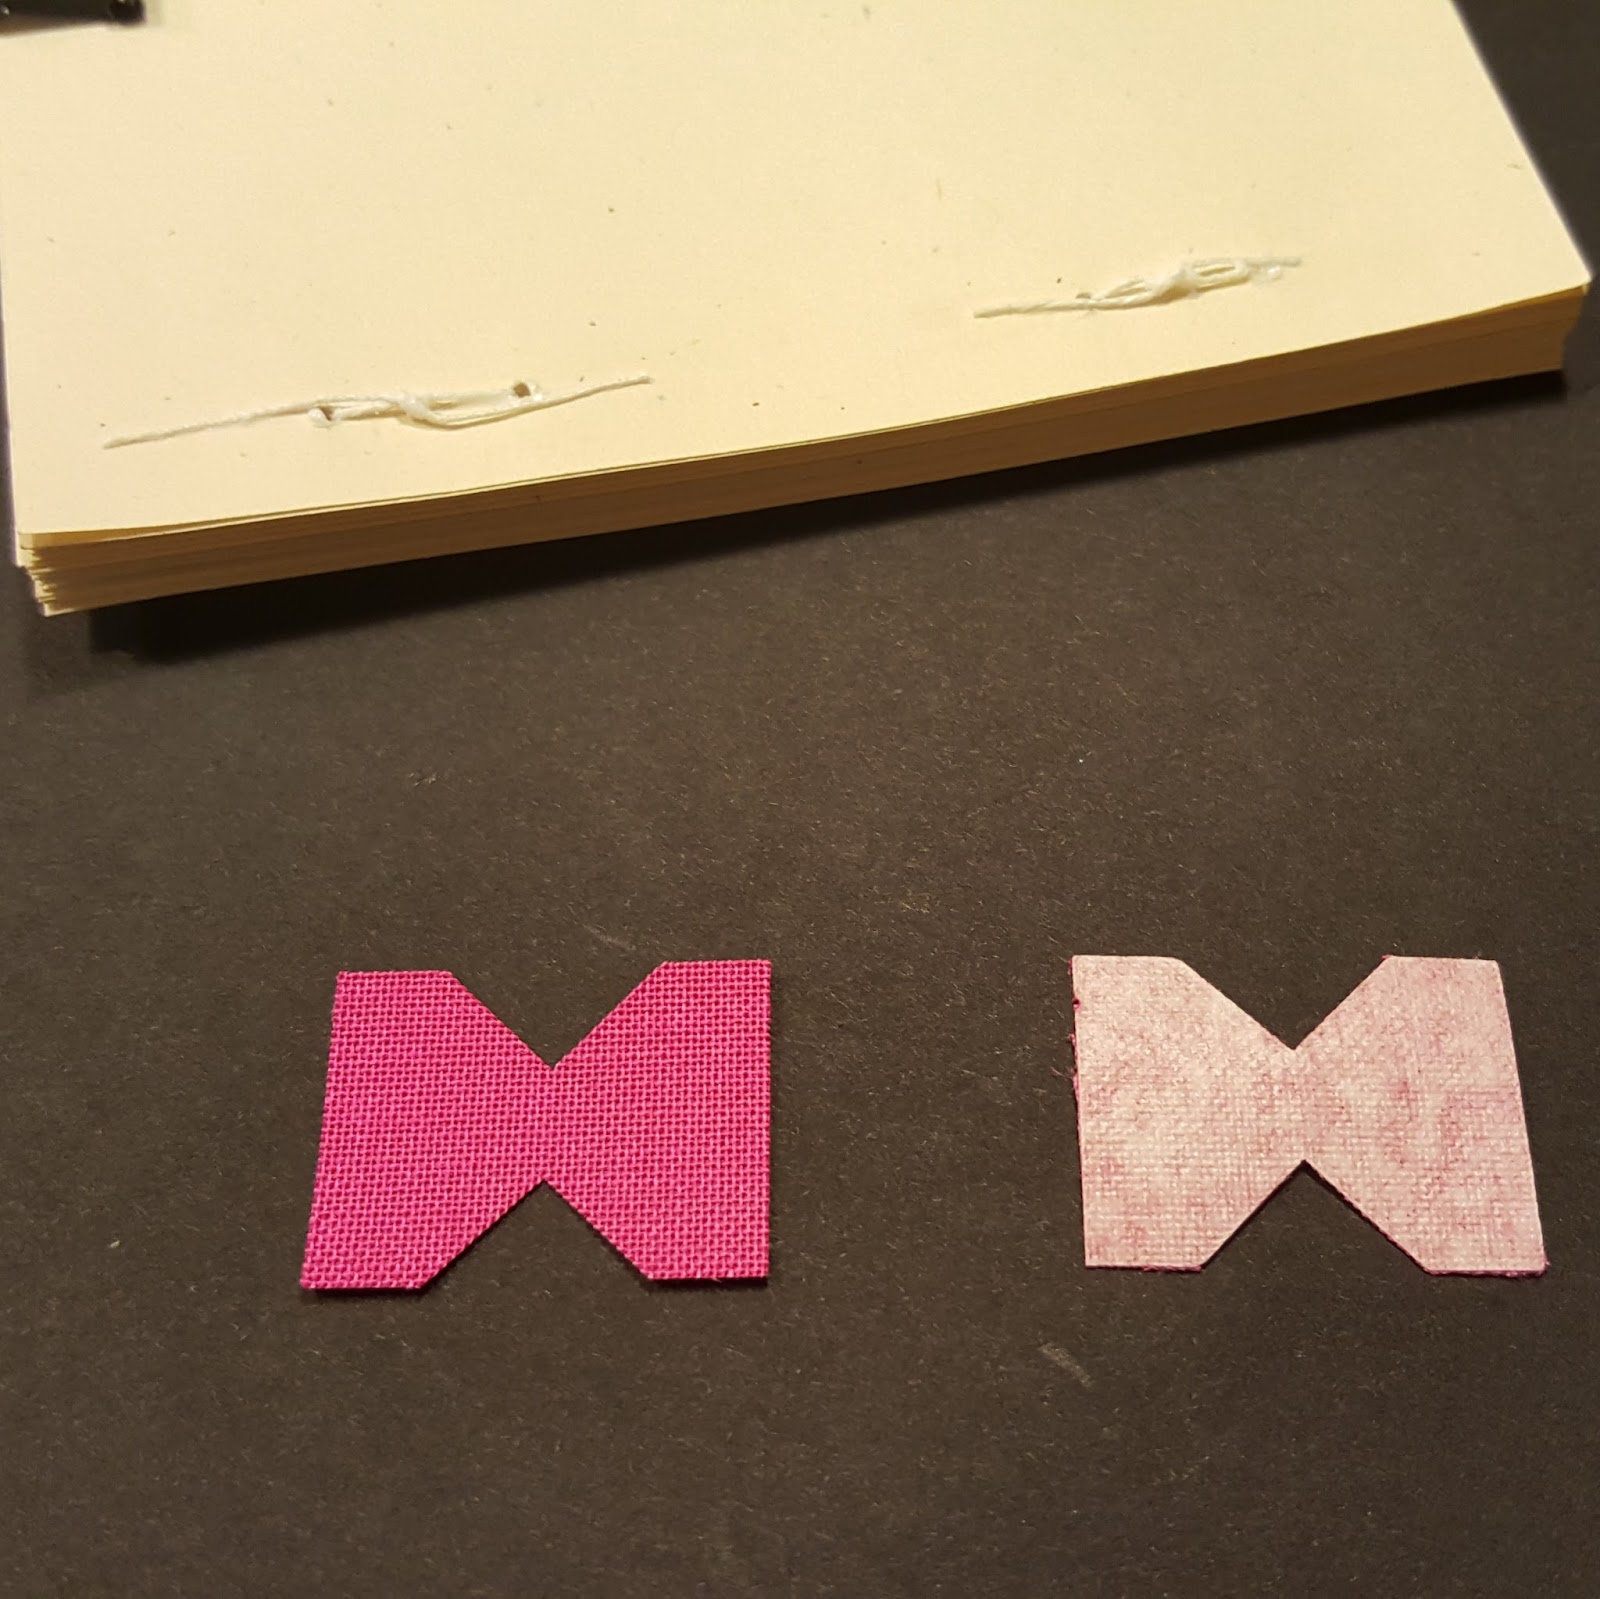
5) Cut the bookcloth in to a "butterfly" shape measuring 1" wide and 3/4" tall. Start with a rectangle 1" x 3/4". Then cut out two darts. The dart measures 1/2" wide along the edge and 1/4" tall. That leaves 1/4" in the center of the butterfly, which is the same as the thickness of our book block.

6) Put some glue on the paper side of each butterfly and place each one on the spine edge of the book block. Wrap the edges tightly around the block. The results are nicely mitered corners. Put the book block aside.


7) Use the chipboard template to fold the decorative papers to make the 4" x 6" covers. Place the chipboard in the center of the 7" x 5" piece of decorative paper. Trace around it with a pencil. Fold the edges up around the chipboard to make crease lines. Remove the chipboard. Draw diagonal lines across each corner. Cut away the corners. Fold each of the 4 sides down on to the back of the paper. Put a very small amount of glue under the fold to hold it in place. The resulting piece of paper should be 6" x 4" with a nicely folded edge and mitered corners. DO NOT glue the chipboard to the paper! It is only a template used for folding and should not become part of your finished book.


8) Adhere the front and back covers to the book block using a very thin layer of glue. Be careful to check that the papers are facing the right direction when you're holding the book. Mark 4 holes for the stab binding along the spine. Japanese stab bindings traditionally have the holes equally spaced. In this example the holes are 1" apart and start 1/2" from the top and bottom of the spine.

10) Use the Proxxon Bench Drill Press TBM 115 fitted with the Original German Chuck for the TBM115 and the 3/32" drill bit to drill the four holes. Put a small scrap of wood under the book to reinforce where you're drilling.

11) Sew the binding. Double thread a needle and knot it twice, leaving a 1" tail. Open the book to the third page. Sew from the inside through the 2nd hole from the bottom. Pull the thread through. This buries the knot inside the book. You can trim the tail later (and even add a little drop of glue to really secure the knot inside the book.


13) Continue sewing. Wikibooks has great illustrations, like the one below, that shows step by step how to sew this binding.

14) I like to finish the binding by sewing up through the last hole, then back down in to the same hole but coming out an interior page of the book. Pull the thread almost all the way through, leaving a small look. Then put a drop of glue where the thread is, push the needle out through the spine and trim the edge. This pulls the thread through the drop of glue, permanently adhering in to the inside of the binding.


Happy Crafting!
Joe
www.createNcraft.com


3) Use the Proxxon Bench Drill Press TBM 115 fitted with the Original German Chuck for the TBM115 and the 1/16" drill bit to drill the four holes. Put a small scrap of wood under the book block to reinforce where you're drilling.

4) With the linen thread, sew the bookblock together. Sew each pair of holes individually and tie the thread ends tightly with a square knot. I like to hold the first half of the knot down with a toothpick while tying the second half. Having a friend help hold the toothpick in place makes this much easier! Trim the ends to about 1/2" I like to put a very tiny bit of glue on each knot and tiny dots to glue the tails in place. You only need a very small amount of glue!


5) Cut the bookcloth in to a "butterfly" shape measuring 1" wide and 3/4" tall. Start with a rectangle 1" x 3/4". Then cut out two darts. The dart measures 1/2" wide along the edge and 1/4" tall. That leaves 1/4" in the center of the butterfly, which is the same as the thickness of our book block.
6) Put some glue on the paper side of each butterfly and place each one on the spine edge of the book block. Wrap the edges tightly around the block. The results are nicely mitered corners. Put the book block aside.


7) Use the chipboard template to fold the decorative papers to make the 4" x 6" covers. Place the chipboard in the center of the 7" x 5" piece of decorative paper. Trace around it with a pencil. Fold the edges up around the chipboard to make crease lines. Remove the chipboard. Draw diagonal lines across each corner. Cut away the corners. Fold each of the 4 sides down on to the back of the paper. Put a very small amount of glue under the fold to hold it in place. The resulting piece of paper should be 6" x 4" with a nicely folded edge and mitered corners. DO NOT glue the chipboard to the paper! It is only a template used for folding and should not become part of your finished book.


8) Adhere the front and back covers to the book block using a very thin layer of glue. Be careful to check that the papers are facing the right direction when you're holding the book. Mark 4 holes for the stab binding along the spine. Japanese stab bindings traditionally have the holes equally spaced. In this example the holes are 1" apart and start 1/2" from the top and bottom of the spine.

10) Use the Proxxon Bench Drill Press TBM 115 fitted with the Original German Chuck for the TBM115 and the 3/32" drill bit to drill the four holes. Put a small scrap of wood under the book to reinforce where you're drilling.

11) Sew the binding. Double thread a needle and knot it twice, leaving a 1" tail. Open the book to the third page. Sew from the inside through the 2nd hole from the bottom. Pull the thread through. This buries the knot inside the book. You can trim the tail later (and even add a little drop of glue to really secure the knot inside the book.


13) Continue sewing. Wikibooks has great illustrations, like the one below, that shows step by step how to sew this binding.
14) I like to finish the binding by sewing up through the last hole, then back down in to the same hole but coming out an interior page of the book. Pull the thread almost all the way through, leaving a small look. Then put a drop of glue where the thread is, push the needle out through the spine and trim the edge. This pulls the thread through the drop of glue, permanently adhering in to the inside of the binding.


Joe
www.createNcraft.com

2 comments:
Now that is an awesome way to bind a book! I loved reading the history that went with it too. What a great tool to have in your craft room.
This is amazing, love that book binding technique.
Post a Comment