Showing posts with label earrings. Show all posts

Tuesday, June 7, 2016

~Leaving You Puzzled ~Proxxon Design Team Project~


~Leaving You Puzzled~

Earring Project

Here is a very fun idea that would be perfect for a small project you and your daughter/granddaughter can do together.  Depending on the age and if they are old enough to use the drill press supervised, it is a great time to spend together creatively! If they are too young you can handle the tool part of the project and they can have the fun of decorating! This is also a great opportunity to use up the puzzle pieces from those puzzles where  the pieces have been lost! So go grab some puzzle pieces and lets have some fun!!

~SUPPLIES~

A handful of puzzle pieces
White Glue
Glitter
Fish Hook  ear wires ( 2 per set)
 8 mm jump rings (2 per set)
Polyurethane sealer


 Here you can see where the hole is being drilled for the jump ring and ear wire. I have found that by applying the glue and glitter first and letting it dry,it provides a more solid base to drill into.


  Assortment of Puzzle pieces

To finish off each earring piece you would add the glue where you would like the glitter to adhere.. sometimes dipping just the edges in is interesting, this way you can still see the puzzle pieces too!
Add the jump ring through the hole in the top and then add the fish hook ear wire.
To add a protective coat ,spray with polyurethane and let dry. And there you have it a very fun and interesting way to "play" with your puzzles!
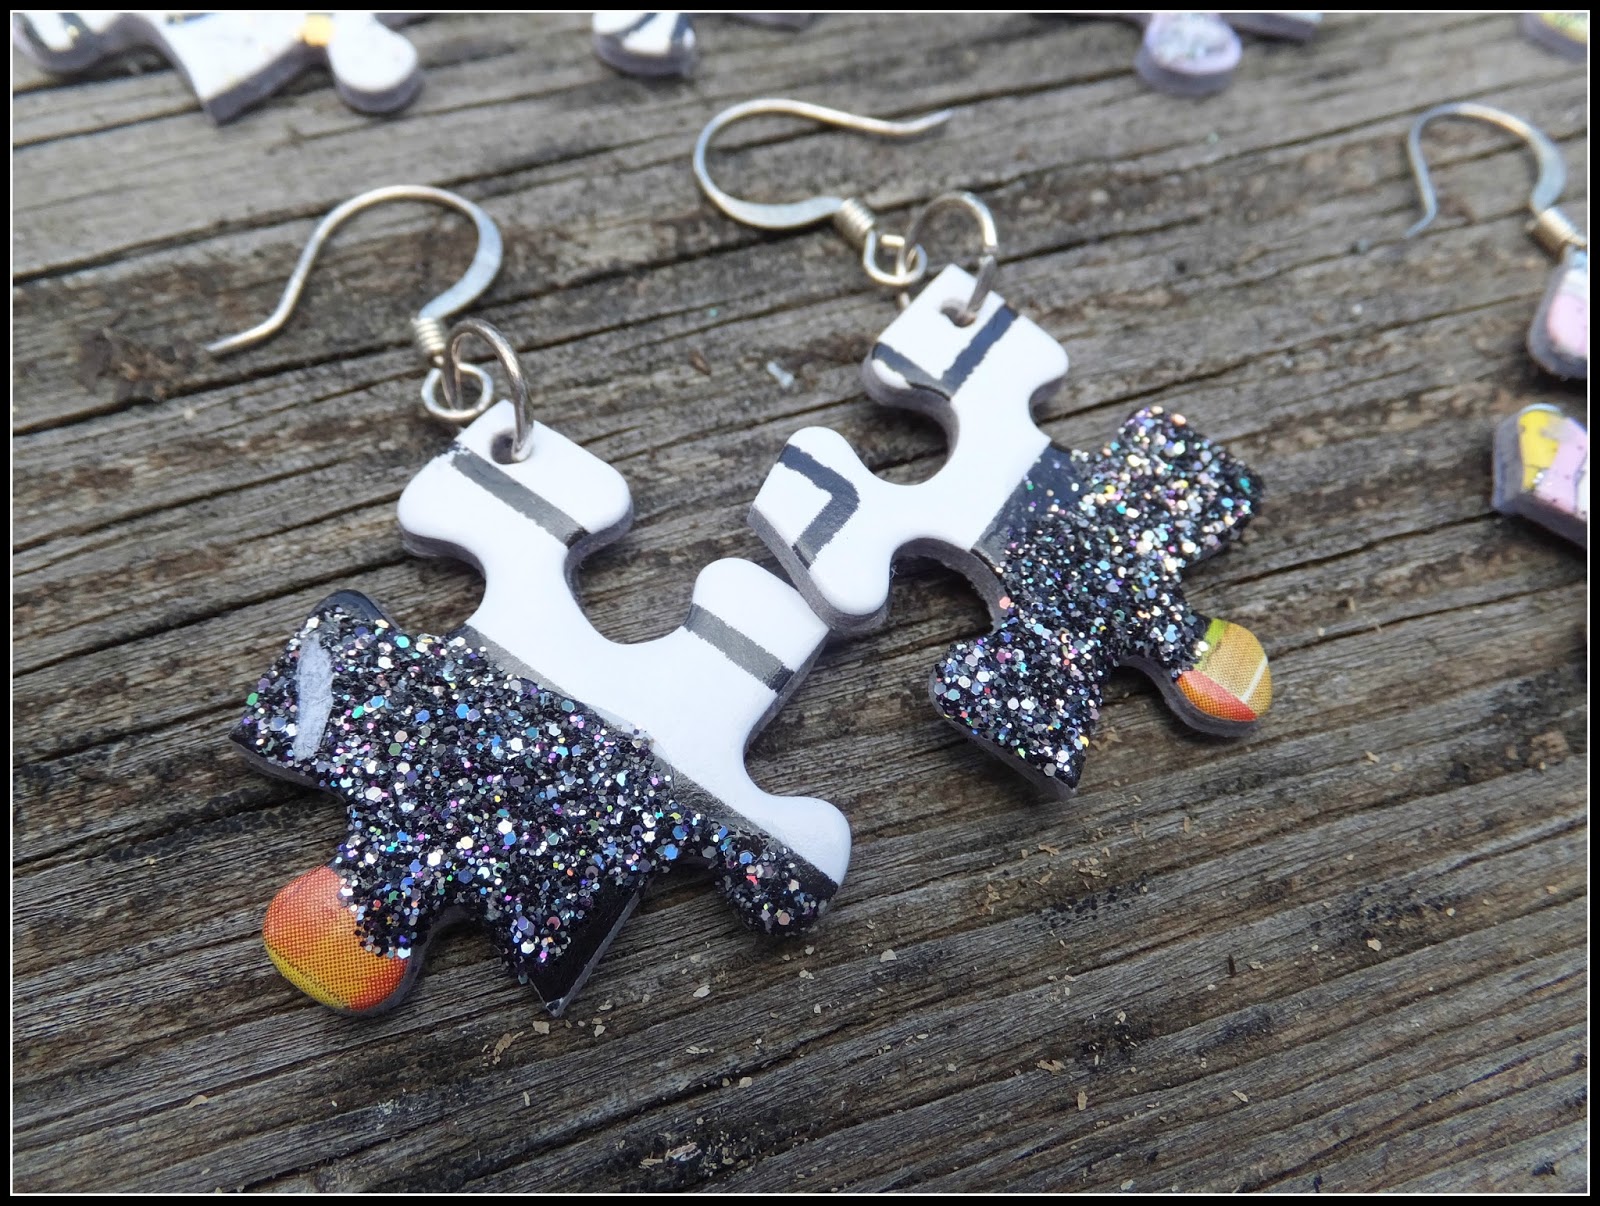

 Some fun examples of finished earrings


Happy Creating!!

Tuesday, March 15, 2016

~ReNew~ Design team Project for Proxxon Tools

~ReNew~


I enjoy working with Polymer clay as you can create so many fun items with it! I had created these diamond shaped textured polymer squares but wasn't sure what I was going to do with them. So I thought for this design team project I would revisit this project and create some unique earrings! To think that you can create something new from a previous project  by just drilling some holes! I think we all have many projects we can "Renew" with something as simple as using the Proxxon Drill Press TBM 115 to drill  some holes!


~Supplies~

 Hand stamped polymer tiles-2
4 brass jump rings ( 5 mm)
2 brass jump rings ( 4mm)
2  brass jump rings ( 2 mm)
2 stone beads
2  brass straight pins
2 brass feather charms
2  brass earring hooks
Staz on Ink Pad-Burgundy
Gold Gel Pen

 1) Mark 4 holes with a pen and drill them using the Proxxon Drill press. Use whatever size drill bit that will give you the size holes you are wanting. 
 2)Gather all the supplies and using  needle nose pliers open your jump rings ( side to side to keep the shape when closing). Attach the feather charms with the 5 mm and 4 mm jump rings attaching to the  tiles.
 3)Insert the brass straight pin through the beads and create a loop at the top and bottom and cut excess off.

4) Attach the bead to the tile with the other 5mm and 2mm jump ring.Attach the 2mm jumpring to the earring hook.
I added a touch of  purple ink to the high points with the Staz on Ink pad in burgundy.
I ended the project with some gold dots!
Such a fun way to add new life to these lovely polymer tiles!

Have fun and Enjoy!
Sherri

Tuesday, March 1, 2016

~Boho Vibe ~ New Design Team Post for Proxxon by Sherri Welser

~Boho Vibe ~


Bohemian Style Drop Earrings

I love creating Vintage Bohemian jewelry pieces by creating texture , depth and interest. It is so fun to look at a piece and have to look hard to see it all!That's what I love about creating and incorporating different elements in the item I am creating! Here I have used the Proxxon Drill Press TBM115 to create the drilled holes in the top of the metal guitar pick. It is always wonderful to have the correct the tools to complete a job with ease and accuracy!
Below I have included the supply list and short tutorial on creating these lovelies!Enjoy!

~Supplies~

2  blank brass plated guitar picks (1" in length)
2 bohemian style drop brass earring blanks
10 crystal drops ( I used a vintage piece of jewelry to take apart the crystal drops)
10 -4mm brass jump rings
2 -5mm brass jump rings
2- brass earring hooks
Vintaj Big Kick
Embossing folder ( any of Sizzix embossing folders will work well)


 1) Start by using a black pen and measuring where you want the holes and mark it.
2) Drill holes using a 1mm drill bit  in the tops where you have marked.

 3)Using the Embossing folder and Vintaj Big Kick Embosser, put your guitar picks in the folder placing where you want the  embossed design to be.


 4) Here you can see the embossed design

 5) If using a vintage piece of jewelry for your piece, open the jump rings and take the crystals off. I then saved the jump rings to attach to the new piece. Open jump rings to the side to prevent over stretching them and creating an easy seem to close up when finished.

6) Using the 2- 5mm jump rings attach the guitar pick to the earring base.
 7) Open the loop on the earring hook part at the base and attach the earring to the earring hook, close.


And here is your beautiful pair of Boho Vibe Earrings!
Enjoy!
~In Love & Light~
Sherri