This five pointed patchwork star is such a versatile pattern. It can be used as a decorative piece, a coaster, or a trivet depending on the size you make it. There are also many decorating options depending on how you paint it. How about red, white and blue for a patriotic theme? Or, each point a different color to resemble a quilted star? Silver and white tones would be perfect for wedding decorations. Of course, gold metallics are ideal for Christmas ornaments and display pieces.
Supplies and Equipment for Making the Five Pointed Patchwork Star
Instructions for Making the Five Pointed Patchwork Star
- Cut out star point pattern. You can vary the size of the star by reducing or increasing the size. I recommend cutting the template out of substantial cardstock or acetate so it maintains its shape through multiple tracings.
- Trace the template onto your wood. I traced a column of star points the entire length of my piece of MDF.
- I used the table saw to cut the column of star point patterns. Here you can see that I'm adjusting the blade height to be just above the thickness of the MDF.
- I moved to the band saw to cut out the star points. Note: This could also be done on the scroll saw.
- Drill the holes for attaching the star points to one another using the Professional Rotary Tool and Drill Stand. I used a 1/8" HSS twist drill bit with brad point.
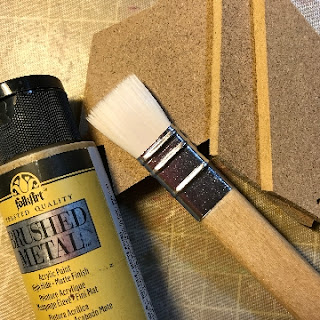
- Paint each star point. I used FolkArt Brushed Gold Brushed Metal Acrylic Paint.
- When the paint is dry, glue the star points together with wood glue. This step is not absolutely necessary, but it does give the finished patchwork star extra strength.
- With wire cutters, cut the brass wire into 1½" lengths. Note: If you increase or decrease the size of the star point template or the thickness of the wood, you will need to adjust the length of the brass wires. Bend the brass wires to form a U-shaped staple.
- When the glue is dry, working from the front of the star insert a staple into holes on adjacent star points.
- Holding the staple in place, turn the star over and flatten the ends.
Your five pointed patchwork star is complete—ready to be a used as a decoration, an ornament, or a trivet.


3 comments:
Carole I thank you for sharing this pattern. I can use it in a smaller version to decorate some of the gourds. Also larger for some of our wooden projects we make. HAve a great Sunday.
Absolutely wonderful blog I love this art WOW, and enjoyed reading it tremendously‼️😍
Would love to know the degrees to cut the inner angles.
Post a Comment