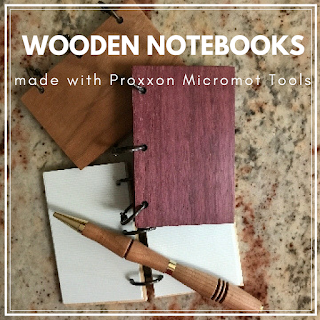
I love the look and feel of exotic woods. The colors and the grain patterns are so interesting. This notebook uses exotic woods for the covers. This is an easy project for learning about your Proxxon Micromot tools.
Supplies and Equipment:
- Use the table saw to cut the blanks to size. These notebooks measure 3½" x 2¼", but you can adjust to fit your needs.
- Pair two blanks for the front and back covers of the notebook, and tape together with painter's tape. This helps to ensure exact sizing and measurements in the following steps. The tape stays in place until you are ready to assemble the notebook.
- Adjust the angle stop on the disc sander to 0°, and sand the edges of the blanks. (The top and bottom surfaces of my blanks were already beautifully finished, so I didn't need to sand them. If you need to sand these surfaces, do so before pairing the front and back covers.)
- Measure and mark the vertical line for the placement of the holes. On my 3½" x 2¼" notebooks this line is 3/8" from the edge.
- Along the vertical line you marked in Step 4, measure and mark the placement of the holes.
- Place a piece of waste wood under the paired blanks. This prevents tear-out on the bottom blank when drilling the holes.
- Drill the holes using the Professional Rotary Tool mounted in the Drill Stand and a brad point drill bit slightly larger than your binder rings. A brad point drill bit allows for very accurate placement of the bit.
- Cut paper slightly smaller than the wooden covers. I used a stock of paper about ¼" thick. Assemble the pages and covers. For my book I used ½" binder rings. If you are making a larger book or a thicker book, you will need to adjust the size of the binder rings to accommodate the thickness of the pages.


3 comments:
Carole I love this project. The wood is a
beautiful color.
The book is a great idea and you did a
fantastic job making it.
Your directions are clear and to the point.
Well done.
This would make a nice little gift for someone who keeps a journal or likes to write. The purple wood is beautiful. Presented very well.
You do some awesome projects Carole! This would make a very classy gift for anyone. Great tutorial.
Post a Comment