Showing posts with label game. Show all posts

Sunday, July 14, 2019

How to Make an American Girl Bean Bag Toss Game

My granddaughter suggested this project after she saw my floating wine bottle pillar. She said all I needed to do was add more holes for a bean bag toss game for her dolls.

Supplies and Equipment for the Bean Bag Toss Game

  1. Use the table saw to cut the plywood to size using the auxiliary stop as necessary.
  2. Use the bandsaw to cut two 2½" long pieces of ¼" dowel.
  3. Use a quarter to mark the rounded corners of the game board.
  4. Round the corners using the disc sander.
  5. Use the template to mark the centers of the large holes and the position of the ¼" holes for the dowels.
  6. Use the drill press to drill the ¼" holes and the centers of the large holes.
  7. Use the scroll saw or a hole saw to cut the large holes. If using the scroll saw, mount the pattern onto the board, thread the blade through a center hole, and cut out the circle following the pattern.
  8. Mount the rotary tool in the drill stand, and rotate it 90°. 
  9. Use a sanding drum to sand the insides of the large game board holes.
  10. Sand the surfaces with the Delta sander using progressively finer grits of sandpaper.
  11. Glue the dowels in the ¼" holes at the top of the game board.
  12. When the glue has thoroughly dried, paint and finish the game board.
  13. Optionally, add numbers for scoring.
Note: I made tiny 1¼" square bean bags from fabric scraps and filled them with rice. Alternatively, you could use a small bouncing ball or jack ball.
Carole

Sunday, May 1, 2016

Marble Maze

I love to make things for my grand daughters. I used several of my Proxxon tools to make this marble maze for six year old Chloe.


So, let's get started to make a marble run. Here's what you'll need:
Supplies  Proxxon Tools
12" x 6" piece of craft plywood Scroll saw
36" length of 1/2" square rod Hand held router
Wood glue Delta sander
3/4" brads
12" x 6" piece of craft plywood
Marbles

Begin by drawing your desired path on a piece of paper. Sharp turns and tight bends make a more difficult maze, so consider the age of the user when designing the marble path. Next, cut out your pattern, position on the 12" x 6" plywood, and trace the pattern onto the wood.

Using the Proxxon hand held router and a core box router bit, rout out the marble maze path.


Next, use the Proxxon Delta sander to smooth the top of the maze.

Now, working on the reverse side of the maze, measure and mark the placement for the brads. These will help to stabilize the side rails of the maze. With a rotary tool and a 1/32" bit, drill pilot holes for the brads.

Measure and mark the square rod into two 12" and two 5" lengths for the side rails. Cut these on the Proxxon scroll saw.

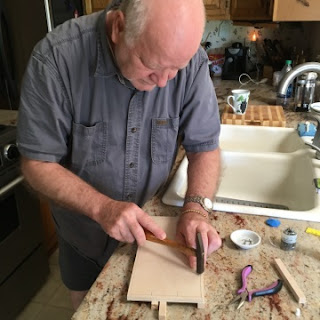
Put a thin layer of wood glue on the rails and position them in place. When the glue is dry, turn the maze over and tap in the brads. Everyone loves getting to work on my Proxxon projects—even my husband got into the act when attaching the rails!!

All set!! Grab some marbles and try your skills. Here's Chloe's first try with her marble maze.

Carole

Sunday, April 17, 2016

Travel Tic-Tac-Toe Game

My son and his family are planning a family vacation soon, and will be traveling with two little ones. I thought a surprise game might help keep them entertained on the long flight. So, I made this tic-tac-toe board using several of my Proxxon tools.

I started by measuring my board to 4" x 4". 

I used the Proxxon scroll saw to cut the board to size.

Next, I sanded the edges and corners with the Proxxon Delta sander.

Next came marking the grids to divide the board into nine squares for tic-tac-toe.

Using the penciled grid as a guide I put the Proxxon handheld router to work.

Last step was to add the playing discs. Now this game is ready for use.


Carole