Showing posts with label Proxxon Bench Drill Press. Show all posts

Thursday, March 3, 2022

How Proxxon tools make fixing things easy peasy


Hi again.   Hey, I want to show you what a bargain I got just the other day and how I was able to fix it up easily using Proxxon tools.  


I don't think it shows very well but the clock has a piece broken out of the black face part.  The numbers are intact and the plexiglass cover is in good shape.  This is an easy fix using Proxxon tools.  A bargain for sure as the clock is oversize and really big. 
Next I took the OZI/E delta sander and sanded the edges round.  It's a nice piece of plywood so I am not even going to paint it.  P.S.  I love this little sander.  The sandpapers are attached by hook and loop, so you can go from coarse to fine without wasting the sandpapers.  Just set them aside and use them next time

This small dish covers the broke out area so I will use it as a template,

I traced out the circle on a thin piece of thin plywood then cut it out with the Proxxon mini bandsaw.
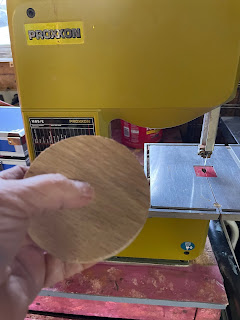


I drilled the center hole where the clock works will extend through using the Proxxon mini drill press and the Proxxon cordless rotary toolor


r


Now a little glue and a little weight to hold it tight, I left it to dry good, then reassembled the hands of the clock and put the cover back on and now I have a nice clock, and it looks better than ever. And at $2.29 it was a real bargain.


It keeps good time

thanks for visiting.  Catch ya next time.  👍🔨🔨

Wednesday, October 23, 2019

How To Build A Colonial Tavern Shelf Using Proxxon Tools

  Hi Everyone. I recently acquired a few pieces of antique pewter that I wanted to display. I'm going to show you the Colonial Tavern Shelf  I made for them using my Proxxon Tools and how I did it.

Supplies:

  Proxxon Micro Band Saw
  Proxxon Table Saw FET
  Proxxon  Bench Drill Press
  Proxxon Delta Sander
  1/2' birch plywood
  3/4' pine boards
  Brad Nailer and 1 1/4' brads
  Wood Glue
  Black Stain  solid
  Plaid Waverly Inspirations Wax.. clear

  1. First I drew out my pattern on grid paper. I needed to make sure it would be the right size for what I wanted to display in it,
  2.  I then transferred the pattern to my 1/2' birch plywood. I did transfer the pattern to both sides of the wood incase I needed to flip it over.


  3.  Using the Proxxon Micro Bandsaw I cut out the detail at the top.
  4. I drew my pattern on the 3/4' pine and cut out the side pieces with the Proxxon Micro Bandsaw.


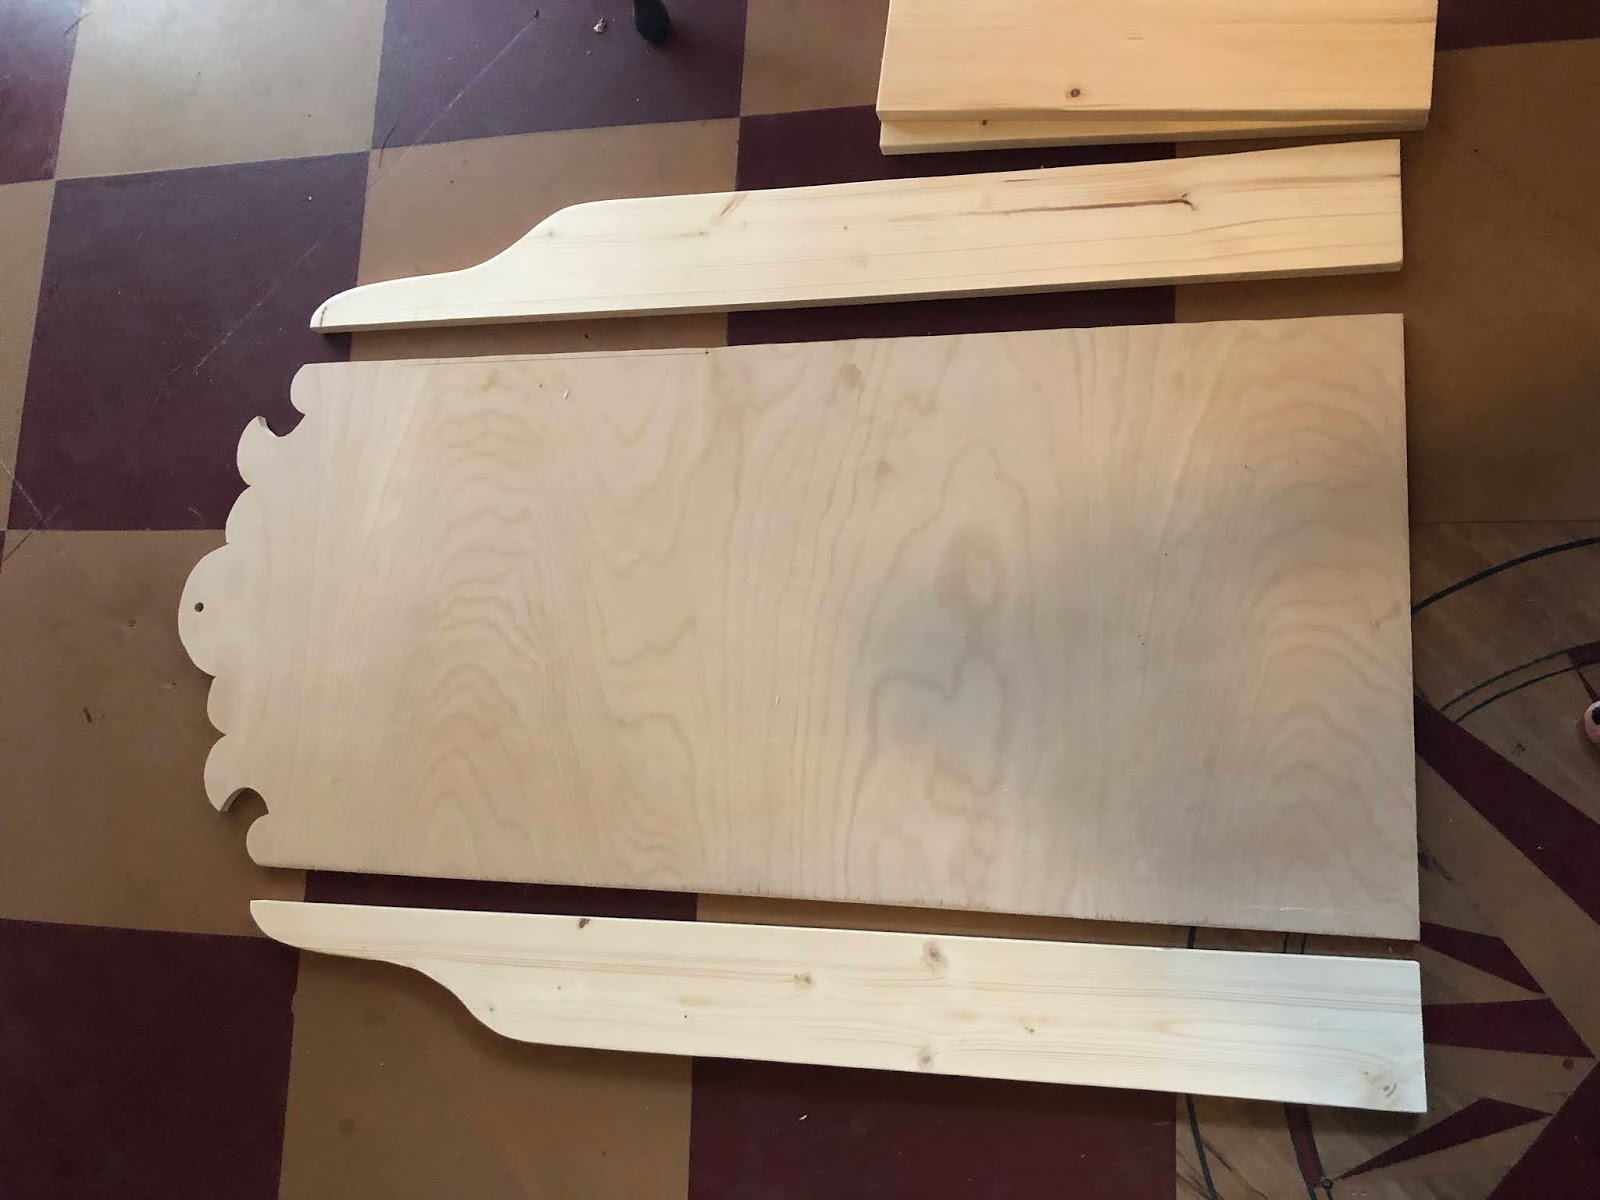
  5. I then cut the bottom and shelves to length using the Proxxon Table Saw FET. I dry fitted everything and checked for placement of the shelves and drilled the hole for hanging using the Proxxon Bench Drill Press.

  6. Next I laid all the pieces out and used the Proxxon Delta Sander to smooth the edges.

  7.  Using my brad nailer and wood glue I connected all the 3/4' pieces together.
  8.  I then connected the front to the back with wood glue and brads and did a little additional sanding.

  9.  I applied 2 coats of solid black stain and 2 coats of  Plaid Inspirations clear wax.

Here's my completed shelf. I love how it turned out and how my pewter compliments it. I hope you enjoyed my project.  Thanks for following along with me!   Colleen