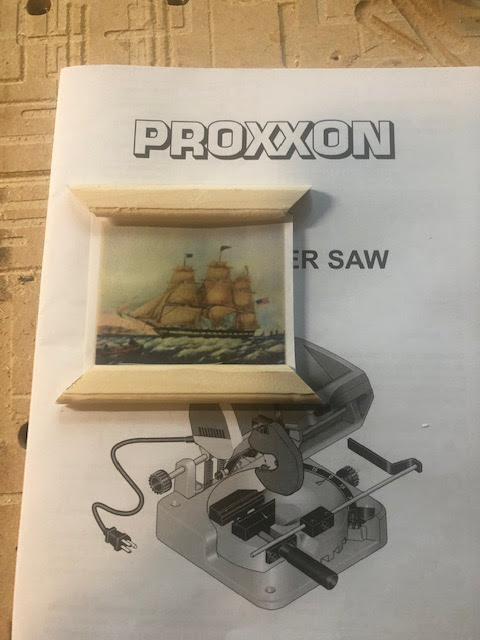
Hi everyone! As usual I'm working on projects around the house. We have lived in this old farmhouse for over 40 years. The house is over 90 years old. I've got many projects lined up for the future. These doors upstairs in my opinion were an eyesore. I thought that by adding molding it would greatly improve the look of the doors. Follow along with me and I'll show you how I created them using Proxxon tools.
Supplies:
Proxxon Table Saw FET
Proxxon Cordless Belt Sander BS/A
Decorative Flat Trim Molding
Gorilla Wood Glue
Brad Nailer And Brads
Wood Putty
Paint
Masking Tape
This is a picture of what the doors looked like to begin with. Solid flat builder grade doors. Boring!!! The other doors in our house are simple panel doors so I wanted to try and give these a similar look.


This is one of the original doors.
Using the measurements from this original door I taped off the same dimensions to the flat doors.

Measuring the length of the inside of the masking tape, that gave me the measurements of the trim molding. Because the Proxxon tools are so small and easy to move around I was able to carry the table saw upstairs and make all my cuts right in this room! Terrific time saver! This is the trim molding I purchased at Home Depot.

Using the blade guide I set it at a 45-degree angle and made my first cut.


Keep in mind that the ends of the molding have two opposite 45-degree angles. Now all I had to do was cut each piece the length of inside my masking tape. As I cut them, I temporally held them up on the door with tape. I cut all the pieces for both doors. The Proxxon Table Saw virtually made no sawdust. Most of it stayed right in the saw which I will clean out when finished.


Now that all the pieces were cut, I carefully removed only one at a time. I applied Gorilla wood glue to the backs and stuck them back on with the masking tape. After all the pieces were glued, I tacked each one with a few brad nails and my brad nailer gun.


I let everything dry for a few hours. I removed the tape and filled in any nail holes or gaps at the corners with wood putty. I let that dry overnight. Now I needed to sand away the excess wood putty. I used the Proxxon cordless belt sander. It was perfect for getting in those tiny areas that would have taken me hours to do with sand paper.


After I finished sanding, I wiped everything down and started to paint, I first painted one coat over just the molding and let it dry. Lastly, I painted a coat over the entire doors. I'm very happy with the way they turned out. Other than waiting for new doorknobs I ordered in a rubbed oil finish; this project is complete.


Thanks for following along with me :-)
Colleen
.

.JPG)


.png)