Friday, May 3, 2019

How to make a mini trellis for your houseplants


Hi again.   Hope everyone is enjoying the warmer weather.  I know I am.  I have been awfully busy outside in the garden but I am also trying hard not to ignore our indoor green things.   Today we are going to make a cute little mini trellis to help support our baby mandevilla plant.  Proxxon makes the perfect tools for this easy little project.


                                Check it out
 
←This is not prettyπŸ˜”                                                                                                                             This is better!😁→

I made this first trellis, because I had an amaryllis plant that was so tall but soooo droopy   It looked awful and I was afraid it would break.  Tied to the stick on the left,  it looked worse!!  
I made the trellis on the right about 40" tall and it seems to be working out great.  I am looking forward to some pretty blooms this year.

Now I have a new mandevilla plant that I think will look great on a small trellis so I am going to make another smaller trellis and share with you how to do it.  It is super simple, takes very little material, and I think it looks pretty.


To get started let's see what we need. 

scrap wood. (I used a scrap piece of 1/4" plywood)  1 1/2" x 18"
wood glue
rubber bands and/or small wood clamps
water putty or quick wood.
krylon crystal clear or other sealer
Plaid paints πŸ–Œ  πŸ‘§ to make it pretty


The first thing I did was to cut my piece to about  16" long.  My piece was already 1 1/2" wide so now it measured 1 1/2" x 16 inches.   
 Then I drew 2 parallel lines 1/2" apart down the length, stopping short about 5" from the end that I will cut to a spike.  Stop the cutting about 1.5" short of the start of the spike.
 (My pot is 6" deep).


I cut on the lines I drew with the Proxxon mini bandsaw.  I know I said it before but I say it again.  It cuts like butta!


I want to spread the sides of my trellis out from the center but it is being difficult so I will make a few cuts just before where the spike starts.  This will weaken the wood a little so I can split them apart.  Don't worry we will strengthen this part a little later.  But be careful to keep the attachment to the spike part intact.


Ok now it splits so I can fan it out to the shape I want.   I laid it over a 1/2" wide strip of the same plywood and penciled in the shape I would need to cut to use as a spacer.  Again I used the Proxxon mini bandsaw to make the cuts.


I glued the spacers in place with some good wood glue and held it with rubber bands until it was dry.
I made 2 sets of these, one towards the bottom and the other up near the top. 


Next I cut 2 sticks to the approximate shape overriding the place we had "weakened" for our split.  In the picture below I have glued them to either side and am holding it with a clamp until dry.


Everything gets a good sanding with the Proxxon OZI/E delta sander.


***Because I used some cheap plywood scraps I noticed I had gaps and voids along the edges and also where I had added the extra support so I made up a little water putty and filled the holes.  This is easy and works well.  After sanding and painting it will be hard to tell it was plywood. *** 

Now on to our final touches.


I chose Plaid Paints to make my new trellis pretty.  I first chose the multisurface white paint as my foundation then sponged on some pretty pink and green color.  Later, I sealed it with krylon crystal clear so it will be shiny and last a long time. 

 All done!

I think it is really pretty and actually quite sturdy.

  You can customize this project so easily to fit your needs.   The way the little mandevilla plant is growing, it looks like I will need to find a bigger pot and make another taller trellis soon.  πŸ‘


Thanks for visiting.  Let me know what you think.  Be brave and give it a try.  It really is a fun and easy project.     Thank you Proxxon for making awesome tools, and Thank you  Plaid for your marvelous paints.   Be sure to check out their websites, So inspiring!!

  Till next time.  Play safe and have some fun!  Carol

Wednesday, May 1, 2019

Review of Bench Drill Press

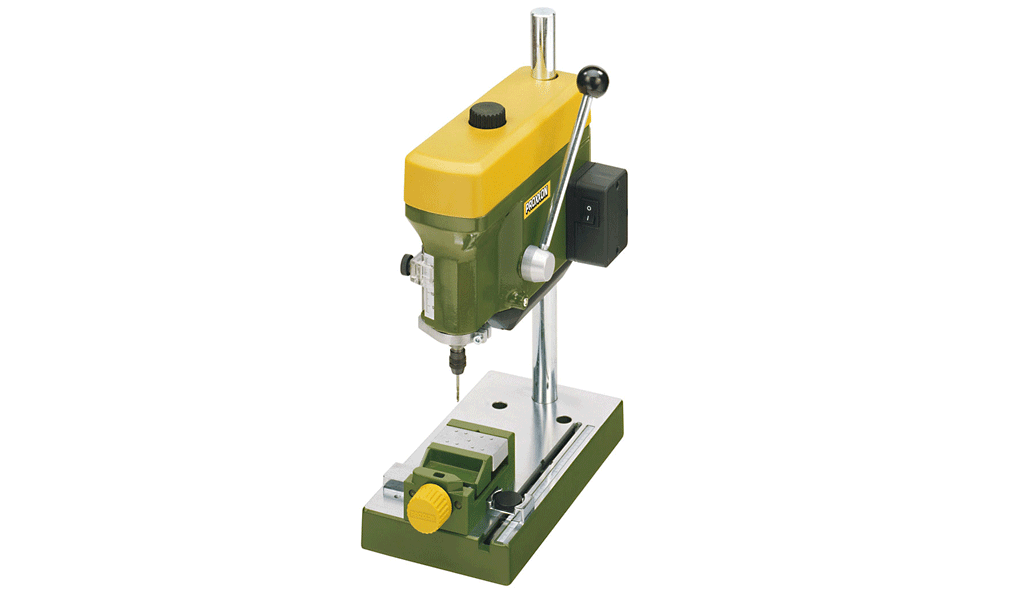
Hi everyone, Steph Ackerman here again.  Today I'd love to share with you another of my favorite go to tools from Proxxon - the Bench Drill Press.


The Bench Drill Press is a compact unit sized at 11" tall with a based of 8 1/2" x 4 3/4" making it easy to fit on any work table.  The motor is housed in the die-cast machine head and runs very quiet so even drilling late at night or early in the morning does not present a noise issue.

You can quickly change the height adjustment with the attached clamp lever.

As noted on the website: 
The power transmission by 3-step aluminum pulleys and flat belt provides 3 spindle speeds of 1,800, 4,700 and 8,500rpm allowing triple torque at lower speeds. The chrome feed lever has a practical adjustable drilling depth gauge.

The spindle is essentially free of play as a result of the three high quality ball bearing assemblies. It is recessed for the insertion of MICROMOT steel collets, but also threaded for attaching drill chucks with 3/8" thread. The spindle has an extremely high rotational accuracy and a 1 3/16" (30mm) feed. The quill diameter is 1 1/4" (32mm) with return spring, the throat depth (column to drill spindle) is 5 1/2" (140mm). The unit provides quick coarse height adjustment of the headstock via clamp lever. The max. height (worktable surface to spindle end) is 5 1/2" 140mm).


I have used the Bench Drill Press for an assortment of projects.  Some of those projects are plain unfinished wood items and some of those projects are completed projects.  I get the same results with no touch up needed on my completed projects.

Here are some of the projects which I've created using the Hot Wire Cutter.  Click on the links for the complete project details.


Thanks for stopping by.


Friday, April 19, 2019

How to make a simple magnetic soap holder

Hi folks,
 Welcome back to the blog.  Today I am back in my 'solutions mode', trying to solve some of my life's little annoyances  whenever I can.   Today's problem that I want to tackle is messy, melty, soap at the outdoor sink.


 I made this outdoor sink last year with an old sink we had hanging around after our kitchen remodel and some leftover oak wood pieces given to me by a friend when he built his little chapel on the hill.   Thank you Tom!   With all the vegetables and gourds we grow it has been nice being able to clean them, and our dirty hands outside.  But the soap in the soap dish melts and gets yucky when it rains.  😞
So today the solution is to make a "magnetic soap holder" that will be mounted under the drainboard next to the sink.  It's an easy fix for a messy problem.   Proxxon tools made this a really fun project.


Supplies
1" pine or plywood piece 3" x 4 "
1/4" plywood piece cut to 3" x 4"
 1/8" or 1/4" plexiglas piece 3" x 4 "  
4 tiny screws
4   1 1/2" wood screws
small but strong rare earth magnet

Equipment
Kapro measure mate 313  (optional but very handy)

First thing to do was to cut all the pieces to size.   We are going to make a sandwich of the wood, magnet and plywood and plexiglas.   I used the Proxxon mini bandsaw to cut my pieces to size.   The Proxxon mini bandsaw cuts the plexiglas just as easily as it cuts the wood.


Using the kapro measure mate 313 it is easy to find the center of my piece of board.   I will center my magnet here.  


Using the cutting tool on the Proxxon OZI/E sander I cut out the rectangle (same size as my magnet on the thin piece of wood)   This is a nice hand tool.  The speed is adjustable which is really nice.   I got the lines started at a slower speed then cranked up the speed and cut right through the 1/4 piece of wood.     


My magnet was a little taller than 1/4" so I used Proxxon's bull nose burr on the Proxxon professional rotary tool to make a little extra room for my magnet.    I want the Plexiglas to sit flat on top of the 1/4" piece .


I used the Proxxon mini drill press to make some holes in the plexiglass.  I don't want it to crack when I screw my sandwich together.


Then we make a sandwich.
I used very small screws to attach the plexiglass to the wood and I glued the two wood pieces together using a good wood glue.

I attached it to the underside of my sink drainboard with screws from the top.   


Oops..... almost forgot something.   I used a bottle cap on the soap.  Have to have some metal for the magnet to work.   First step here is to punch a small hole in the bottle cap.  I used a nail and hammer.   I then painted the cap with some plaid metallic blue sparkle so it wont rust.  Then I just pushed it into the soap.   Don't worry it will stay there.  It holds better and better as you use it.


So there you have it.  No more messy melty soap.   When your soap gets small don't worry, just pop a top from a.....   let's say a soda bottle, get a new bar of soap push them together and you are all set.

Thank you all for visiting.   Thanks also to Proxxon, Plaid, and Kapro,   Check out these sites for awesome products.    
 Till next time, have fun, play safe   Carol

Thursday, April 18, 2019

HOW TO BUILD A VINTAGE STYLE TOOL CADDY


    Hi everyone! I'm back out in my workshop getting ready to build my next project using Proxxon tools! I've found that even though these tools are small, I can still build almost anything. Today I'm making a vintage style tool caddy. Follow along with me and I'll show you how I did it.

Supplies:
  • Proxxon Micro Band Saw
  • Proxxon Bench Drill Press
  • Proxxon Delta Sander
  • 3/8' sanded birch plywood
  • Waverly Inspirations Chalk Paint by Plaid (Crimson and Ink)
  • Waverly Inspirations Wax by Plaid (Clear and Antique)
  • 3/4" brad nails 
  • Wood Glue
  • Wood Putty
  • Paper for pattern
  • Paint brush 2"
  • Waxing Brush
  1. I drew my pattern pieces out on paper determining how big I wanted the caddy then transferred the pattern on some scrap 3/8" birch plywood I had left over from my last project.


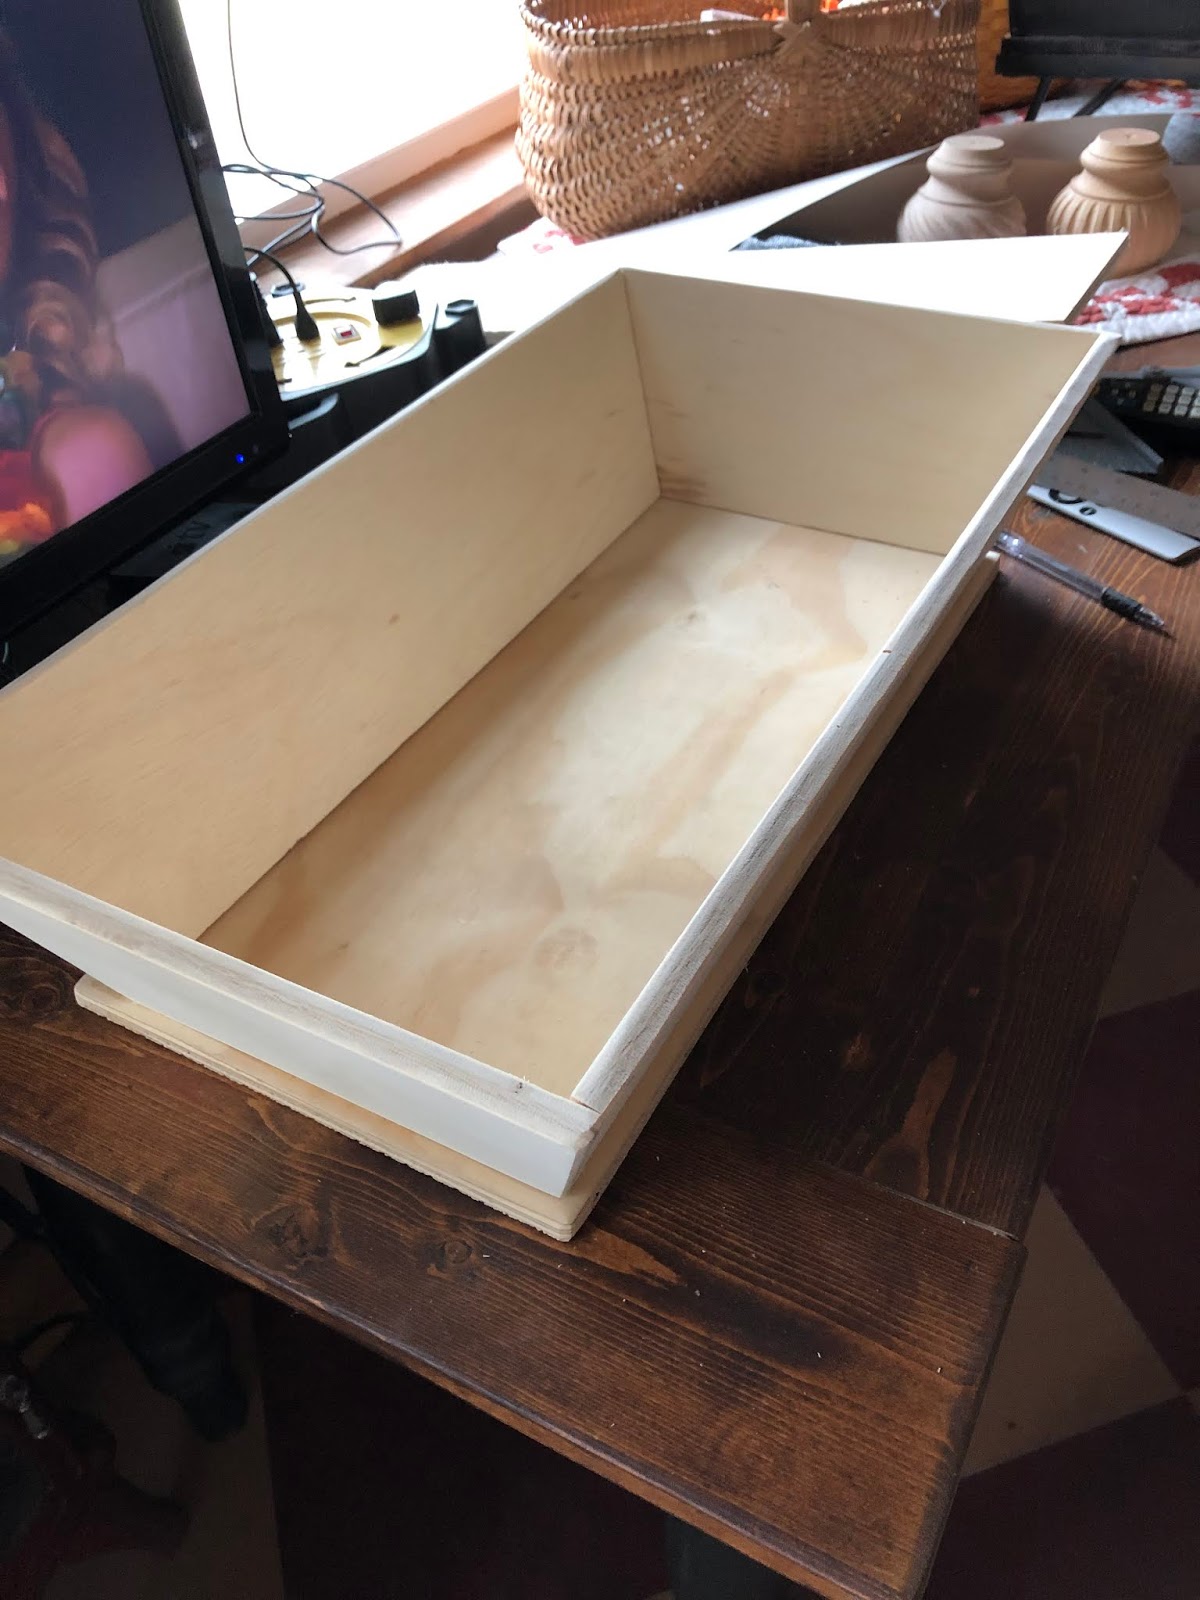
  2. Using the Proxxon Micro Band Saw I cut out my 6 pieces (1 base, 4 sides and a center divider). The 4 side pieces need to have a beveled edge on the bottom in order to set flat on the base. I set the table of the band saw at 15 degrees and trimmed the bottom edges.

  3. Using a brad nailer, 3/4' brads and wood glue I put together the 4 side pieces. Before I attached them to the base I sanded all the edges except the bottom edges. I like to sand it in spots to make it look worn and old.

  4. Using the 3/4' brads and wood glue I attached the sides to the bottom.
  5. The center divider piece is also used as a handle so I drilled it out for finger grips. I used the Proxxon Bench Drill Press and a 1' hole saw bit. I sanded it to look worn. I positioned the divider in the center of the caddy and attached it with brads and wood glue.

  6. At this time I now filled any nail holes or voids in the plywood with wood putty and let dry. After dry give the whole thing a good sanding.

  7. Now I'm ready to paint! I chose to use the Waverly Inspirations Chalk Paint by Plaid in the Crimson color. I put on 2 coats. After completely dry I applied the Waverly Inspirations Chalk Paint in the Ink color using the dry brush method. putting a tiny amount on my brush and blotting off most on a paper towel then sparingly painting in spots that I want to look worn from age. let dry.


  8. I then went over the entire piece with Waverly Inspirations Clear Wax by Plaid. Let it dry overnight and applied the antique wax.


   Here's my finished project! I cant wait to use it on my patio and fill it with flowers. Thanks for following along with me.


 Colleen