
Hi Friends! Last month I showed you all how to make a wood sculpture using Proxxon tools. That was phase 1 of this project. Today I'll show you how I added to it, turning it into a whirligig.
Supplies:
Proxxon Micro Band Saw
Proxxon Longneck Angle Grinder
Proxxon Delta Sander
Fan Blade Hub (Ebay)
1/2" poplar
Scrap 3/4' pine
Wire Coat Hanger
Wood Glue
Plaid Paint
I ordered a fan blade hub from Ebay. I drew out a pattern for the fan blades on the 1/2' poplar and cut out 8 of them. I had to sand down the edges with the Angle Grinder for them to fit in the hub.


I sanded around the edges of each blade.
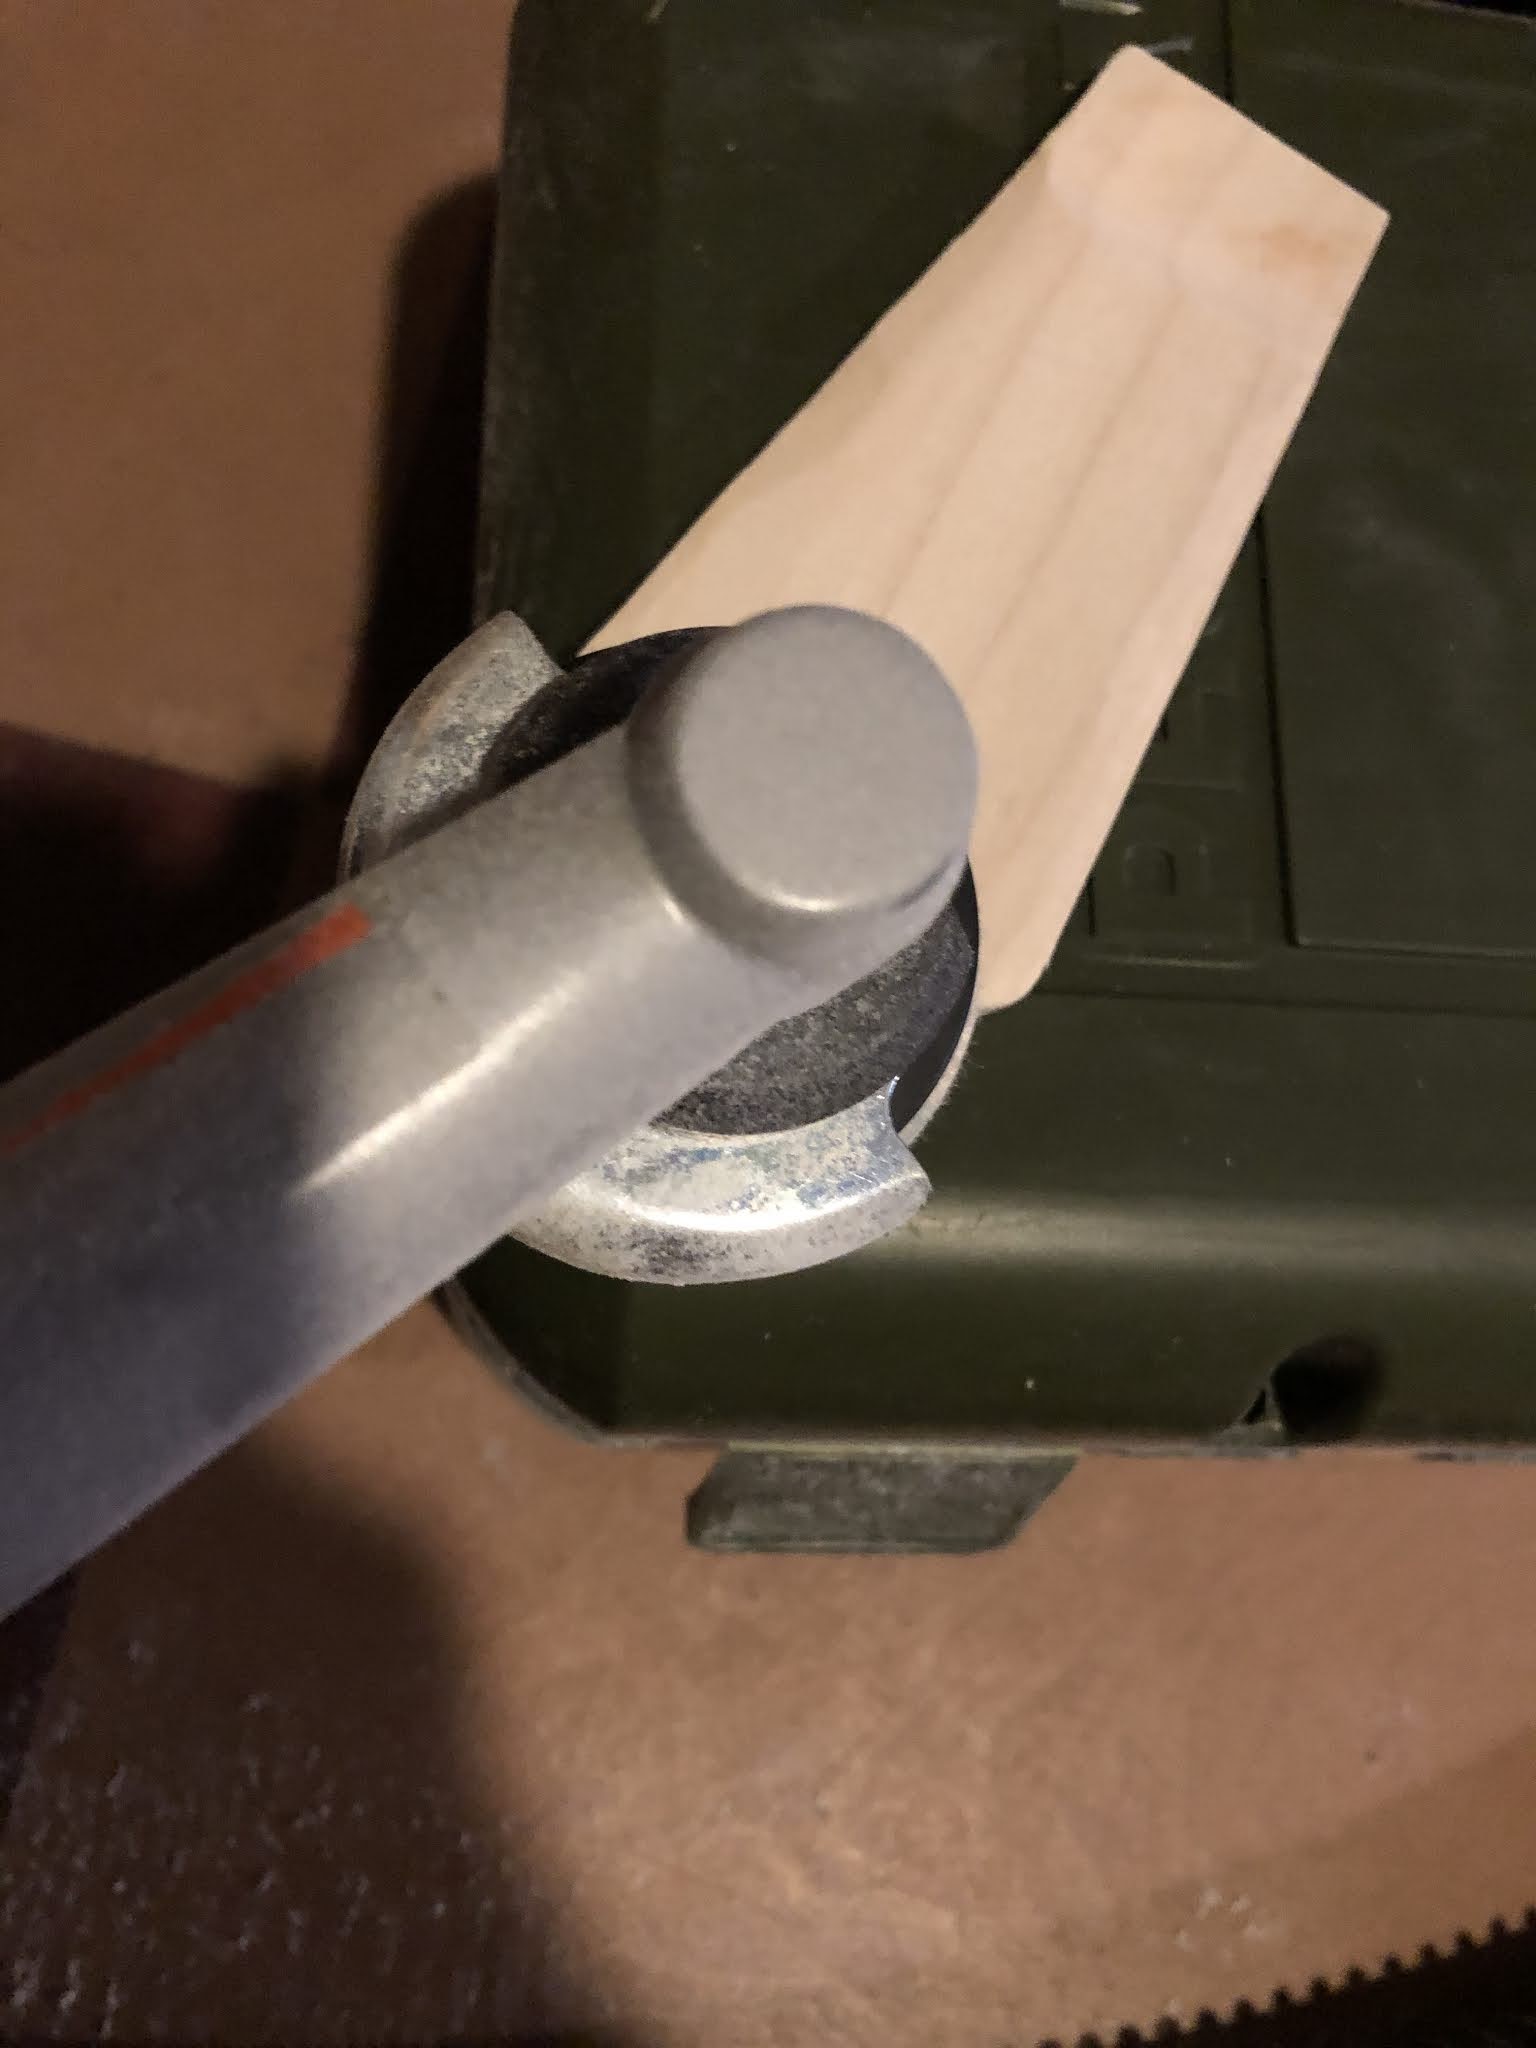
Next I built the wood bracket that the blade would be mounted to out of scrap 3/4" pine. Mounted it inside the wave portion of my project. I then drilled holes in it to accept the wire (coat hanger) that the fan blade would spin on.

The wire had to be bent for the whale to have the motion action of bobbing up and down. I drilled a hole in the side of the waves and straight through the whale. Another piece of the coat hanger was inserted through. This would enable the whale to move.


Next I attached everything to see If it worked correctly. It was suggested by a friend that I add another row of waves which I did. I also added a tiny boat that I cut out with the Micro Bandsaw and carved with the Longneck Angle Grinder.

I painted it with Plaid Paint. My project is complete. I love how it turned out. All that's needed is a little wind to see it in action! Thanks for following along with me...Colleen

2 comments:
Wow that project came out great! Love it!
Wow, this is awesome. Turned out great.
Post a Comment