Showing posts with label Proxxon Tiny Tool Team. Show all posts

Thursday, November 19, 2020

How to make your own dominos

 Greetings, fellow Covid prisoners.  Hope you all are well and have found some entertainment in your home or something to keep you busy.  Personally I am enjoying all the extra time I can get in the workshop.  I've been redecorating.... but that's another story (long one 😆).  Today I am going to show you how to make dominos.   This is a simple game that the whole family can play.  And... it is easy to make.  


Let's gather our supplies

1/4  -  1/2"  thick wood of your choice.   I used 1/2" poplar plywood.

ruler and pencil

Proxxon mini table saw

Proxxon mini table saw

Proxxon micro press

Proxxon O/ZIE delta sander

Plaid paints

sealer of your choice.   I used water-based polyurethane. 

The first thing I did was to measure out my tiles.   I was using some small plaques I already had so I first had to cut the rounded corners off.  I want my pieces rectangles  1" x 2".    Then I took it over to the proxxon mini table saw, using the fence, I  cut out 1" strips..


Next I took the strips over to the Proxxon mini chop saw and cut them into 2" lengths.  I placed some masking tape to mark my length.  This made cutting super fast since I didn't have to measure each one.


Next I penciled in my dots that I was going to make on the Proxxon Mini Press.   At the mini press I used a rounded bit to press round dents into my wood pieces.where the dots belong.  


Paint the dots with Plaid black paint and let them dry well.   Don't worry if the paint gets outside the dot area.  We will take care of that in a minute.


Using the Proxxon O/ZIE delta sander sand all the tiles well.   Sanding the face of the tile will remove any stray paint.  


Looks like we got them all.   I will finish them with a polyurethane varnish.


Stacked up.... hmm they need a box or something to keep them.    


Stay tuned.  My next blog is going to be the decorative box we will keep these in.  Should be posted on Dec 4.    Hope you come back and we can finish this project.

Thanks all for visiting.
Thanks again Proxxon and Plaid.  2 excellent companies!       Carol

Thursday, September 17, 2020

How To Make A Whirligig Phase 2


Hi Friends!  Last month I showed you all how to make a wood sculpture using Proxxon tools.  That was phase 1 of this project.  Today I'll show you how I added to it, turning it into a whirligig.


Supplies:

 Proxxon Micro Band Saw

 Proxxon Longneck Angle Grinder

 Proxxon Delta Sander

 Fan Blade Hub (Ebay)

1/2" poplar

 Scrap 3/4' pine

 Wire Coat Hanger

 Wood Glue

 Plaid Paint


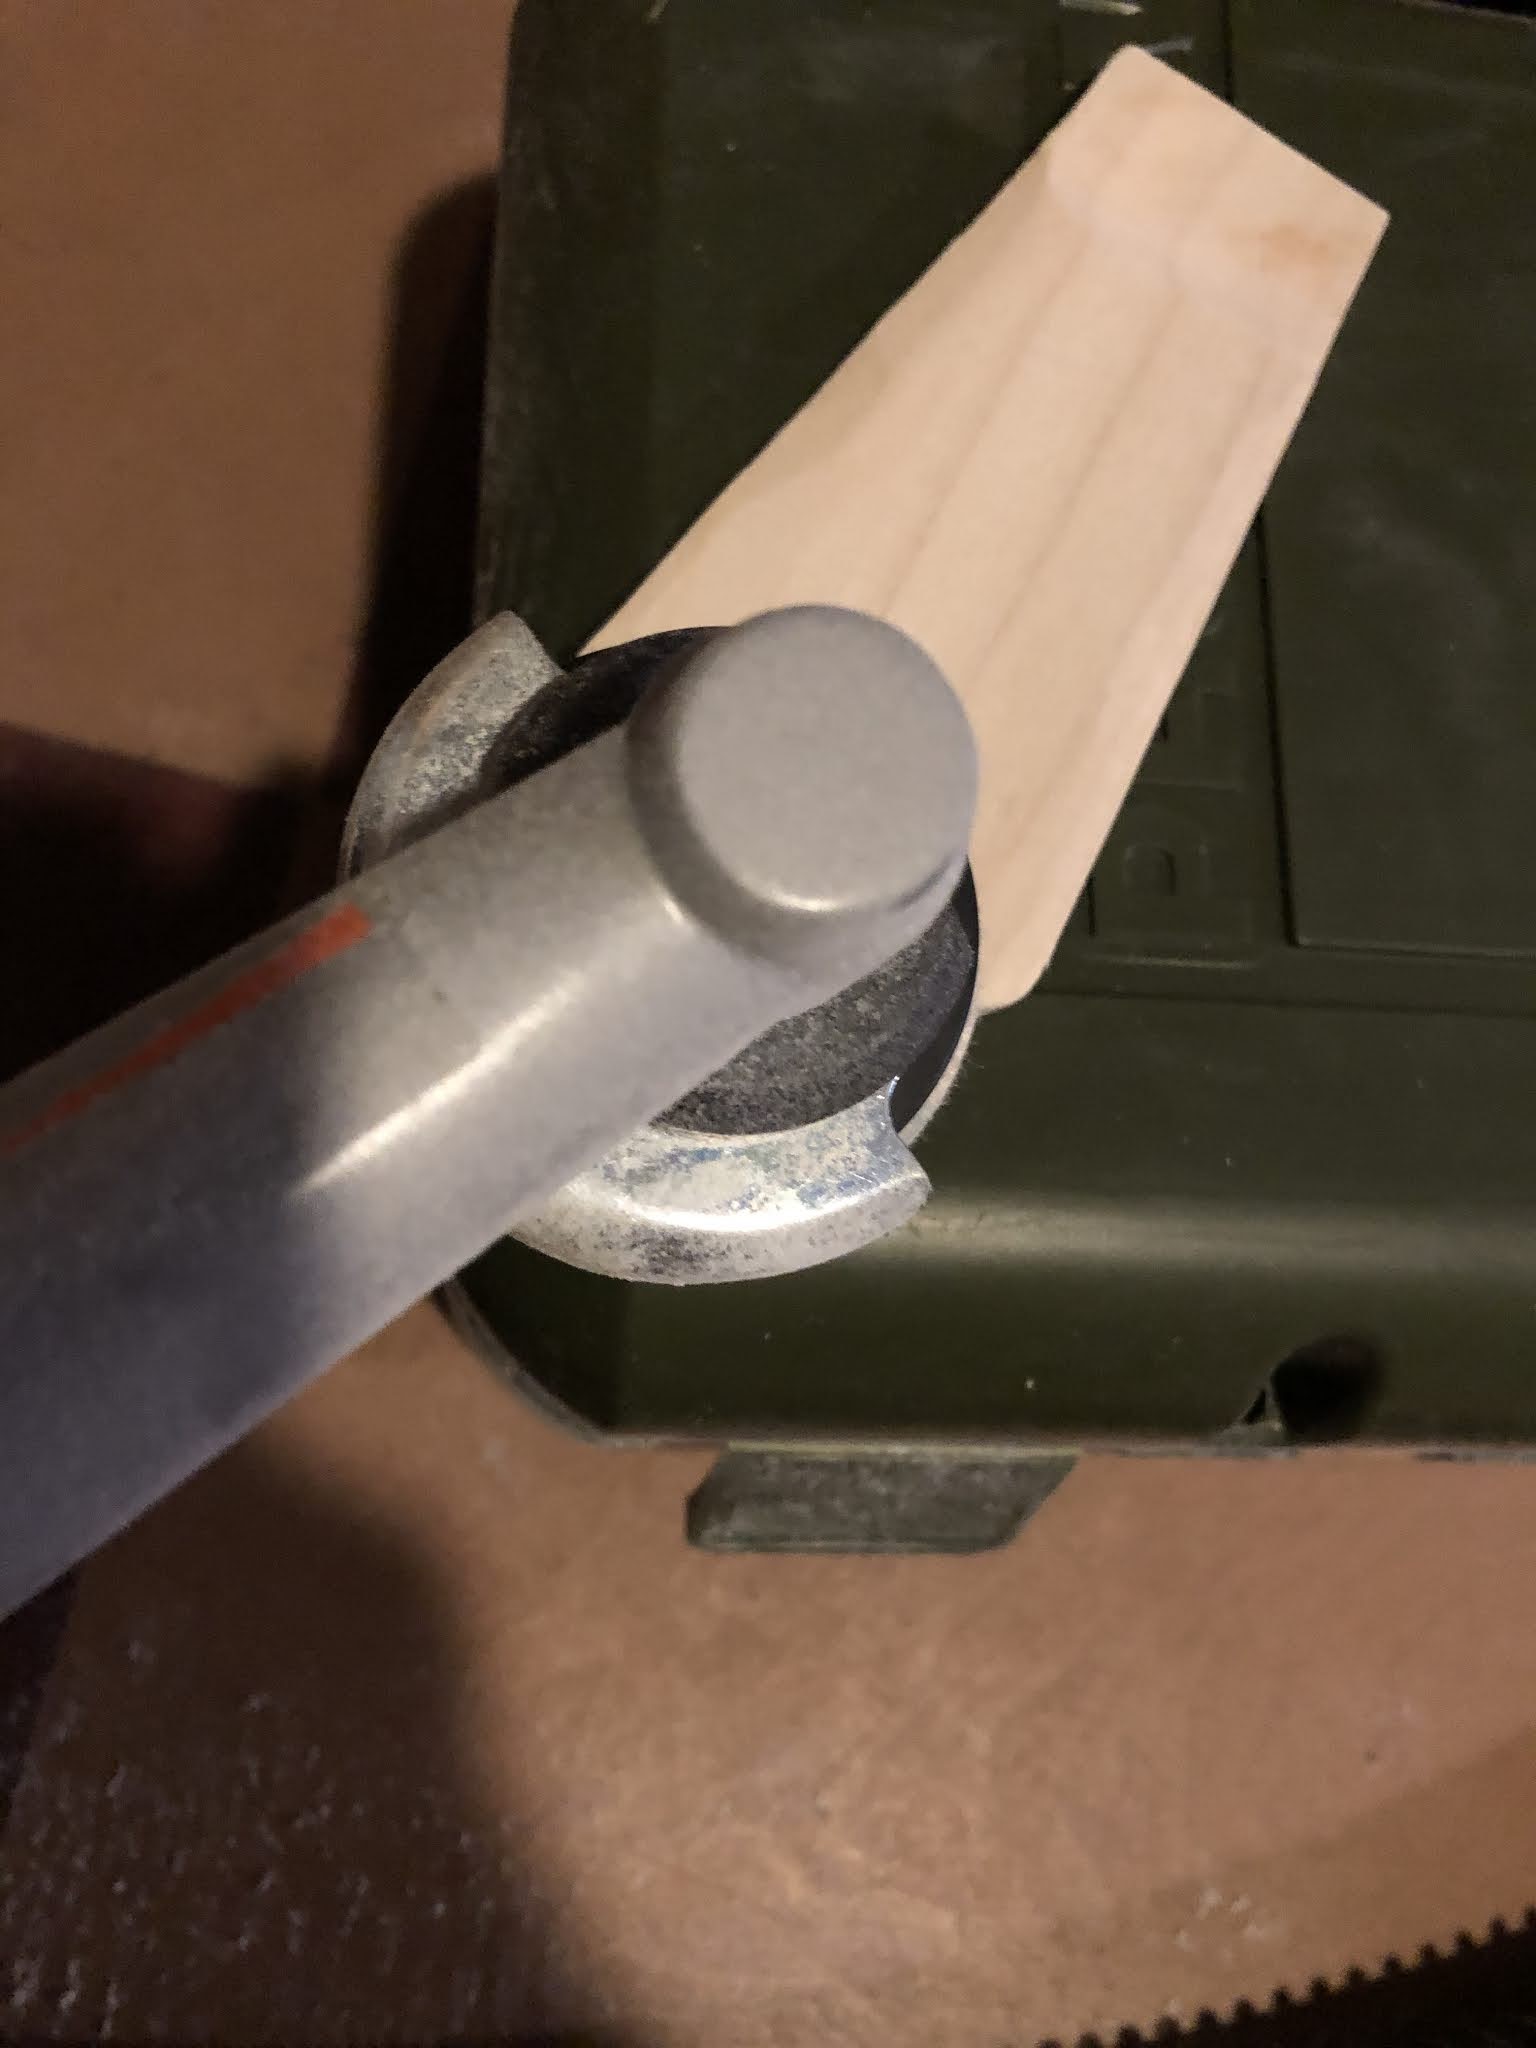
I ordered a fan blade hub from Ebay. I drew out a pattern for the fan blades on the 1/2' poplar and cut out 8 of them. I had to sand down the edges with the Angle Grinder for them to fit in the hub.


I sanded around the edges of each blade.


Next I built the wood bracket that the blade would be mounted to out of scrap 3/4" pine.  Mounted it inside the wave portion of my project.  I then drilled holes in it to accept the wire (coat hanger) that the fan blade would spin on.


The wire had to be bent for the whale to have the  motion action of bobbing up and down. I drilled a hole in the side of the waves and straight through the whale. Another piece of the coat hanger was inserted through. This would enable the whale to move. 


I inserted a screw eye on the end of the tail. Another wire was attached from the screw eye to the bend in the coat hanger. Using a scrap of a large dowel rod and the longneck grinder I made a cap to disguise where the wire stuck out on the end of the blade.


Next I attached everything to see If it worked correctly.  It was suggested by a friend that I add another row of waves which I did. I also added a tiny boat that I cut out with the Micro Bandsaw and carved with the Longneck Angle Grinder.


I painted it with Plaid Paint. My project is complete. I love how it turned out. All that's needed is a little wind to see it in action! Thanks for following along with me...Colleen


Thursday, August 13, 2020

How to make a Halloween Pumpkin


 Oh it is hot!   Dog days of summer are upon us.  You know what that means...fall is coming and so is Halloween!!!     I know it's a bit early but with crafting we have to start early.  Today we are going to make a pumpkin.   I was going to say "little pumpkin", but you can make it as big or as little as you want.


Supplies and Equipment/

Wood of your choosing (enough to cut out 8-12  pumpkin ribs) plus 2 circles.   (I used 1/4" birch plywood because mine was going to be a small centerpiece)

Yard scrap (for pumpkin stem)

Wood glue

wood clamps or clothespins if small.

Proxxon mini bandsaw with scroll saw blade or Proxxon mini scroll saw.

Proxxon OZI/E delta sander

Plaid paints and or other embellishments

pencil and tracing paper.


Here is the pattern I started with.  I fit 2 ribs in a small square.   I will need to repeat this pattern 4 or more times to make 8 - 12 ribs.   cut 2 circles in proportion to your rib pieces.


I traced my pattern onto my wood piece then proceeded to cut them out.   I am using the Proxxon mini band saw in the picture below.   It cuts the tightest curves.  I am impressed.  This is the first time I have used this saw blade.   WOW!


I got all my pieces cut, and then I sand them using the Proxxon OZIE delta sander.  I love how it gets into all the curves.  It has adjustable speeds too.   If your cutting is not perfect don't worry.  Pumpkins are very forgiving.


Next comes the part that is a little bit tricky.  If I can do it, you can, it takes just a little bit of patience.   We are going to glue it all together.   Use enough glue.   Let it get just a little bit sticky before you position your piece so it will stick some.    I used clothes pins to hold mine.  

Glue the bottom of the "ribs" to underneath the circle piece  as in the picture below.   Let this dry.   (Note- the tops of the "ribs" are lining up)    I did this 2 at a time and let dry in between.  (takes some finger dexterity)


I glued the second circle to the underside of  the top of the pumpkin.
Then I painted the pumpkin using Plaid paints.  I got my stem ready to go when the paint dries.


All done.   I painted a little egg to sit on the circle.   If I had made my pumpkin a little bigger I would place a candle on the stand.   I plan to make one about 12"-14" tall to sit on the porch this year.

Thanks for visiting.   Thank you Proxxon tools and Plaid paints.   I work with the best!

Catch ya next time.   Take care, and please be safe!!!   Carol


Wednesday, November 16, 2016

Personalized Jewelry Charm Locket


 Hi everyone! Tammy here today with a tutorial on how to personalize charm lockets with the Proxxon Glass Engraving Tool. I purchased one of these charm holders, and I decided to personalize it with my initial. Here is how I did it...


Supplies:

Glue Dots Removable
Printed "T" template
Paper punch .75"
Charm holder

Directions:
Print the initial to match the size of the space where you will be engraving. My space was a little under .75"


Use a paper punch to cut out the initial.


Place a removable Glue Dot on top of the template


Place the template face up on the back of the glass.


Use the Proxxon Glass Engraving Tool to etch the initial onto the glass.


Carefully remove the template and dust off any remaining dust from engraving. Fill in any missing areas of the engraving.

Add charms and a chain.

I love how this turned out so much that I think I may be making some of these for my friends for Christmas! (shhh don't tell anyone)

I hope this has given you another unique idea on how to use the Proxxon Glass Engraving Kit. This is one of my favorite tools from Proxxon!

Let’s be friends!

Wednesday, July 20, 2016

Back To School Supply Caddy Featuring The Proxxon Delta Sander And Plaid's Folk Art Milk Paint

 Hi everyone, Tammy here with you today with a fun supply caddy tutorial for all of you going back to school soon.  I started with a school supply holder from the Target Dollar Spot and decided to decorate it with some fun Plaid Milk Paint and felt school themed embellishments.

Supplies:
Plaid Milk Paint Brush
Tool caddy
Felt embellishments
Pom pom fringe
 Directions:
 Sand the outside of the tool caddy with the Proxxon Delta Sander until you have a paint ready surface.

Paint with Plaid's Folk Art Milk Paint in Pirate Black with a Plaid Milk Paint Brush. Let dry completely.

 Add dotted center line with a white galaxy marker.

Add stitch glue squares Glue Dots to the edge of the tool caddy.

Add two layers of different colored pom pom fringe trim on top of glue dots.

Add XL Glue Dot to add felt embellishments.

Add additional felt letters and embellishments as desired to other side of the tool caddy.

That's it! How cute is this tool caddy, and it was to easy to paint with the Proxxon Delta Sander and Plaid Folk Art Milk Paint. I know my daughter will enjoy using her tool caddy to keep her school supplies in order during the school year.

Let's be friends!