Tuesday, March 15, 2016

~ReNew~ Design team Project for Proxxon Tools

~ReNew~


I enjoy working with Polymer clay as you can create so many fun items with it! I had created these diamond shaped textured polymer squares but wasn't sure what I was going to do with them. So I thought for this design team project I would revisit this project and create some unique earrings! To think that you can create something new from a previous project  by just drilling some holes! I think we all have many projects we can "Renew" with something as simple as using the Proxxon Drill Press TBM 115 to drill  some holes!


~Supplies~

 Hand stamped polymer tiles-2
4 brass jump rings ( 5 mm)
2 brass jump rings ( 4mm)
2  brass jump rings ( 2 mm)
2 stone beads
2  brass straight pins
2 brass feather charms
2  brass earring hooks
Staz on Ink Pad-Burgundy
Gold Gel Pen

 1) Mark 4 holes with a pen and drill them using the Proxxon Drill press. Use whatever size drill bit that will give you the size holes you are wanting. 
 2)Gather all the supplies and using  needle nose pliers open your jump rings ( side to side to keep the shape when closing). Attach the feather charms with the 5 mm and 4 mm jump rings attaching to the  tiles.
 3)Insert the brass straight pin through the beads and create a loop at the top and bottom and cut excess off.

4) Attach the bead to the tile with the other 5mm and 2mm jump ring.Attach the 2mm jumpring to the earring hook.
I added a touch of  purple ink to the high points with the Staz on Ink pad in burgundy.
I ended the project with some gold dots!
Such a fun way to add new life to these lovely polymer tiles!

Have fun and Enjoy!
Sherri

Friday, March 11, 2016

A little Native American Drum for Decor

This week's project is making a tiny drum and the supplies needed for the project are:

1 Gourd top
1 Small Goat Skin
Heat adjusting Woodburner
Proxxon Mini Jig Saw STS/12E with the foot pedal and transformer
Proxxon Delta Sander OZI/E
Adirondack Ink (Caramel)
Pitt Pens: White, Blue, Purple, Red

I started out by cutting the top off of a bottle gourd and used the top for my tiny drum. Once I had the top cut off, I then cut the stem off of it and sanded it around the edge.

I then used my wood burner to burn the pattern of an native american sign for the eagle and colored it in with the Pitt Pens. I also stained the rest of the gourd with Adirondack Ink in Caramel. Once the inks were all dry I sealed the gourd with an acrylic varnish. I soaked the goat skin drum for approximately 20 minutes and then patted it dry. The soaking makes the skin pliable. I then stapled it to the gourd top.

After the goat skin was attached to the gourd I used some decorative trim and glued it around the edge to cover the staples and added a couple of feathers for embellishment. I really liked the way the finished project turned out. How about you?


Barbara


Sunday, March 6, 2016

18" Doll Accessories

My six year old grand daughter is deep into her American Girls doll and accessories. It's so much fun, and so much more affordable, to create our own accessories. Our latest project was a set of colored pencils—doll sized. These tiny pencils measure 1¾ inches.

We started with a set of  3 ½ inch pencils from the dollar store that were sharpened on one end. The first step was to sharpen the other end. Then, I measured the length, divided by two, and set the guide on my Proxxon scroll saw.

With the guide in place, it was an easy task to cut each pencil in half—down to doll size.

I love the fact that the Proxxon scroll saw is so easy to set up and use. It's as handy to use as a pair of scissors.

Now Kit (the doll) has a set of colored pencils that fit into her backpack and are ready for her to use at her desk.

Carole

Friday, March 4, 2016

Rockin' Necklaces

Hi everyone Steph Ackerman here today and I've been working with rocks. Yep, that's right.  Rocks. 


Supplies:


After washing and drying the stones, use the Precision Rotary Tool and assorted polishing bits with the polishing compound to polish the stones. 

 
Next, paint Iridescents on the stones to add color.  Iridescents have a rich, translucent color that looks amazing once dry.

 
Once the Iridescents dried, use the buffing wheel again to polish the stones.  This helps bring out the color and makes the rocks shine.

 
I used some wire to wrap around the rocks creating a pattern.  I am still getting used to wire wrapping, but I think they turned out ok.  I glued the wire to the back of the rocks to hold it in place.


Thread each rock onto ribbon or even some string for a more rugged look. 

Thanks for stopping by today.

Steph


Wednesday, March 2, 2016

Tutorial How To Add Sparkle To Your Proxxon Hot Wire Cutter For National Craft Month

Welcome to National Craft Month! Crafts come in many forms, and today I am going to show you how to add some sparkle to your Proxxon Hot Wire Cutter. I really enjoy using my Hot Wire Cutter to cut ribbon, Smoothfoam etc. but to be honest it needed a little bling :)
Supplies I used for this project:
Proxxon Hot Wire Cutter
Adhesive rhinestone sheet
Non stick scissors
How to:
Cut rhinestone sheet to fit your Hot Wire Cutter and peel and stick the rhinestones on the machine away from any heat source or controls. For an easy step by step tutorial, please watch my video below.

Tuesday, March 1, 2016

~Boho Vibe ~ New Design Team Post for Proxxon by Sherri Welser
~Boho Vibe ~


Bohemian Style Drop Earrings

I love creating Vintage Bohemian jewelry pieces by creating texture , depth and interest. It is so fun to look at a piece and have to look hard to see it all!That's what I love about creating and incorporating different elements in the item I am creating! Here I have used the Proxxon Drill Press TBM115 to create the drilled holes in the top of the metal guitar pick. It is always wonderful to have the correct the tools to complete a job with ease and accuracy!
Below I have included the supply list and short tutorial on creating these lovelies!Enjoy!

~Supplies~

2  blank brass plated guitar picks (1" in length)
2 bohemian style drop brass earring blanks
10 crystal drops ( I used a vintage piece of jewelry to take apart the crystal drops)
10 -4mm brass jump rings
2 -5mm brass jump rings
2- brass earring hooks
Vintaj Big Kick
Embossing folder ( any of Sizzix embossing folders will work well)


 1) Start by using a black pen and measuring where you want the holes and mark it.
2) Drill holes using a 1mm drill bit  in the tops where you have marked.

 3)Using the Embossing folder and Vintaj Big Kick Embosser, put your guitar picks in the folder placing where you want the  embossed design to be.


 4) Here you can see the embossed design

 5) If using a vintage piece of jewelry for your piece, open the jump rings and take the crystals off. I then saved the jump rings to attach to the new piece. Open jump rings to the side to prevent over stretching them and creating an easy seem to close up when finished.

6) Using the 2- 5mm jump rings attach the guitar pick to the earring base.
 7) Open the loop on the earring hook part at the base and attach the earring to the earring hook, close.


And here is your beautiful pair of Boho Vibe Earrings!
Enjoy!
~In Love & Light~
Sherri

Friday, February 26, 2016

How about some Yard Birds?

I had a request for a few of my funky yard birds at a place where I sell my gourd art. They were putting up a display for Spring. So, I've been working diligently this week on six new yard birds!


Items used for this project are:

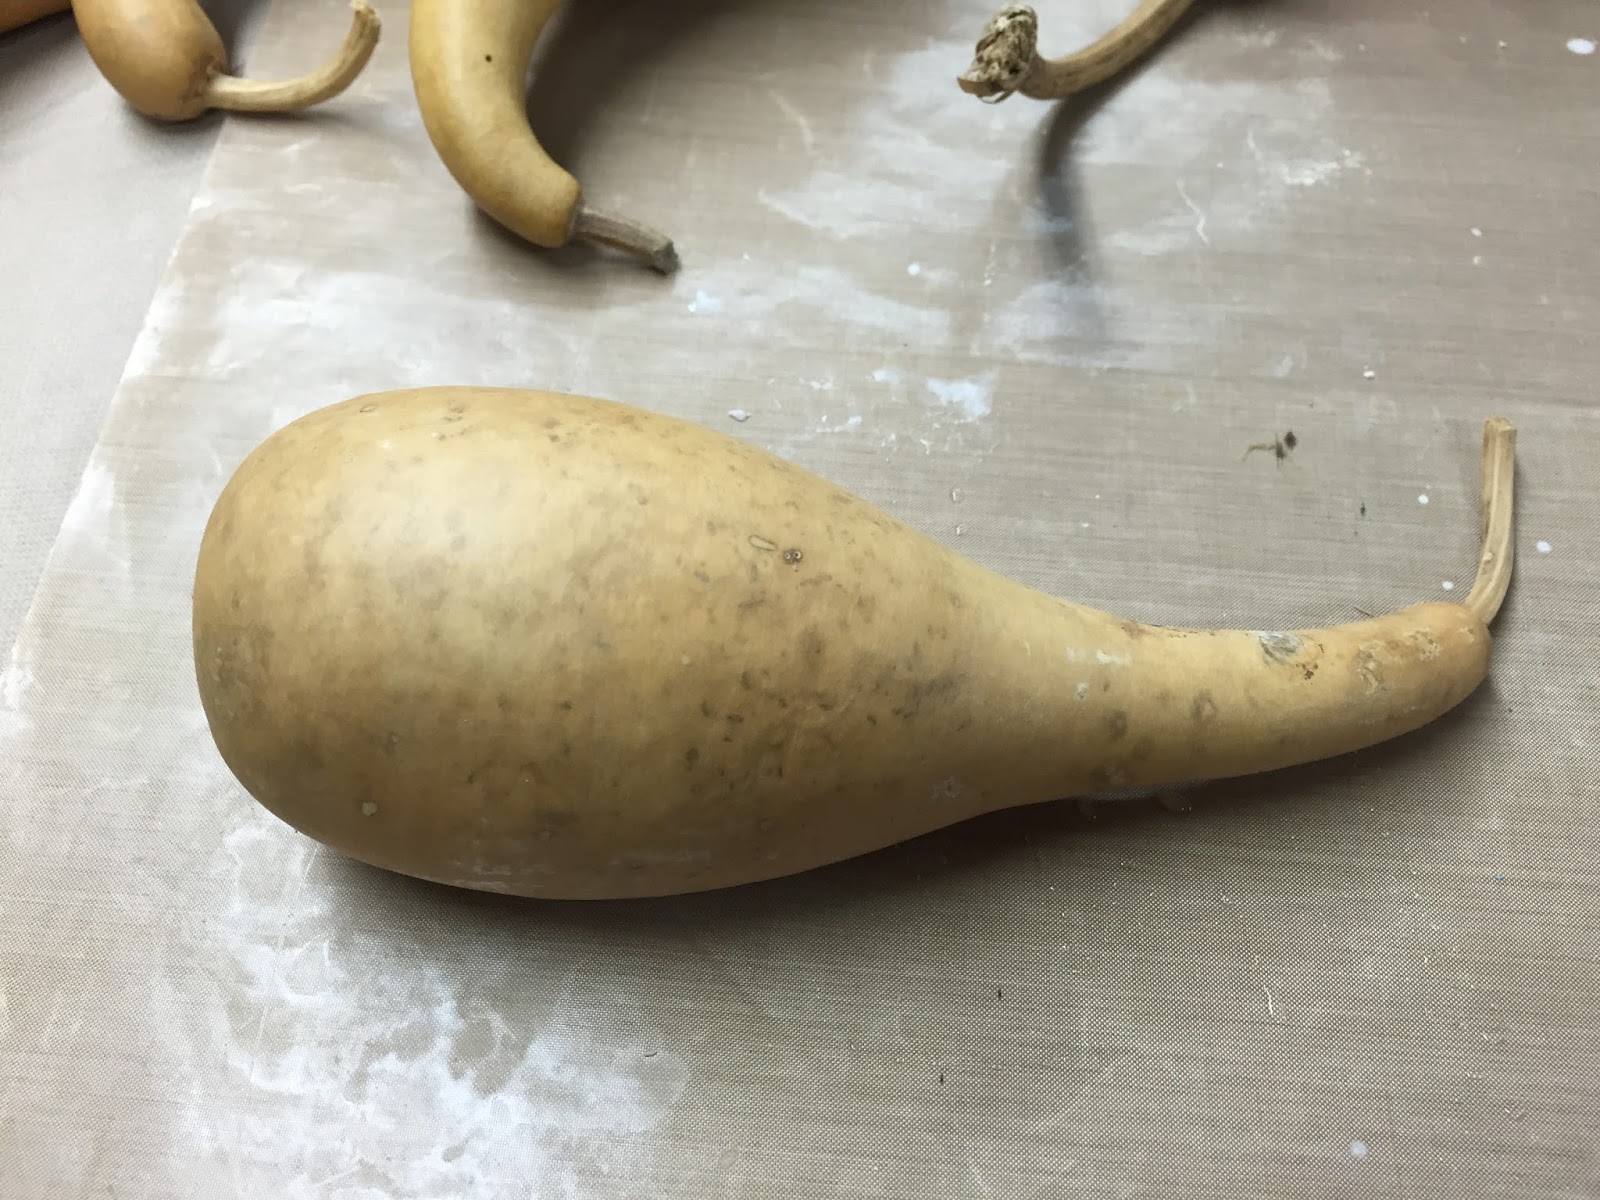
6 pieces of gourd tops that were left over from other projects
6 med. gourds that have curved tops
Proxxon Jigsaw for gourds
Sandpaper
Super Glue or equivalent
Quikwood
Assorted Enamel Acrylic Paints and Paint Pens
Outdoor Sealer
Garden Stakes (I used Miracle Grow 3' stakes)

I started out by using my Proxxon Jigsaw to cut the left over gourd tops down to the right size:


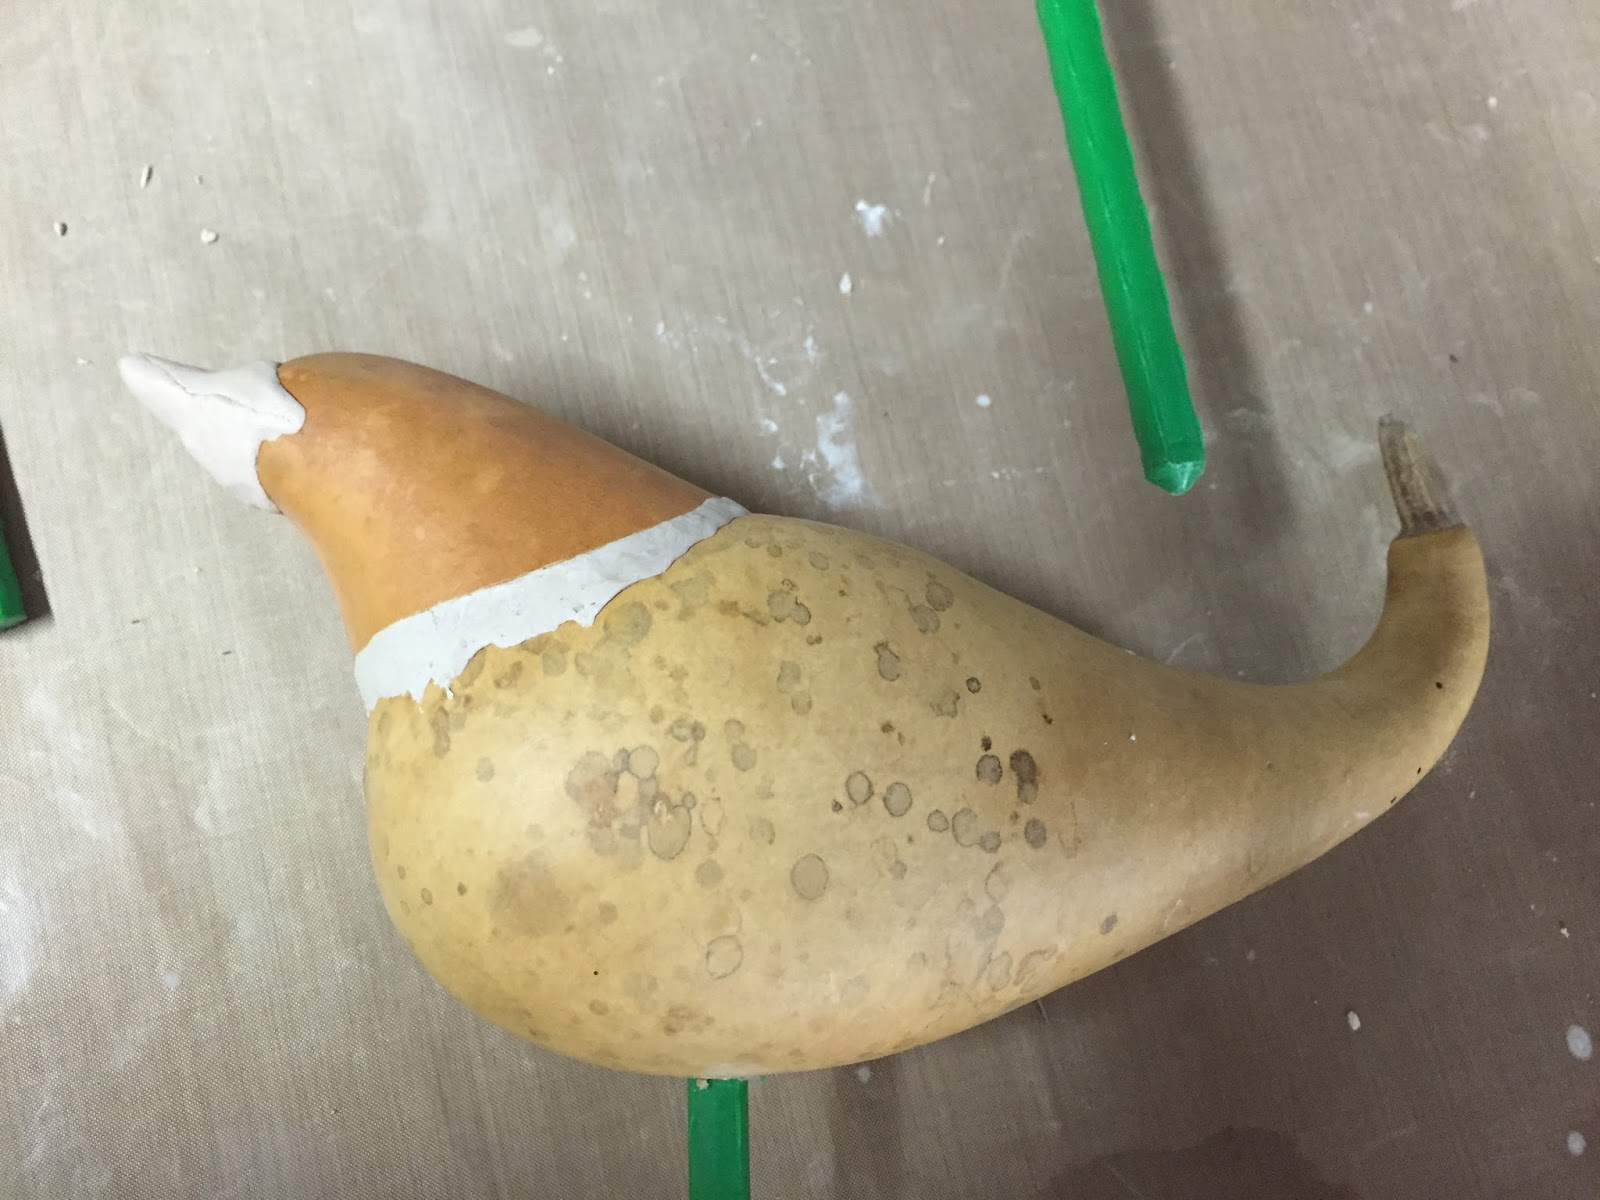
I then held a piece of sandpaper over the end of the gourd and rubbed my gourd top piece back and forth to get it shaped to the gourd. I then glued the piece to  the gourd and filled in the crack with Quikwood.


I also used Quikwood to make a beak for the bird. I then drilled a hole in the bottom of my bird and inserted the stake that would be pushed into the ground and hold the "Yard Bird" up. Once I got the parts put together and added onto my "Yard Bird" I proceeded to paint them with different designs.


I then put several coats of sealer on them and these are a few of the "Yard Birds" in their completed state:

These "Yard Birds" which have actually been made from gourds and gourd pieces that can be put out in your flower bed for the Summer. Once the season is over though it is best if you bring them in, wipe them off and seal them again before putting them out in your flower bed for another Summer! I love using my Proxxon Jigsaw for gourds when I work and I'm so happy to have had the opportunity to use one. You really need to check out all the tools at www.proxxon.com , you'll have a wish list in no time!

Barbara