Wednesday, August 10, 2016

Back To School Engraved Teacher's Gift


Hi everyone, Tammy here with you today with a fun back to school teacher's gift tutorial. I can't believe it's almost back to school time already! I love to give my daughter's teacher a bouquet of flowers on the first day back so this year I decided to kick it up a little and add some decorations to the vase.

 Supplies I used:
Dollar Store vase
Pencils
Ribbon
Scissors
Text image
Glue Dots 

  
Directions:
 Cut a piece of decorative ribbon about 18 inches and run a line of Glue Dots on the back of it.

 
Use a Proxxon Scroll Saw to cut pencils a length that will allow space for engraving at the top of the vase you are using.
 
Attach the pencil to a Glue Dot on the back of the ribbon.


 Measure the circumference of the vase and attach enough pencils, to the top of the Glue Dots on the ribbon, to go all the way around the perimeter of the vase.


 When all pencils are attached to the ribbon, add a couple of glue dots to the vase and wrap the pencils around the vase. Tie a tight bow to keep the pencils close to the vase. You can also seal the bottom of the pencils with some clear nail polish to keep the lead from staining any surface the vase is sitting on.


 Next, print out a sentiment you would like to use, and trace it onto the top of the vase with a Proxxon Engraving Tool.


When I find out the name of my daughter's teacher, I will add that to the vase also.
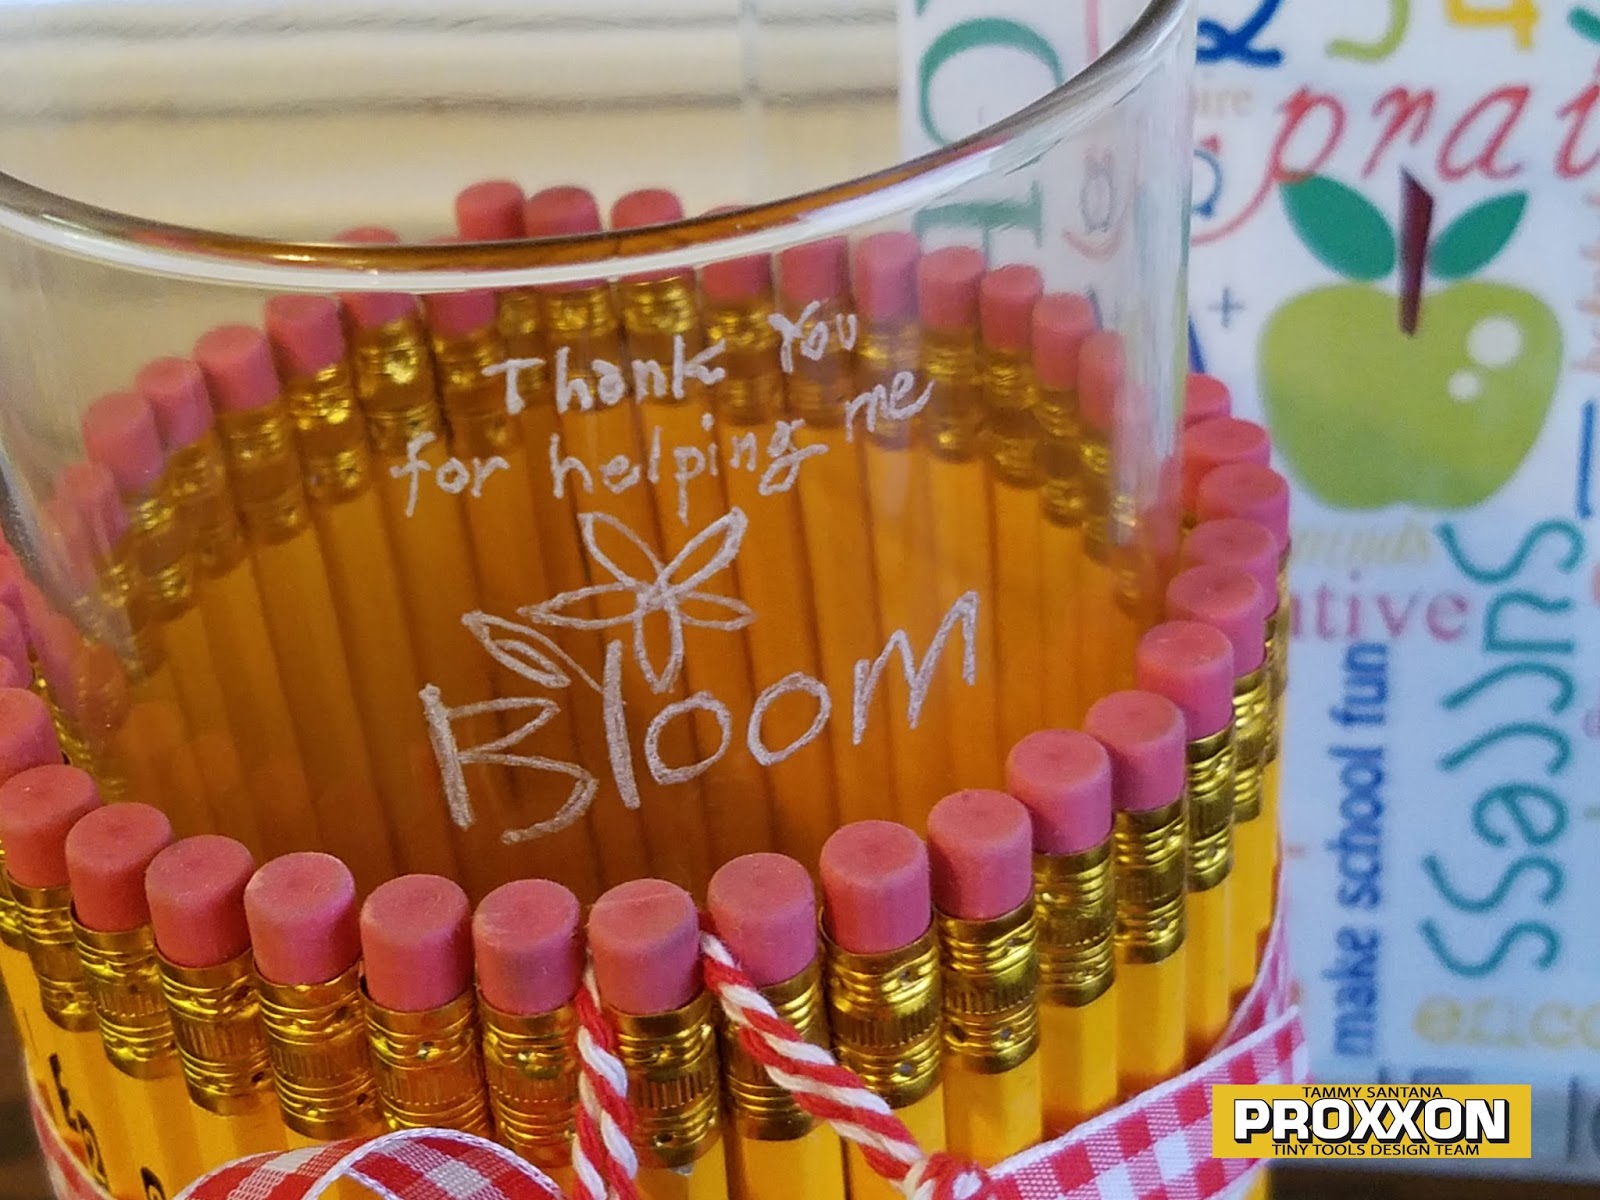
 
That's it, all that is left to do is add flowers to the vase and head back to school! I hope this has given you some ideas for easy and cute teacher's gifts you can create with your Proxxon Scroll Saw and Proxxon Engraving Kit.

Let's be friends!


Monday, August 1, 2016

Hair Stick Turned on Proxxon Lathe

I love turning wood using my Proxxon wood turning lathe!! My latest project are these hair sticks.

I started with a 1/4" oak dowel for each hair stick.

I mounted it on the lathe, and used the roughing gouge, skew tool, and spindle gouge to add the decorative beading on the hair sticks.

This is the first hair stick as it came off the lathe, along with a close up of the beading detail.


The next step was coloring this hair stick with Plaid Folk Art Ultra Dye. Wow!! What a vivid color it gave the wood!!


The second hair stick I polished with wax. And, you can see by my pic below that I'm not a candidate for a hair stick!! So, these have found a new home with someone who has the gorgeous hair to show them off.


Carole

Friday, July 29, 2016

Summer Party Basket

Hi everyone Steph Ackerman here today with a sweet basket that can hold your outdoor paper goods in style for all your summer parties.


Begin by using the Delta Sander to sand the basket.  The angled head of the Delta Sander allows you to get into even the smallest of areas.


Paint the basket with FolkArt Milk Paint by Plaid in Bristol Green.  Once dry, lightly sand the basket again to bring out some of the wood grain.


Dry brush on a light layer of FolkArt Milk Paint by Plaid in Petticoat.  I love that this gave the basket a light distressed effect.

 
To finish cut pattern paper to fit the basket faces and adhere with Beacon Adhesive.    A floral pattern blended in nicely with the colors of the basket.  Once dry,  lightly ink the edges of the paper with distress ink.
 
 
Now, fill with your paper goods and enjoy.


Steph

Wednesday, July 27, 2016

Welcome Sign

Hello friends. Larissa here today with you with a welcome pineapple sign. This is my first post as a new Design Team member and I could not be more excited.


I hand drew a pineapple onto the SmoothFoam using a pencil. 

Then I cut it with the Hotwire Cutter Thermocut. Which let me add this. This machine cuts like butter. I am in love with it. I already have another project in my head that I am going to try this weekend. 


Once I cut it I used the Plaid Folk Art Ultra Dye to paint the pineapple. 

Once the Ultra Dye dried. I painted lines using the Milk Paint. 


I set it aside and let it dry for about 30 minutes. Not sure if it really took that long but I was working on some other things. 
I adhered the letters down the middle of the pineapple.

Now I have a cute little pineapple to put on my table with some flowers. 

I hope you enjoyed my post today. Have a wonderful day friends.

Larissa Pittman 

Friday, July 22, 2016

It's never to early to make a Fall Gourd

Yes I made another gourd with my Proxxon tools. I'm primarily a Gourd Artist and working with gourds is a passion of mine.

Here's the materials you will need: 

Proxxon JigSaw
Proxxon Delta Sander
Proxxon Rotary Tool w/ flexshaft 
Wood burning Tool
Alcohol Inks in Fall colors
Acrylic paint (Ivory)
Paint brush
Q-tips
Clean piece of cloth cut into squares
Gloves
Krylon Kamar Varnish

I started out with a gourd on which I drew a circle and cut the top out of. Here's a picture of how yucky it looks when it's first opened up. I do want to mention again though, that it is very unsafe to not wear a respirator mask when working with a gourd in cutting it open and also cleaning the inside out or when doing any carving or grinding on one.
Here's a look at the inside of the gourd after the inside was cleaned. I then painted the inside of the gourd black.
After the gourd was cleaned and painted on the inside, I then put my leaves and acorns around the gourd and wood burned the designs onto the gourd. With all of the wood burning done, I colored the leaves and top and bottom with the alcohol inks. And then sprayed on the Kamar Varnish so that the inks would be sealed.

  I then used the Proxxon Rotary Tool w/flexshaft to use a scribble technique within the borders for my leaves. This technique helps to make the leaves and acorns on this gourd to stand out. But what makes it stand out even more is painting over the scribbles with the Ivory Acrylic Paint. This makes the leaves and acorns really pop.
So what do you think? I am really pleased with the results of this gourd. Can you see the texture that has been painted over? It gives it a crisp, clean look and really accentuates the leaves and acorns. You need to check out all of the wonderful tools over on the Proxxon Tool site

Barbara

Wednesday, July 20, 2016

Back To School Supply Caddy Featuring The Proxxon Delta Sander And Plaid's Folk Art Milk Paint

 Hi everyone, Tammy here with you today with a fun supply caddy tutorial for all of you going back to school soon.  I started with a school supply holder from the Target Dollar Spot and decided to decorate it with some fun Plaid Milk Paint and felt school themed embellishments.

Supplies:
Plaid Milk Paint Brush
Tool caddy
Felt embellishments
Pom pom fringe
 Directions:
 Sand the outside of the tool caddy with the Proxxon Delta Sander until you have a paint ready surface.

Paint with Plaid's Folk Art Milk Paint in Pirate Black with a Plaid Milk Paint Brush. Let dry completely.

 Add dotted center line with a white galaxy marker.

Add stitch glue squares Glue Dots to the edge of the tool caddy.

Add two layers of different colored pom pom fringe trim on top of glue dots.

Add XL Glue Dot to add felt embellishments.

Add additional felt letters and embellishments as desired to other side of the tool caddy.

That's it! How cute is this tool caddy, and it was to easy to paint with the Proxxon Delta Sander and Plaid Folk Art Milk Paint. I know my daughter will enjoy using her tool caddy to keep her school supplies in order during the school year.

Let's be friends!


Sunday, July 17, 2016

Door Hanger Cat

I'm having a blast with my Proxxon Scroll Saw!! This whimsical door hanger is perfect for the cat lovers in your life.

Here's the pattern mounted on a piece of 1/4" plywood. To apply the pattern to the substrate, I cover the substrate material with painter's tape, spray the reverse side of the pattern with adhesive spray, and adhere the pattern on top of the painter's tape. I made a modification to this pattern—I didn't cut out his eyes. I prefer the look of the silhouette.

To begin, I used my Proxxon Professional Rotary Tool to drill pilot holes for the enclosed areas of his tail.

After I cut the exterior of the pattern, I passed the saw blade through the pilot hole to begin cutting out the interior pattern.

When I completed cutting this portion of the pattern, I again passed the saw blade through the second pilot hole to cut the area between his tail and leg.

The next step was a light sanding with the Proxxon Delta Sander. I used Sandits for the tiniest spaces.


I put small finishing nails through the top paws to act as hangers. A coat of paint finished this black cat door hanger.
Carole
