Saturday, July 17, 2021
How To Make A Eagle Wallhanging Part Two
Thursday, July 15, 2021
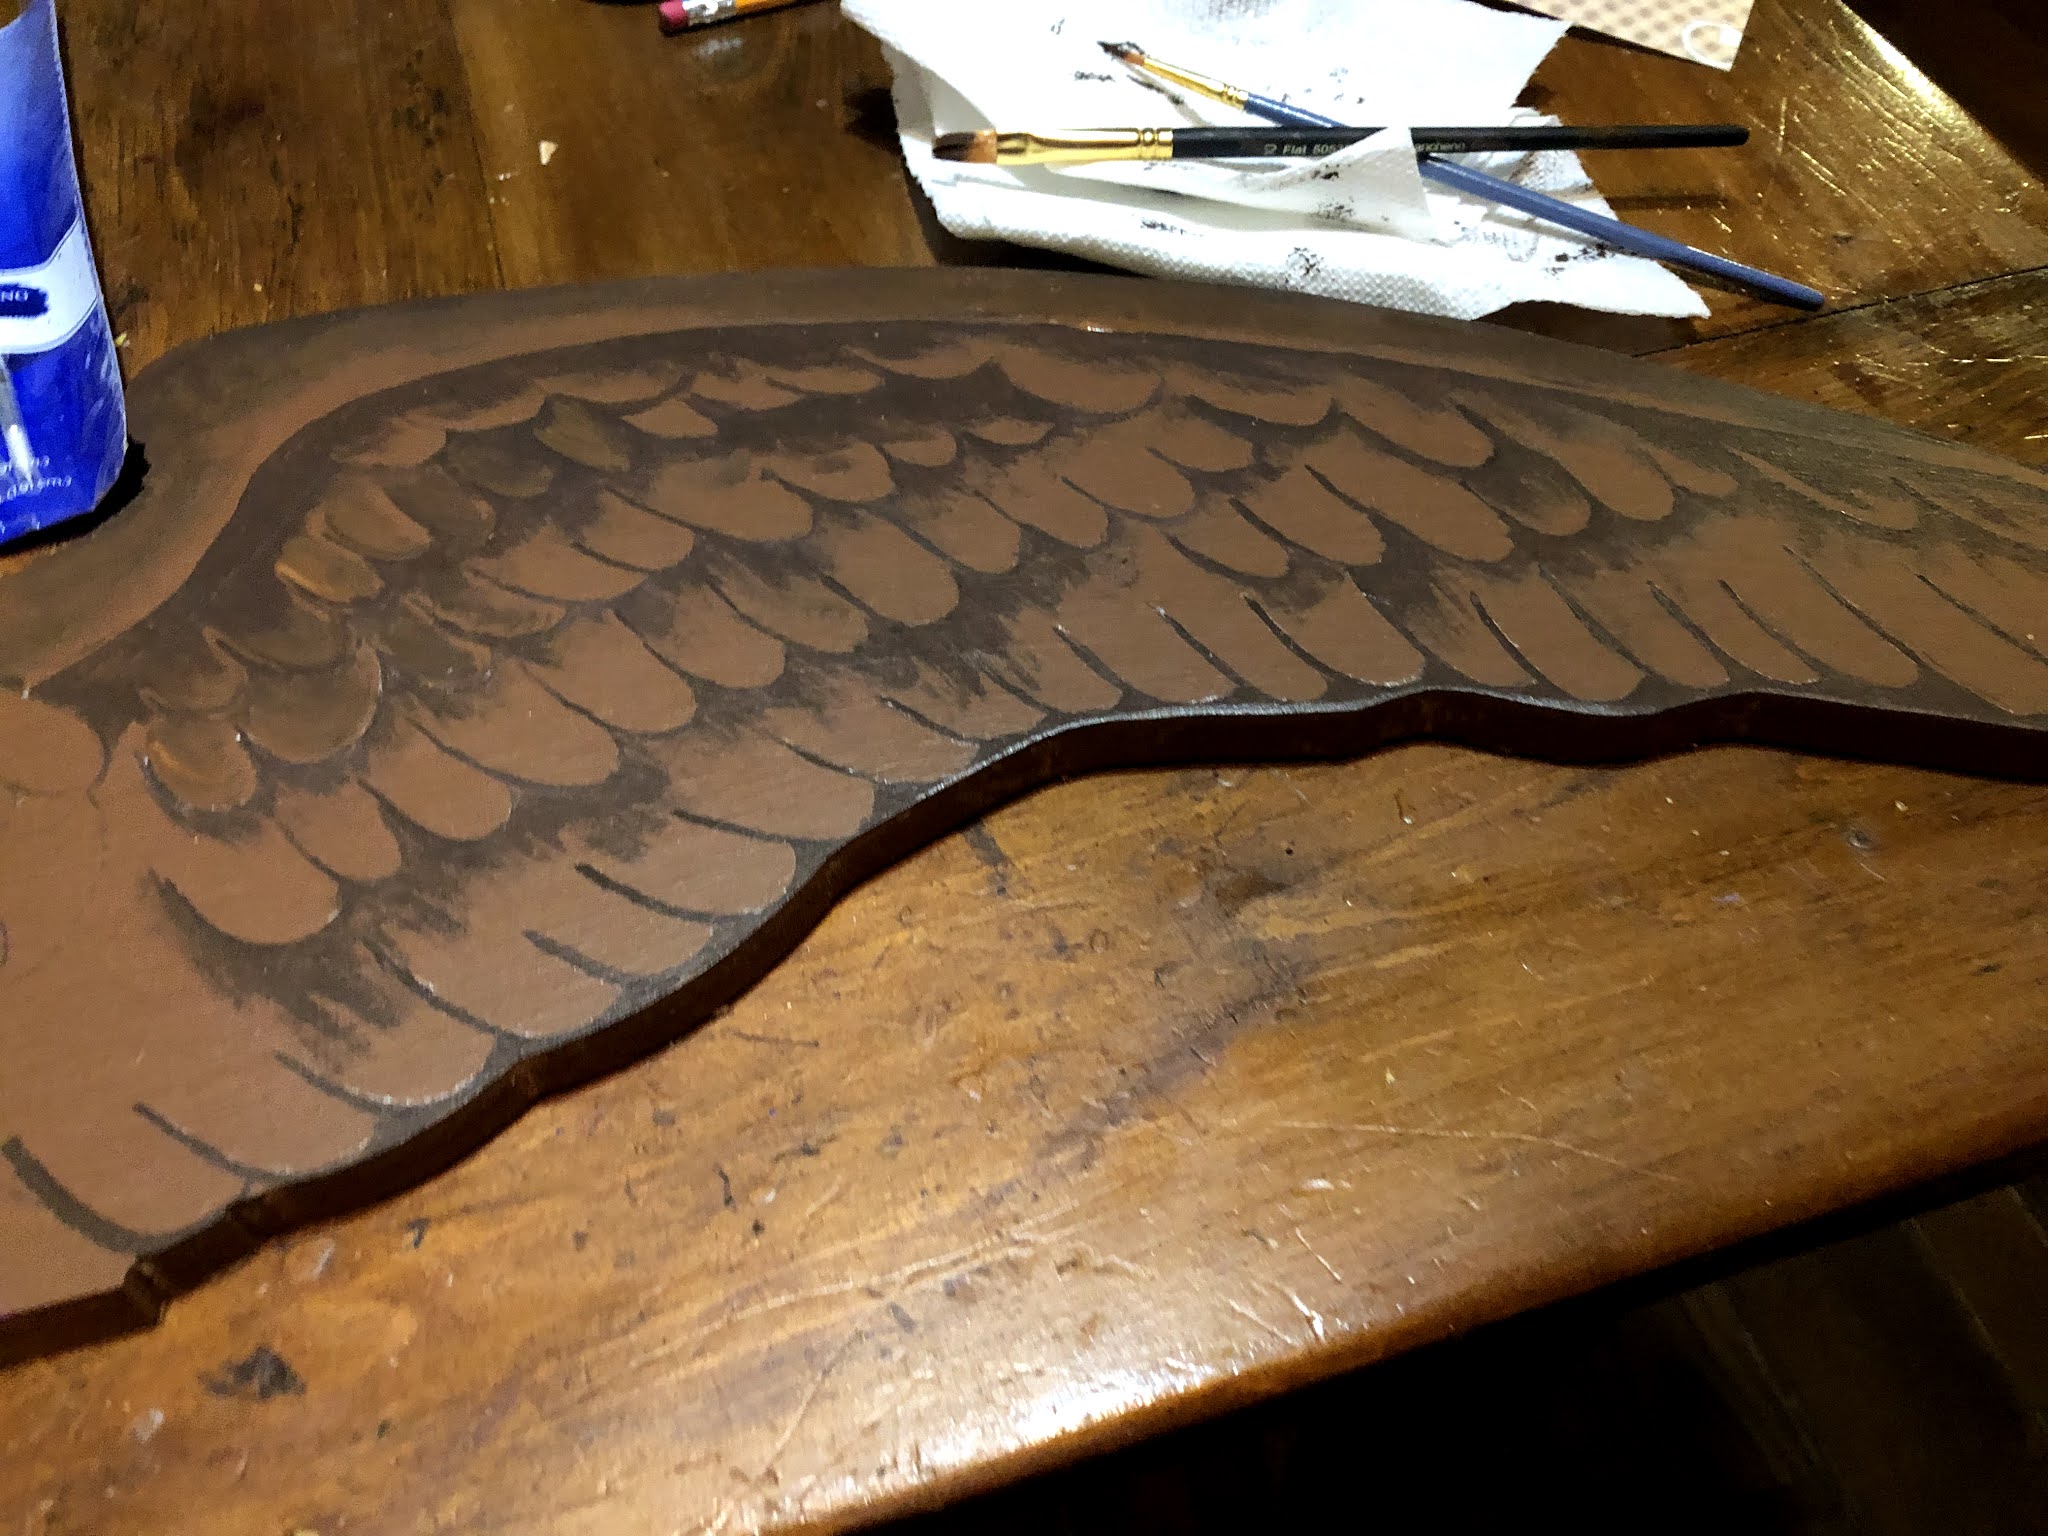
How to make a wooden flying eagle
Hi everyone, it's me again, Carol W, . Today I want to show you an easy project to make so you can spruce up a room without using any wall, floor, dresser or desk space. That's right we are going to hang it from the ceiling.
I had a paper one of these many years ago, but today we will make it from some thin pieces of scrap wood. It is an easy project and I just love the outcome.
Equipment and supplies.
Wood,-- 1/4" - 3/8" plywood scraps, Need a couple pieces about 6" x 18"
Eagle pattern- see below, or draw your own,
sturdy string
Here is the pattern I drew, Note I separated the wings from the body and there is a cutout place on each where we will put them together.
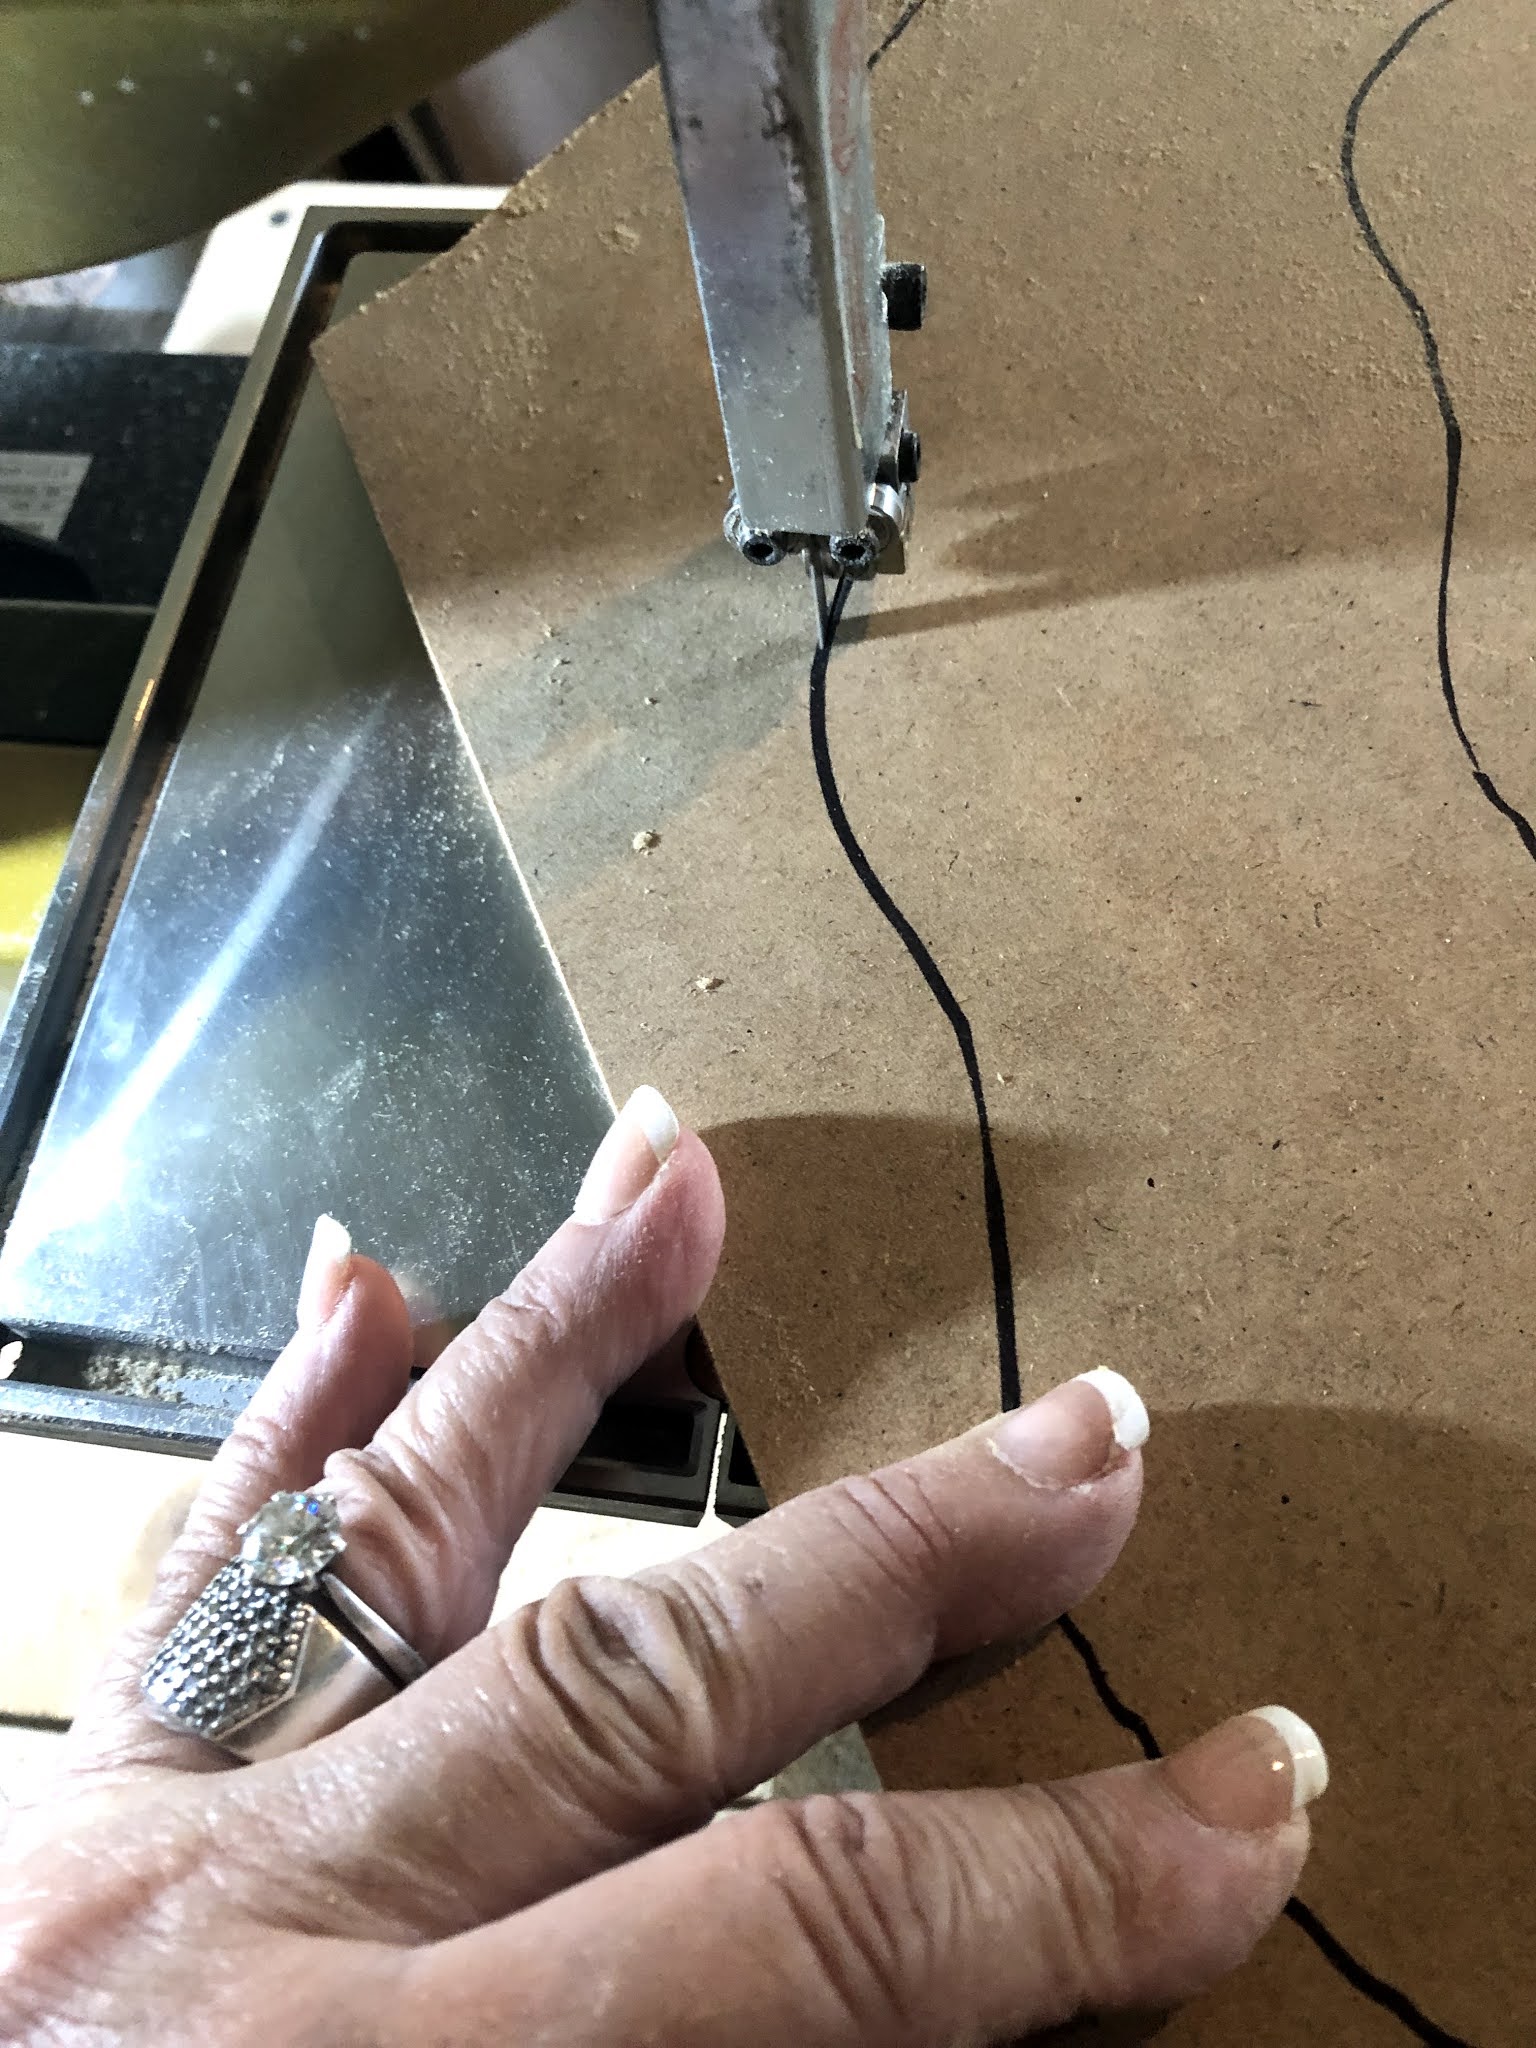
Note on the pattern whrere the holes are marked and use the Proxxon mini drill press to drill those holes, on the wings and on the eagle.
Test that the wings will slide onto the eagle body. It should be snug but not impossible.
Well, thank you all for visiting, Come back soon for another new project. Take care!
Thank you Proxxon. com, and Plaid paints.
How To Make A Eagle Wall Hanging Part One
This is part one. Next in part two I'll be showing how I made the bunting. Thanks for following along with me... :-) Colleen
.
Sunday, July 4, 2021
How to Make a Useful Key Holder from Reclaimed Wood
This key holder used to be a rack for cheese knives, but it had outlived its usefulness, and was falling apart. So, I decided to reclaim parts of it and refashion it into a key holder.
I used these Proxxon tools:
Here's how I made the Reclaimed Wood Key Holder:
- I started with this fallen-apart cheese knife rack. The top piece was just glued on, and had fallen off.
- I used the bandsaw to cut away the bottom piece, but saved it for a future project.
- I used a 5/8" dowel rod to turn pegs to hold the keys.
- I used a center finder to mark the center of the dowel rod.
- I mounted the unmarked end of the dowel in the three jaw chuck, and centered the marked end at the tail stock.
- I turned four different pegs, and sanded each while still mounted on the lathe.
- Next, I used FolkArt UltraDye to color each peg. The UltraDye produces a vibrant color while still allowing the wood grain to show through.
- Then, I sanded the two reclaimed wood pieces using the Delta sander.
- These two piece were then glued together.
- While the glue was drying, I again used the center finder to mark the centers at the bottom of the pegs, and screwed in a hook for holding the keys.
- Now I have a functional key holder made from reclaimed wood.
![]() |
| Carole |
In addition to paper crafting Carole enjoys a variety of handcrafts and fiber arts, including needlepoint, crewel, knitting, crocheting, beadwork, and lacemaking. She regularly travels abroad to study the dying art of handmade bobbin lace. She incorporates mixed media techniques to create unique greeting cards and paper art pieces. She has served on several craft industry design teams including Sakura Hobby Crafts, Amazing Crafting Products, USArtQuest, and The Robin's Nest. Her favorite food is sushi, especially sea urchin.
Thursday, July 1, 2021
How to make a box kite
OK, I want to bring out the kid in you this week. We are going to make a box kite using our Proxxon tools and hopefully it will fly and so will your spirits. Trust me!
Supplies and equipment:
6 1/4" x 36" dowel rods
4 Walmart bags
2-3 drinking straws
kite string or suitable substitute
scissors
gorilla glue
contact cement
plastic tape
measuring tool yardstick or tape measure
speed square if you got one.
Proxxon scroll saw
Proxxon profession rotary tool
Patience ha ha
Here's our plan
Let's get started. The first thing to do is to cut (4) 14" pieces of dowel These will be our cross pieces. I used the Proxxon Scroll saw to do my cutting. But I could have used my Proxxon mini bandsaw just as well. You choose,
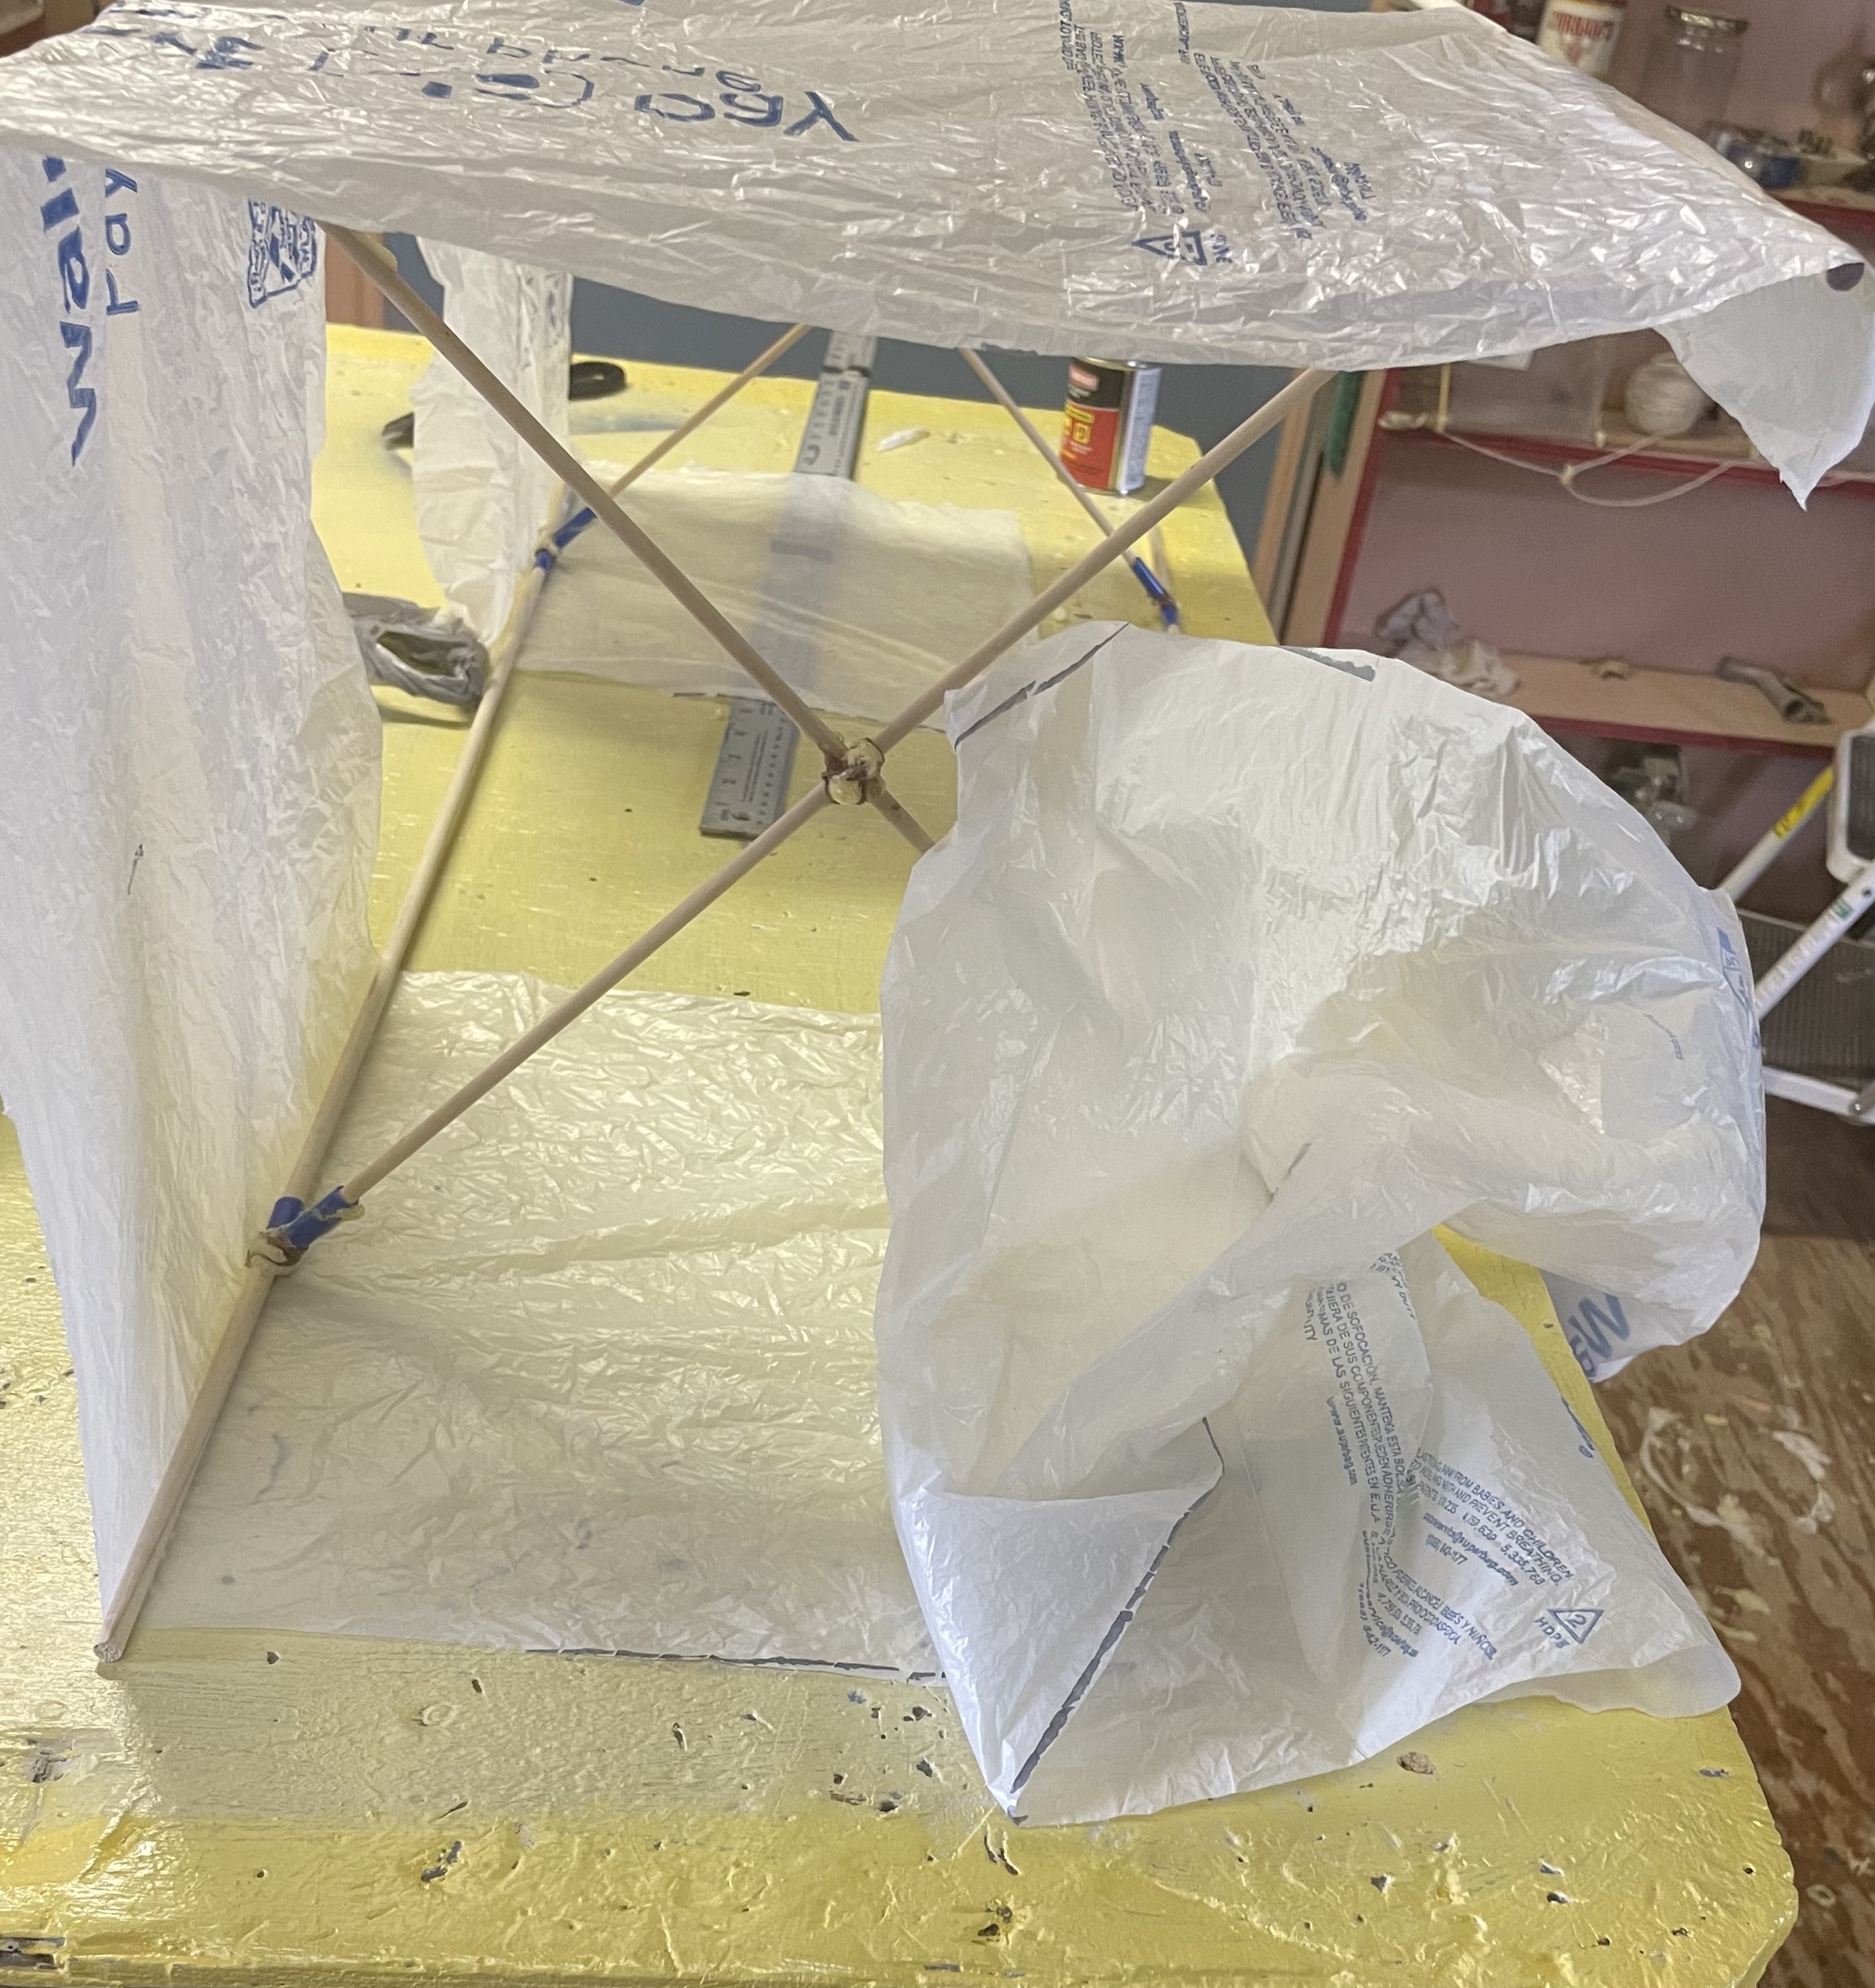
I made some indents using the Proxxon professional rotary tool. This will help keep the parts from slipping while I lash them together.I lash them together in the middle with string, wrapping it around every which way until it kind of holds it together as an X. Then I applied a drop or 2 of gorilla glue to strengthen it. Gorilla glue is very strong but also very light.
I slipped those over the 4 outside 36" dowels at the 6 " mark. Note the picture below as how to use the straws.